
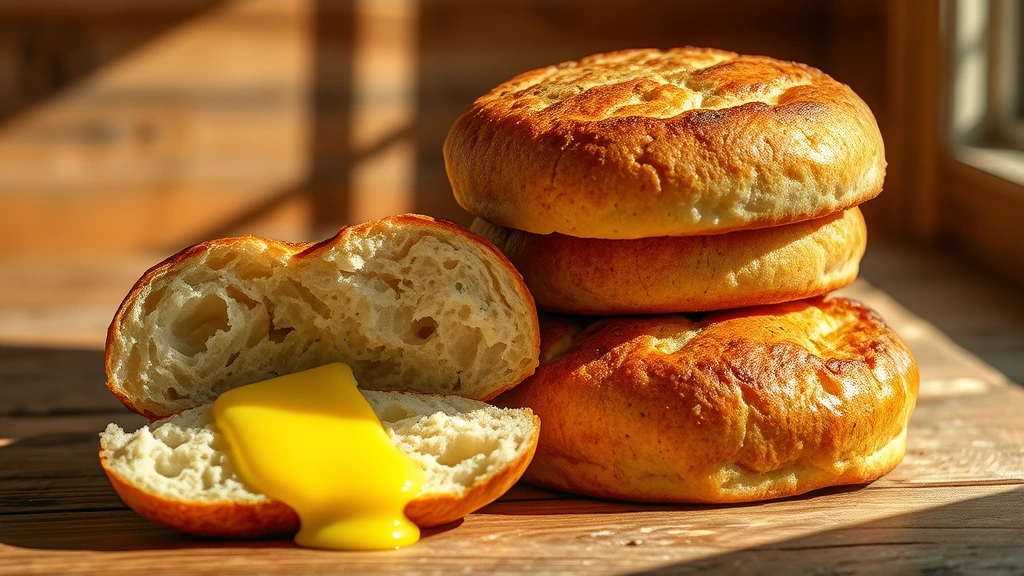
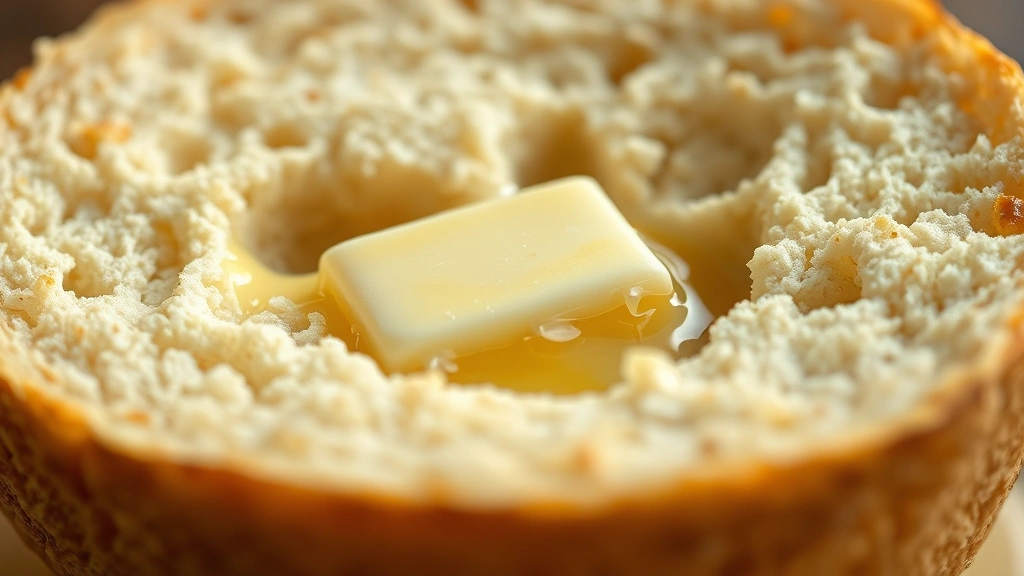
There’s something absolutely magical about homemade English muffins, especially when you make them with sourdough! These nooks and crannies are the perfect vehicle for melted butter, jam, or even a fried egg. I’ve been perfecting this recipe for years, and I’m thrilled to finally share it with you. The beauty of using sourdough starter is that you get that wonderful tangy flavor and incredible texture without needing to wait for long fermentation times.
English muffins are one of those recipes that seems intimidating at first, but once you understand the process, you’ll find yourself making them regularly. The key is getting the right dough consistency—it should be softer than bread dough but not quite batter. When you cook them on a griddle with English muffin rings, you create those signature nooks and crannies that make them so irresistible. I love serving mine warm with creamy spreads or simple butter and honey.
What makes these sourdough English muffins special is the depth of flavor you get from the starter. The slight tang and complexity make them taste like they came from a professional bakery, but they’re actually quite simple to make at home. I typically make a batch on Sunday and enjoy them throughout the week for breakfast. They freeze beautifully too, so you can pop them in the toaster whenever you want that fresh-from-the-oven taste.
The recipe uses active sourdough starter, which means you’ll want to feed your starter a few hours before baking. This ensures you have plenty of active yeast and bacteria to leaven the dough properly. The dough comes together quickly, and most of the time is spent in bulk fermentation, where all those wonderful flavors develop. Once you shape the muffins and let them proof, you’re ready to cook them on the griddle.
I recommend using English muffin rings for this recipe—they’re inexpensive and create that perfect cylindrical shape with those coveted nooks and crannies. If you don’t have rings, you can shape them freeform, though they won’t be quite as picture-perfect. The cooking process is gentle and low-heat, which ensures they cook through without burning the outside. This is quite different from other bread recipes where you might use high heat for crust development.
Once your English muffins are baked, they’ll have that characteristic pale, slightly bumpy exterior and a tender crumb inside. The nooks and crannies will be perfect for catching melted butter, jam, or creamy spreads. They’re wonderful toasted and topped with pickled red onions and cream cheese, or simply with butter and jam for a classic breakfast.
I’ve tested this recipe many times, adjusting hydration and fermentation times to get the perfect result. The sourdough starter gives you flexibility—if your kitchen is warm, you might need less fermentation time, and if it’s cool, you might need a bit more. I’ve included guidelines for both scenarios. The result is an English muffin that’s fluffy, flavorful, and absolutely delicious.
Ingredients
- 1 cup (240g) active sourdough starter, fed 4-6 hours prior
- 1 cup (240ml) whole milk, room temperature
- 2 cups (250g) all-purpose flour
- 1 teaspoon (6g) salt
- 1 tablespoon (12g) sugar
- 2 tablespoons (30g) unsalted butter, melted
- 1/4 cup (30g) cornmeal, for dusting rings and griddle
Instructions
- In a large mixing bowl, combine your active sourdough starter and room temperature milk, stirring until mostly combined. It’s okay if there are some small lumps.
- Add the all-purpose flour, salt, and sugar to the starter mixture. Mix with a wooden spoon or your hands until a shaggy dough forms. Make sure all dry ingredients are fully incorporated.
- Let the dough rest for 20-30 minutes at room temperature. This autolyse period allows the flour to fully hydrate and makes the dough easier to work with.
- After the rest, gently knead the melted butter into the dough, working it in thoroughly. The dough should be soft and slightly sticky, similar to a thick pancake batter consistency.
- Cover the bowl with a damp towel or plastic wrap and let it bulk ferment at room temperature for 4-6 hours, depending on your kitchen temperature. The dough should roughly double in size and show some bubbles on the surface.
- Once fermentation is complete, lightly flour your work surface and gently turn the dough out onto it. Try to handle it gently to preserve the gas bubbles you’ve developed.
- Divide the dough into 8 equal portions. Shape each portion into a ball by gently pulling the edges toward the center. Work gently—you want to maintain the air in the dough.
- Place each ball between two pieces of parchment paper and gently flatten with your hand to about 1 inch thick. This creates a more uniform muffin.
- Let the shaped muffins rest on parchment for 30-45 minutes for a second proof. They should feel puffy and slightly jiggly when you gently shake the parchment.
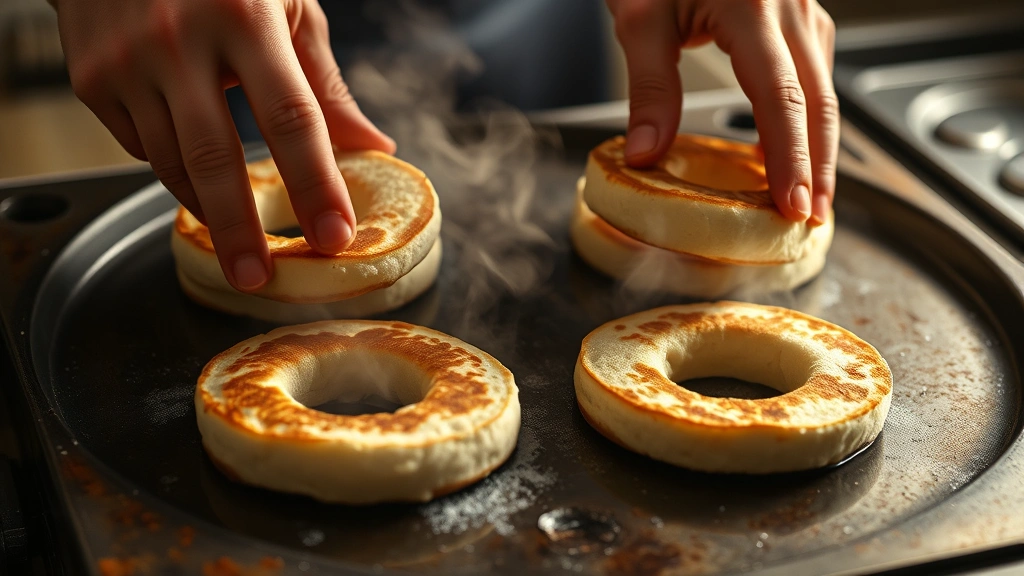
- Meanwhile, prepare your griddle or large skillet by heating it to medium-low heat. Dust your English muffin rings with cornmeal and place them on the griddle, also dusting the griddle surface lightly with cornmeal.
- Once the muffins have proofed, carefully place one muffin into each ring. You may need to work in batches depending on your griddle size.
- Cook for 5-6 minutes on the first side, until the bottom is lightly golden and set. Don’t rush this step—you want the bottom to cook through.
- Carefully flip each muffin (still in its ring) and cook the second side for another 5-6 minutes until golden and cooked through. You may need to reduce heat if they’re browning too quickly.
- Remove the English muffin rings carefully using tongs or an oven mitt, as they’ll be hot. Cook the sides for 1-2 minutes if needed to lightly toast them.
- Transfer the cooked English muffins to a cooling rack. They’ll continue to set as they cool.
- Once completely cooled, store in an airtight container at room temperature for up to 3 days, or freeze in a freezer bag for up to 3 months. Thaw at room temperature or toast straight from frozen.
Pro Tips
DOUGH CONSISTENCY: The dough should be noticeably softer than typical bread dough. If it feels too dry, add milk one tablespoon at a time. If it’s too wet and sticky, add flour gradually. The goal is a dough that’s soft and slightly tacky but not difficult to handle.
FERMENTATION TIMING: Fermentation times vary based on kitchen temperature. In a warm kitchen (75-80°F), your dough may be ready in 3-4 hours. In a cooler kitchen (65-70°F), it might take 5-6 hours. Look for the dough to roughly double in size and show visible bubbles rather than relying strictly on time.
ENGLISH MUFFIN RINGS: These are essential for achieving the classic shape and texture. They’re inexpensive and available online or at kitchen supply stores. Alternatively, you can use biscuit cutters or even cleaned tuna cans with both ends removed, though the results won’t be quite as uniform.
GRIDDLE TEMPERATURE: The key to perfect English muffins is low to medium-low heat. High heat will burn the outside before the inside cooks through. If your muffins are browning too quickly, lower the heat and extend the cooking time slightly.
COOKING IN BATCHES: Don’t crowd your griddle. It’s better to cook them in two batches if needed. Crowding causes uneven cooking and makes it harder to flip the rings.
TOSTING AND SERVING: English muffins are best enjoyed toasted to bring out the nooks and crannies. Toast them in a regular toaster or under the broiler for a few minutes. Try them with butter and honey, jam, cream cheese and lox, egg salad, or your favorite sandwich fillings like chickpea salad or roasted shishito peppers.
STORAGE: Let muffins cool completely before storing to prevent condensation. They keep at room temperature for 3 days in an airtight container. For longer storage, freeze them whole and thaw at room temperature. You can also split and toast them straight from frozen.
TROUBLESHOOTING: If your muffins are too dense, you may have over-fermented or your starter wasn’t active enough. If they’re gummy inside, cook them longer on lower heat. If the bottoms burn but the inside isn’t cooked, reduce heat and extend cooking time.