

There’s something absolutely magical about sourdough pizza crust – it’s tangy, it’s chewy, it’s got that perfect crispy exterior, and honestly, once you master this recipe, you’ll never go back to store-bought dough again. I’ve been making sourdough for years, and pizza is hands-down my favorite way to use my starter. The beauty of this crust is that it requires minimal active time; most of the work happens while you’re sleeping or going about your day. The long fermentation develops incredible flavor and creates those gorgeous air pockets that make every bite absolutely divine.
This recipe uses active sourdough starter and comes together in just a few simple steps. What I love most is how forgiving it is – whether you’re a sourdough newbie or a seasoned pro, this crust will turn out beautifully. The dough is incredibly versatile too; you can top it however you like, whether that’s classic Margherita, pepperoni, or loaded with veggies. I’ve included tips for both a wood-fired oven and a home oven, because let’s be honest, not all of us have access to a fancy pizza oven (though we all wish we did!).
The key to the best sourdough pizza crust is patience and proper fermentation. Cold fermentation in the fridge overnight develops the gluten structure naturally and gives you that distinctive sourdough tang that makes people ask for your recipe. The dough becomes incredibly elastic and easy to stretch, and when it hits a hot oven, it puffs up beautifully with a crispy crust and soft, airy interior. I’m sharing all my secrets here – from hydration ratios to shaping techniques – so you can create restaurant-quality pizza right at home.
What makes this different from regular pizza dough is the sourdough starter, which acts as both a leavening agent and flavor builder. Unlike commercial yeast, sourdough cultures develop complexity over time, creating that signature tangy taste. Plus, the fermentation process makes the dough easier to digest and more nutritious. I always have a batch of this dough in my fridge because it’s so reliable and consistently delicious. Whether you’re hosting a pizza night or just craving homemade pizza on a Tuesday, this recipe has got you covered.
For detailed instructions on stretching pizza dough, check out that guide – it’ll help you get the perfect thickness. And if you’re curious about different fermentation timelines, I’ve got you covered there too. I also recommend reading about optimal pizza oven temperatures to ensure your crust bakes perfectly. For more inspiration, check out Bon Appétit’s sourdough pizza recipe and Serious Eats’ pizza guide. The New York Times also has excellent Neapolitan pizza techniques worth exploring.
Ingredients
- 1 cup (240ml) active sourdough starter, fed 4-8 hours prior
- 1¼ cups (300ml) lukewarm water
- 3½ cups (420g) bread flour or all-purpose flour
- 2 teaspoons (12g) fine sea salt
- 1 teaspoon (5g) sugar or honey
- 2 tablespoons (30ml) extra virgin olive oil
- Cornmeal or semolina flour for dusting (optional but recommended)
Instructions
- In a large bowl or stand mixer, combine your active sourdough starter with lukewarm water and stir until mostly combined – don’t worry about it being perfectly smooth.
- Add the bread flour, sugar, and salt to the starter mixture and mix on low speed (or by hand) until all the flour is incorporated and you have a shaggy dough with no dry flour remaining.
- Cover the bowl with a damp kitchen towel or plastic wrap and let the dough rest for 30 minutes at room temperature – this is called the autolyse and it helps develop gluten naturally.
- After the autolyse, add the olive oil and mix on medium speed (or knead by hand) for about 8-10 minutes until the dough is smooth, elastic, and slightly tacky but not overly wet.
- Transfer the dough to a lightly oiled bowl, cover it, and let it bulk ferment at room temperature for 4-6 hours, performing 4-6 stretch-and-folds during the first 2 hours (every 20-30 minutes).
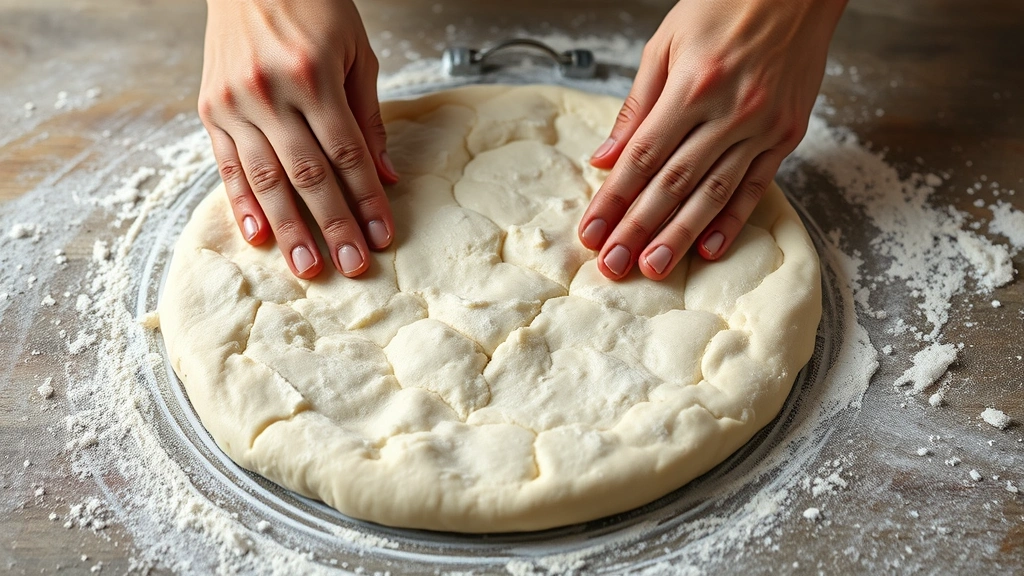
- After bulk fermentation, divide the dough into 2-3 equal portions (depending on desired pizza size) and pre-shape them into loose rounds on a lightly floured surface.
- Place each pre-shaped dough portion into a lightly oiled bowl or on a parchment-lined baking sheet, cover tightly with plastic wrap, and refrigerate for 12-48 hours – the longer fermentation develops better flavor and makes the dough easier to stretch.
- About 1-2 hours before baking, remove the dough from the refrigerator and let it come to room temperature until it feels puffy and alive.
- Preheat your oven to 500°F (260°C) for a home oven, or prepare your wood-fired oven to 800-900°F (427-482°C) if using one.
- Gently remove one dough ball from its container onto a lightly floured surface and begin stretching it by hand, starting from the center and working outward – the dough should stretch to about 12-14 inches in diameter for a large pizza.
- Transfer the stretched dough to a pizza peel dusted with cornmeal or semolina, then add your desired toppings, being careful not to overload – less is more for the best results.
- Slide the pizza onto your preheated pizza stone or directly onto the oven rack and bake for 15-20 minutes in a home oven, until the crust is golden brown and the cheese is bubbly and slightly charred.
- For wood-fired ovens, bake for 2-3 minutes, rotating every 30 seconds or so until the crust is blistered and charred to your liking.
- Remove the pizza from the oven using a pizza peel, let it cool for 2-3 minutes to allow the cheese to set, then slice and serve immediately while it’s still warm and crispy.

Pro Tips
- **Starter Readiness**: Make sure your sourdough starter is truly active and bubbly before using it. It should have doubled in size and smell pleasantly sour. Feed it 4-8 hours before mixing your dough – this is crucial for proper rise.
- **Hydration Level**: This dough is around 65% hydration, which creates an open crumb structure with great flavor. If you find it too sticky, add flour gradually, but resist the urge to make it too dry or you’ll lose those beautiful air pockets.
- **Fermentation Flexibility**: The beauty of sourdough is flexibility. If you don’t have 24-48 hours, you can do 12 hours in the fridge and still get great results. Conversely, 48-72 hours develops even more complex flavor if you have the time.
- **Stretch and Folds**: During bulk fermentation, perform stretch-and-folds every 20-30 minutes for the first 2 hours. Wet your hand, grab one side of the dough, stretch it up and fold it over itself. Rotate the bowl and repeat 4 times. This builds strength without kneading.
- **Toppings Matter**: Less is more with sourdough pizza. Use high-quality sauce (about 2-3 tablespoons per pizza), fresh mozzarella, and minimal additional toppings so the crust can shine.
- **Oven Temperature is Key**: A screaming hot oven is essential for proper crust development. If your home oven only goes to 450°F, place a pizza stone on the lowest rack and preheat for at least 45 minutes.
- **Cornmeal vs. Semolina**: Either works, but semolina creates a slightly grittier texture. Use whichever you prefer for the pizza peel.
- **Cold Fermentation Benefits**: The overnight (or longer) cold fermentation in the fridge isn’t just convenient – it actually develops better flavor and makes the dough easier to work with. The cold slows fermentation, allowing complex flavors to develop.
- **Dough Storage**: Shaped dough balls keep in the fridge for up to 5 days. You can also freeze them for up to 3 months – just thaw overnight in the fridge before using.
- **Troubleshooting**: If your dough springs back too quickly when stretching, let it rest for 10-15 minutes and try again. If it’s too sticky, you may need slightly less water next time or a bit more flour.