
There’s something absolutely magical about homemade sourdough pretzels—the chewy interior, the perfectly salted exterior, and that distinctive sourdough tang that makes store-bought versions pale in comparison. This recipe combines the rustic charm of traditional pretzel-making with the complex flavors of sourdough starter, creating a showstopping snack that will impress family and friends.
I’ve been perfecting this sourdough pretzel recipe for years, and I’m thrilled to finally share my secrets with you. The key to achieving those gorgeous mahogany-brown pretzels with that signature pretzel texture lies in three crucial steps: using active sourdough starter, proper fermentation timing, and the traditional baking soda bath that gives pretzels their distinctive chewy crust.
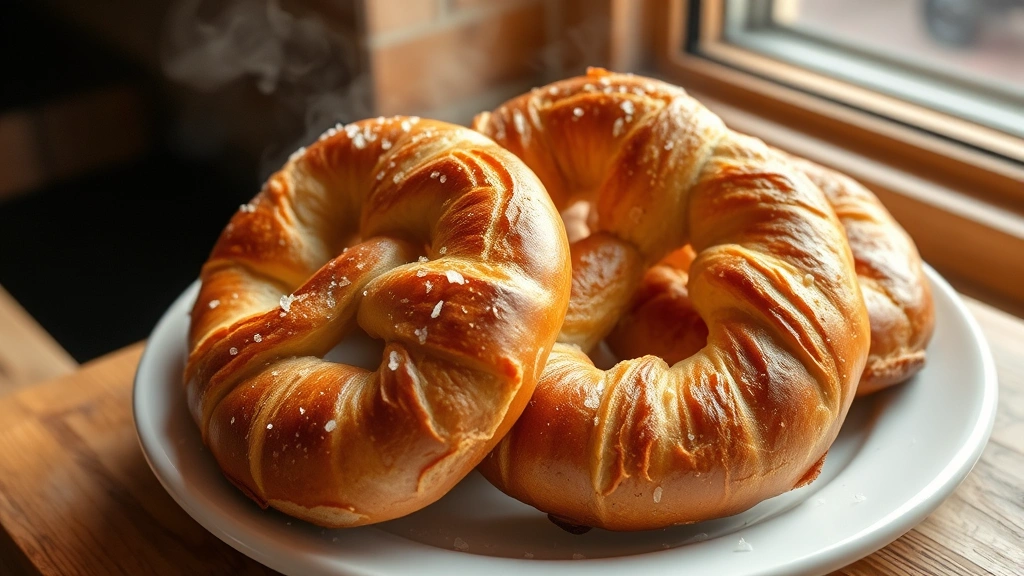
What makes these pretzels special is how the sourdough starter adds incredible depth of flavor while naturally helping with dough structure and texture. Unlike commercial yeast pretzels that need to rise quickly, sourdough pretzels benefit from a slow, cold fermentation that allows the flavor to develop beautifully. The result is a pretzel with genuine complexity—you’ll taste subtle tangy notes alongside the nutty, toasted flavor that comes from proper browning.
I recommend making these for game day parties, as an impressive homemade gift, or simply because you deserve to enjoy pretzels that taste infinitely better than anything you can buy. They’re also surprisingly forgiving once you understand the basic technique. The dough is easy to handle, the shaping is fun and therapeutic, and the baking soda bath is simply a quick dunk that transforms your shaped dough into authentic pretzels.
You’ll want to prepare some delicious dipping sauces to serve alongside these—from classic mustard to creamy alfredo for a gourmet twist. These pretzels are also wonderful served with fresh chickpea salad as part of a charcuterie spread. For more baking inspiration and sourdough techniques, check out Bon Appétit’s sourdough guide and Serious Eats’ sourdough starter tips.
This recipe yields approximately twelve gorgeous pretzels that will disappear faster than you can make them. Trust me on this one—once people taste homemade sourdough pretzels, they’ll be requesting them constantly. The combination of that distinctive sourdough flavor, perfect chewiness, and that satisfying crispy-exterior-meets-soft-interior texture is simply unbeatable.
Ingredients
- 1 cup active sourdough starter, fed 4-6 hours prior
- 1 cup warm water (110°F)
- 3 cups bread flour, plus more for dusting
- 1½ teaspoons fine sea salt
- 1 tablespoon sugar or honey
- 2 tablespoons unsalted butter, softened
- ¼ cup baking soda
- 6 cups water for baking soda bath
- 2 tablespoons coarse sea salt for topping
- 1 egg, beaten (for egg wash)
- Optional: sesame seeds, everything bagel seasoning, or pretzel salt

Instructions
- In a large mixing bowl, combine your active sourdough starter with the warm water, stirring until mostly combined. The starter should be bubbly and at peak activity.
- Add the bread flour, sugar, and fine sea salt to the starter mixture. Mix with a wooden spoon or stand mixer until a shaggy dough forms, making sure all dry flour is incorporated.
- Knead the dough for 8-10 minutes by hand (or 5-6 minutes in a stand mixer with the dough hook) until it becomes smooth, elastic, and slightly tacky. Add the softened butter gradually during kneading, incorporating it completely.
- Shape the dough into a round ball and place it in a lightly oiled bowl. Cover with a damp kitchen towel or plastic wrap and let it rest at room temperature for 1 hour.
- After the initial rise, perform a series of stretches and folds: fold the dough from the top down to the center, rotate the bowl 90 degrees, and repeat four times. This strengthens the dough structure. Cover and let rest for 30 minutes.
- Repeat the stretch and fold process two more times, with 30-minute rests between each set. This develops excellent gluten structure for perfect pretzel texture.
- After the final set of stretches and folds, cover the bowl with plastic wrap and refrigerate for 12-18 hours. This cold fermentation develops the sourdough flavor and makes shaping easier.
- Remove the dough from the refrigerator 30 minutes before shaping to let it warm slightly. Divide the dough into 12 equal pieces by weighing if possible (each piece should be about 80-85 grams).
- Roll each piece into a 16-inch long rope, keeping consistent thickness throughout. If the dough springs back, let it rest for 5 minutes and continue rolling.
- Form each rope into a pretzel shape: create a U-shape, cross the ends over each other, then flip the pretzel over and gently press the ends into the curve of the U. Place shaped pretzels on parchment paper.
- Cover the shaped pretzels with a damp towel and let them proof at room temperature for 1-2 hours until they’re slightly puffed but not overly risen.
- Preheat your oven to 425°F (220°C). Line two baking sheets with parchment paper. Bring 6 cups of water to a boil in a large pot.
- Add the ¼ cup baking soda to the boiling water—it will foam significantly, so use a large pot. Carefully place 2-3 pretzels at a time into the baking soda bath for 30-45 seconds per side, using a slotted spider or skimmer.
- Remove the baked soda-dipped pretzels with a slotted utensil and place them on the prepared baking sheets. Pat dry with a paper towel if they’re too wet.
- Brush each pretzel with the beaten egg wash for a beautiful glossy finish.
- Generously sprinkle coarse sea salt (or your choice of toppings) over each pretzel while the egg wash is still wet.
- Bake for 20-25 minutes until the pretzels are deep golden brown. They should have that characteristic mahogany color that indicates proper pretzel browning.
- Remove from the oven and transfer to a wire cooling rack. Let cool for at least 15 minutes before serving, though they’re wonderful served warm with your favorite dipping sauce.
- Store cooled pretzels in an airtight container at room temperature for up to 3 days, or freeze for up to 3 months. Reheat in a 350°F oven for 5-7 minutes to restore crispness.

Pro Tips
- **About Your Sourdough Starter**: Your starter must be active and bubbly, fed 4-6 hours before making this recipe. It should have doubled in size and smell pleasantly tangy. If your starter isn’t active enough, the pretzels won’t rise properly or develop good flavor.
- **Water Temperature Matters**: Using 110°F water helps activate the starter without killing the beneficial bacteria. Too-hot water can kill the cultures; too-cold water will slow fermentation.
- **Stretch and Fold Technique**: This is crucial for sourdough success. Rather than aggressive kneading, gentle stretches and folds build strength over time and develop better flavor through extended fermentation. Don’t skip this step.
- **Cold Fermentation Benefits**: The 12-18 hour cold fermentation is not optional—it’s essential for flavor development and easier shaping. Plan accordingly and refrigerate overnight for best results.
- **Baking Soda Bath is Essential**: This isn’t just for flavor; it’s what creates that distinctive pretzel crust and chewy texture. The alkaline environment causes a Maillard reaction that produces the characteristic brown color and flavor. Don’t skip or substitute this step.
- **Shaping Consistency**: Try to roll each rope to uniform thickness. Thicker sections will be doughy inside; thinner sections will be too crispy. Consistency creates evenly baked pretzels.
- **Proofing Signs**: Properly proofed pretzels should spring back slowly when poked. If they’re under-proofed, they’ll be dense; if over-proofed, they may collapse during the baking soda bath.
- **Topping Variations**: Try everything bagel seasoning, sesame seeds, caraway seeds, cinnamon sugar, or even everything but the bagel seasoning for creative variations. Apply toppings while egg wash is wet so they stick.
- **Egg Wash Alternative**: If you prefer not to use eggs, brush with water or milk for a matte finish instead of glossy.
- **Dipping Sauces**: Serve with spicy brown mustard, whole grain mustard, cheese sauce, beer cheese dip, or New York Times’ creative pretzel dips.
- **Freezing Instructions**: Freeze baked pretzels in a single layer on a sheet, then transfer to freezer bags. Thaw at room temperature before reheating.
- **Troubleshooting Dense Pretzels**: This usually indicates under-fermentation. Ensure your starter is truly active and give adequate time for rises and folds.
- **Troubleshooting Flat Pretzels**: Over-fermentation is the culprit. Reduce proofing time or use a slightly cooler room temperature during the final proof.