
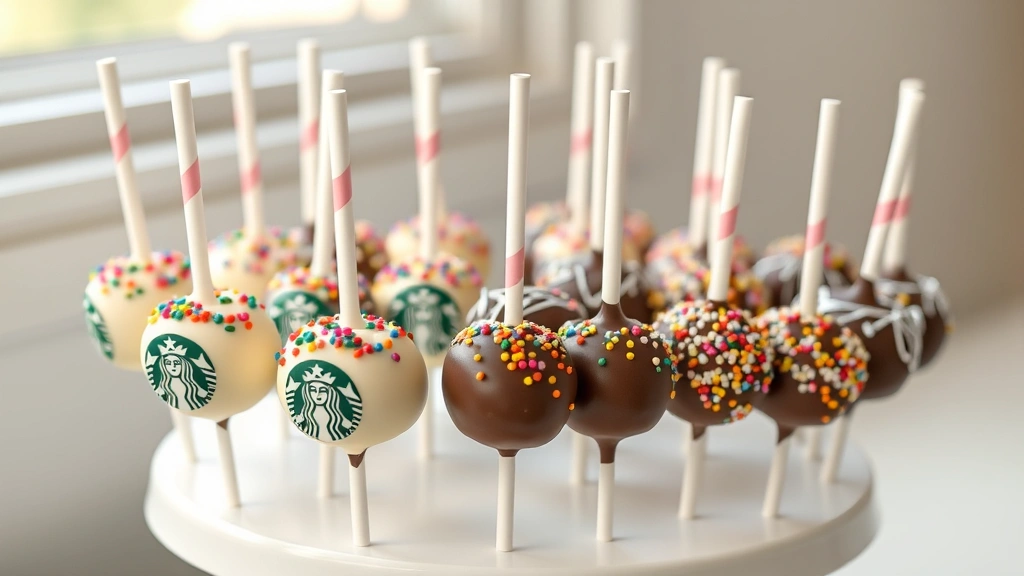
There’s something absolutely magical about biting into a warm Starbucks cake pop fresh from the oven – that perfect combination of moist cake, creamy frosting, and smooth chocolate coating is simply irresistible. The best part? You can recreate these beloved treats right in your own kitchen with this foolproof recipe! Making homemade cake pops is easier than you might think, and they’re perfect for parties, gifts, or just satisfying a sweet craving.
I’ve been making these for years, and I can confidently say that this recipe captures that authentic Starbucks flavor we all know and love. The secret lies in using quality ingredients and taking your time with the coating process. Whether you’re a baking novice or a seasoned pro, you’ll find this recipe straightforward and incredibly rewarding.
Cake pops are essentially crumbled cake mixed with frosting, shaped into balls, and dipped in chocolate. Sounds simple, right? That’s because it is! The beauty of this recipe is its versatility – you can use any flavor cake you prefer, from classic vanilla to decadent chocolate, or even funfetti if you’re feeling festive. For this tutorial, I’m sharing my favorite vanilla cake pop recipe with a vanilla frosting base, which pairs beautifully with the white or dark chocolate coating.
What makes these different from regular cake is the addition of frosting to the crumbled cake mixture, which creates that signature moist, fudgy texture that makes Starbucks cake pops so addictive. The frosting acts as a binding agent while also adding richness and flavor. You’ll also want to chill your mixture thoroughly before shaping – this step is absolutely crucial for achieving those perfectly round, professional-looking pops.
One of my favorite things about making cake pops at home is the opportunity to customize them completely. You can add sprinkles, drizzles, or crushed cookies to the chocolate coating. You can even make multiple flavors in one batch for a beautiful dessert display. I love making a batch for celebrations, and honestly, they disappear faster than I can make them!
For the chocolate coating, investing in quality melting chocolate or candy melts makes a huge difference. They have a lower melting point than regular chocolate and create that smooth, snappy coating you get from Starbucks. If your coating seems too thick, a little coconut oil or shortening will thin it out perfectly without affecting the flavor.
These cake pops store beautifully in an airtight container in the refrigerator for up to five days, making them perfect for meal prep or advance party planning. You can also freeze them for up to three weeks if you want to make them well ahead of time. Simply thaw them at room temperature before serving.
If you’re looking for more delicious homemade versions of your favorite treats, check out our Best Heavy Cream Alfredo Sauce Recipe for savory inspiration, or explore our Delicious Heavy Cream Pasta Recipe for elegant dinner ideas.
Let’s dive into this step-by-step guide to making the best Starbucks cake pop recipe at home. I promise you’ll be amazed at how professional these look and taste!
Ingredients
- 1 3/4 cups all-purpose flour
- 1 1/2 teaspoons baking powder
- 1/2 teaspoon salt
- 1/2 cup unsalted butter, softened
- 1 cup granulated sugar
- 2 large eggs
- 1 teaspoon vanilla extract
- 1/2 cup whole milk
- 1/2 cup unsalted butter, softened (for frosting)
- 2 cups powdered sugar
- 2 tablespoons heavy cream
- 1 teaspoon vanilla extract (for frosting)
- 16 oz white or dark chocolate candy melts or melting chocolate
- 2 tablespoons coconut oil or shortening
- 24 cake pop sticks
- Optional toppings: sprinkles, crushed cookies, or edible pearls
Instructions
- Preheat your oven to 350°F (175°C). Grease and flour a 9-inch round cake pan, or line it with parchment paper for easy removal.
- In a medium mixing bowl, whisk together the flour, baking powder, and salt. Set this dry mixture aside.
- In a large mixing bowl, cream together the softened butter and granulated sugar using an electric mixer on medium speed for about 2-3 minutes, until the mixture is light and fluffy.
- Add the eggs one at a time to the butter mixture, beating well after each addition. This ensures proper incorporation and creates a lighter cake.
- Stir in the vanilla extract, mixing until just combined.
- Alternate adding the dry flour mixture and the milk to the butter mixture, beginning and ending with the dry ingredients. Mix on low speed until just combined – don’t overmix, as this can result in a dense cake.
- Pour the batter into your prepared cake pan and smooth the top with a spatula.
- Bake for 22-25 minutes, or until a toothpick inserted into the center comes out clean or with just a few moist crumbs.
- Remove the cake from the oven and let it cool in the pan for 10 minutes, then turn it out onto a wire rack to cool completely. This step is important – warm cake will be too crumbly.
- Once the cake is completely cooled, crumble it into fine crumbs using your hands or a food processor. You should have about 2 cups of crumbled cake.
- In a clean mixing bowl, beat the softened butter for frosting until smooth and creamy, about 1 minute.
- Gradually add the powdered sugar to the butter, beating on low speed until combined. Add the heavy cream and vanilla extract, then beat on medium speed until light and fluffy, about 2 minutes.
- Add the crumbled cake to the frosting mixture and stir until well combined. The mixture should hold together when squeezed but still be slightly crumbly – not too wet.
- Scoop the cake mixture into balls using a 1-inch cookie scoop or small spoon, and place them on a parchment-lined baking sheet.
- Refrigerate the cake balls for at least 2 hours, or until they’re firm enough to hold their shape when pierced with a stick.
- Place the chocolate candy melts and coconut oil in a microwave-safe bowl. Microwave in 30-second intervals, stirring between each interval, until completely melted and smooth. The mixture should be thin enough to coat the cake balls easily.
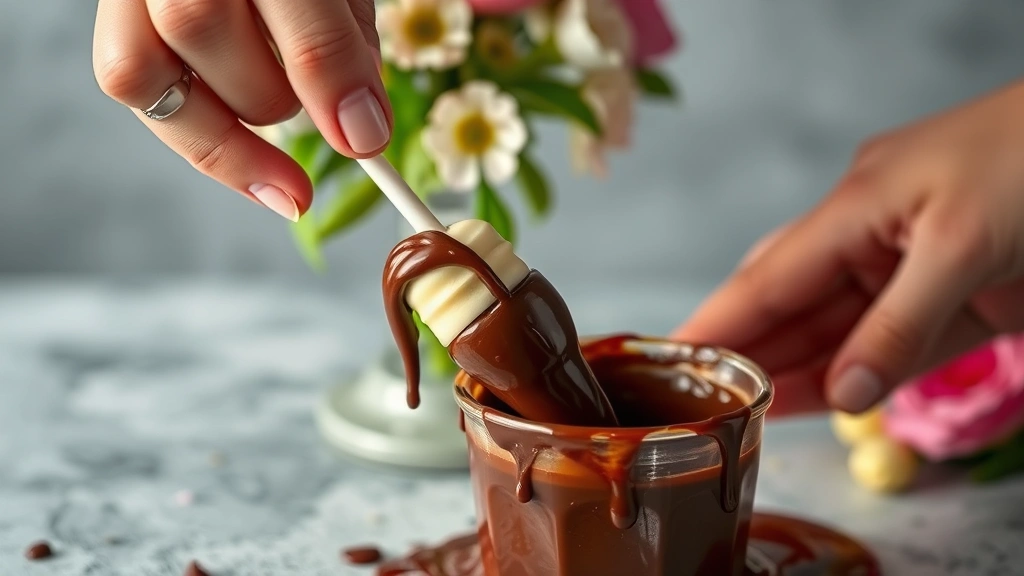
- Dip a cake pop stick about halfway into the melted chocolate, then insert it into one of the chilled cake balls, twisting gently to secure it.
- Dip the entire cake ball into the chocolate coating, allowing excess chocolate to drip off before turning it upright in a cake pop stand or in a block of floral foam.
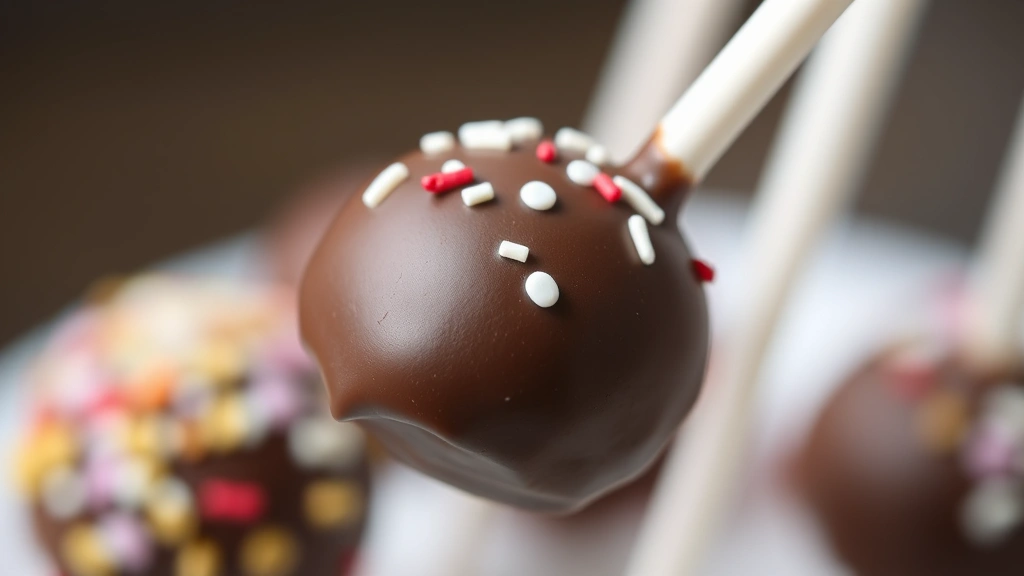
- If desired, add sprinkles or other toppings immediately after dipping, while the chocolate is still wet.
- Repeat the dipping process with the remaining cake balls, working quickly so the chocolate coating stays smooth and pliable.
- Allow the chocolate coating to set completely at room temperature for about 30 minutes, or refrigerate for 15 minutes for faster setting.
- Store the finished cake pops in an airtight container in the refrigerator for up to 5 days, or freeze for up to 3 weeks.
Pro Tips
- The key to perfect cake pops is patience – don’t skip the chilling step, as it makes shaping and dipping significantly easier and results in better-looking pops
- If your melted chocolate is too thick and doesn’t coat smoothly, add a bit more coconut oil or shortening by the teaspoon until you reach the right consistency
- For easier dipping, use a cake pop stand or create one by poking holes in a block of floral foam to hold the pops upright while they set
- You can make these with any flavor cake you prefer – try chocolate cake with chocolate frosting, or lemon cake with cream cheese frosting for variety
- If you don’t have a cake pop stick, you can serve these without sticks by placing them in small paper cups or on a dessert platter
- Room temperature chocolate coating works better than cold coating, as it creates a smoother, more professional-looking finish
- For extra special cake pops, try using colored candy melts or adding flavoring to your chocolate coating – peppermint extract or espresso powder are delicious options
- These make excellent gifts when packaged in clear cellophane bags tied with ribbon or placed in decorative boxes
- You can prepare the cake and frosting up to two days in advance, then assemble and coat the pops when ready
- If a cake pop falls off the stick while dipping, simply redip the stick in chocolate and reinsert it into the same spot, then dip again
- For a faster version, use a boxed cake mix and store-bought frosting – the homemade coating and assembly is what makes them special