
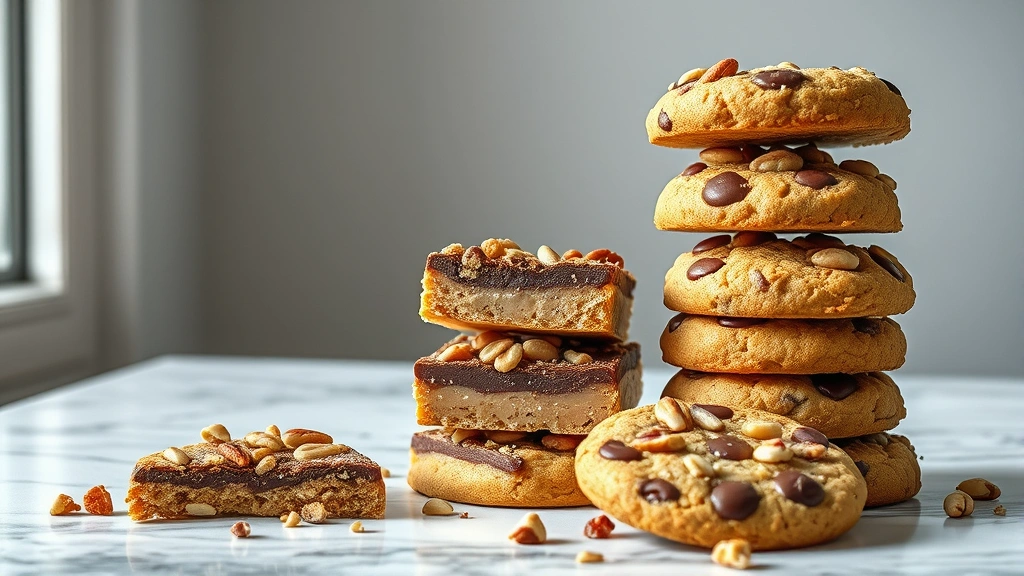
There’s something absolutely magical about a homemade bar cookie – that perfect combination of a buttery, crumbly base, a luscious middle layer, and a delicate top that creates the most irresistible treat. Whether you’re baking for a special occasion, a potluck, or simply because you deserve something delicious, these Tasty Bar Cookies are guaranteed to become your go-to recipe. I’ve been making these for years, and they never fail to impress. The beauty of bar cookies is that they’re so much easier than traditional cookies – no scooping individual portions, no waiting for multiple batches to bake. Just mix, press, bake, and slice!
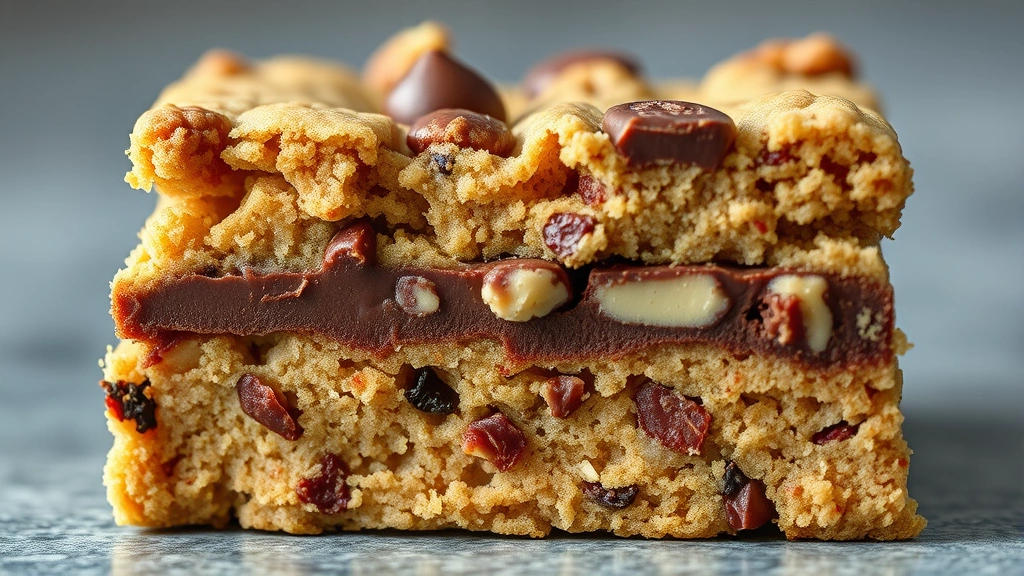
What makes these bar cookies truly the BEST is the perfect ratio of ingredients that creates layers of flavor and texture. The base is wonderfully buttery and dense, providing the ideal foundation. The middle layer is where the magic happens – it’s rich, gooey, and absolutely decadent. And the top? It’s perfectly crispy on the outside while remaining slightly chewy on the inside. This recipe has been tested countless times to ensure you get consistently perfect results every single time.
If you’re looking to expand your baking repertoire, you might also enjoy making classic dessert sauces to drizzle over your finished cookies, or explore other beloved treats. For those who enjoy layered desserts, check out our guide on building complementary flavors.
These bar cookies are perfect for feeding a crowd, and they store beautifully for several days. The recipe is also incredibly forgiving – even if you’re a beginner baker, you’ll find success here. I love that you can customize these with different mix-ins and toppings to suit your preferences. Some of my favorite variations include adding chocolate chips, nuts, coconut, or even a sprinkle of sea salt on top.
For more inspiration on creating delicious homemade treats, be sure to check out Bon Appétit’s dessert collection and Serious Eats’ baking guides. You’ll find countless ideas for variations and techniques to elevate your baking game. Additionally, The New York Times Cooking section offers expert tips on perfecting your bar cookie technique.
One of the things I love most about this recipe is how customizable it is. You can make these your own by experimenting with different flavors and additions. Whether you prefer classic combinations or want to try something more adventurous, these bar cookies are the perfect canvas for your creativity. The key to success is following the measurements carefully for the base and topping, as these provide the structure for your cookies.
I highly recommend making a double batch of these – they disappear quickly! Whether you’re serving them at a dinner party, packing them in lunch boxes, or simply enjoying them with a cup of coffee, these Tasty Bar Cookies are sure to become a family favorite. The recipe is straightforward enough for beginners but impressive enough to serve to guests. Once you master this basic recipe, you’ll find yourself making it again and again.
For additional inspiration on creating memorable desserts, explore our collection of complementary recipes that pair beautifully with bar cookies. You might also enjoy discovering other crowd-pleasing treats for your entertaining needs.
Ingredients
- 2 cups all-purpose flour
- 1 cup granulated sugar
- 1 cup unsalted butter, softened
- 1/2 teaspoon salt
- 1 teaspoon vanilla extract
- 1 (14-ounce) can sweetened condensed milk
- 2 cups semi-sweet chocolate chips
- 1 cup chopped pecans or walnuts
- 1/2 teaspoon sea salt for topping (optional)
Instructions
- Preheat your oven to 350°F (175°C). Line a 9×13 inch baking pan with parchment paper, leaving some overhang on the sides for easy removal. This will make it much simpler to lift the entire bar out of the pan for cutting.
- In a large mixing bowl, combine the softened butter and granulated sugar. Using an electric mixer on medium speed, beat these together for 2-3 minutes until the mixture is light and fluffy. This creaming process is crucial for achieving the right texture in your base layer.
- Add the vanilla extract to the butter and sugar mixture, mixing until well combined. The vanilla will add a subtle warmth to the base that complements all the other flavors beautifully.
- In a separate bowl, whisk together the all-purpose flour and salt. Gradually add this dry mixture to the wet ingredients, mixing on low speed until just combined. Be careful not to overmix, as this can make the base tough rather than tender and crumbly.
- Press this mixture firmly into the prepared baking pan, creating an even layer across the bottom. Use the bottom of a measuring cup or your hands to press it down evenly. This base layer should be about 1/4 inch thick.
- Bake the base layer for 10-12 minutes, until it’s light golden brown. Remove from the oven and let it cool slightly while you prepare the topping layers.
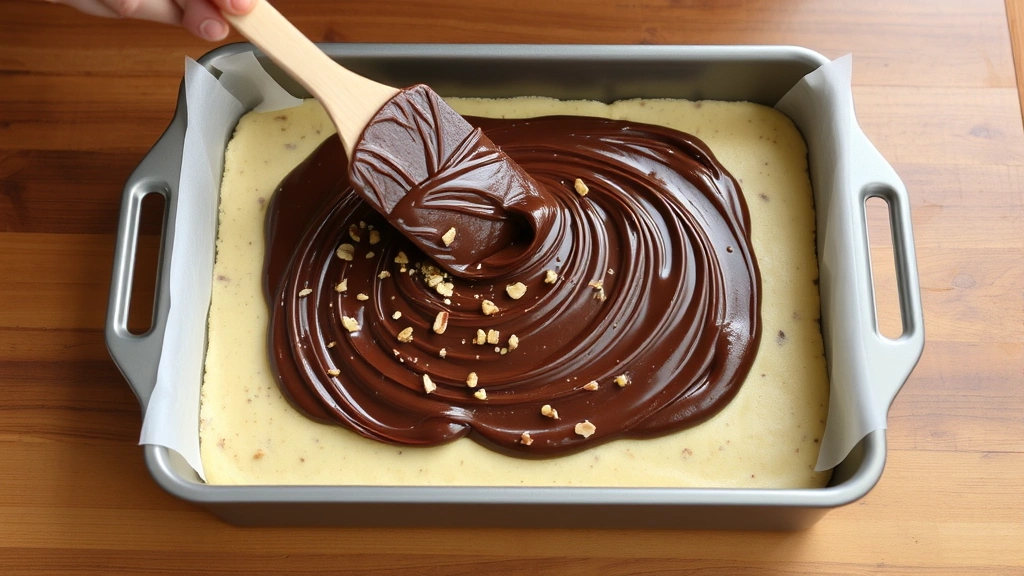
- In a medium saucepan over low heat, combine the sweetened condensed milk and chocolate chips. Stir constantly until the chocolate is completely melted and the mixture is smooth and well combined. This typically takes about 3-4 minutes.
- Remove the chocolate mixture from heat and fold in the chopped nuts until evenly distributed throughout. If desired, you can reserve some nuts to sprinkle on top for extra texture and visual appeal.
- Pour the chocolate-nut mixture over the baked base layer, spreading it evenly with a spatula. Make sure to reach all the corners and edges for consistent flavor in every bite.
- Sprinkle the optional sea salt over the top if using – this adds a wonderful contrast to the sweetness and brings out the chocolate flavor even more.
- Bake for 20-25 minutes more, until the top is set but still slightly soft to the touch. The edges should look slightly firm while the center might have just a tiny bit of jiggle – this is perfect, as it will set up as the bars cool.
- Remove from the oven and let the bars cool in the pan for at least 1 hour before attempting to cut them. This cooling time is essential for clean cuts and proper setting of the layers.
- Once cooled, use the parchment paper overhang to carefully lift the entire block out of the pan. Place it on a cutting board and cut into 24 equal squares using a sharp knife. For cleaner cuts, wipe your knife between each cut or dip it in hot water.
- Store the finished bar cookies in an airtight container at room temperature for up to 5 days, or refrigerate for up to 2 weeks. You can also freeze them for up to 3 months if you’d like to make ahead for later.
Pro Tips
- These bar cookies are incredibly forgiving and perfect for beginner bakers. The recipe comes together quickly and requires minimal special equipment – just a mixing bowl, measuring cups, and a baking pan.
- For the best results, make sure all your ingredients are at room temperature before starting. This helps everything mix together smoothly and creates a more uniform texture throughout.
- Feel free to customize the nuts based on your preferences – walnuts, pecans, almonds, or even a mixture work beautifully. You can also omit the nuts entirely if you have allergies or preferences.
- If you prefer a thicker base layer, you can make it with a slightly thicker press into the pan. Just keep in mind that this may require an additional 2-3 minutes of initial baking time.
- For a more decadent version, try adding 1/2 cup of caramel bits or a drizzle of caramel sauce on top of the chocolate layer before baking.
- These bars can be made dairy-free by using coconut oil instead of butter and dairy-free chocolate chips. The texture will be slightly different but still delicious.
- For extra richness, you can add a layer of peanut butter or almond butter between the base and chocolate layers – simply spread it evenly over the cooled base before adding the chocolate mixture.
- The sea salt on top is optional but highly recommended. It creates a wonderful sweet-and-salty contrast that really elevates the entire dessert.
- If you’re making these for a special event, you can wrap individual bars in parchment paper and tie them with twine for a beautiful presentation.
- These bars are perfect for portion control since they’re already pre-cut, making them ideal for lunchboxes, office parties, or bake sales.