
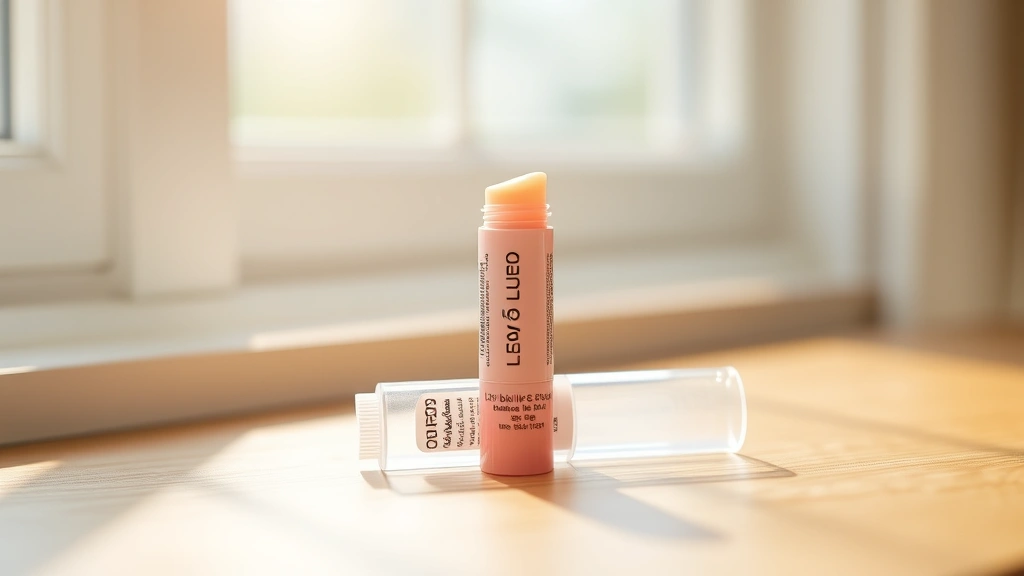
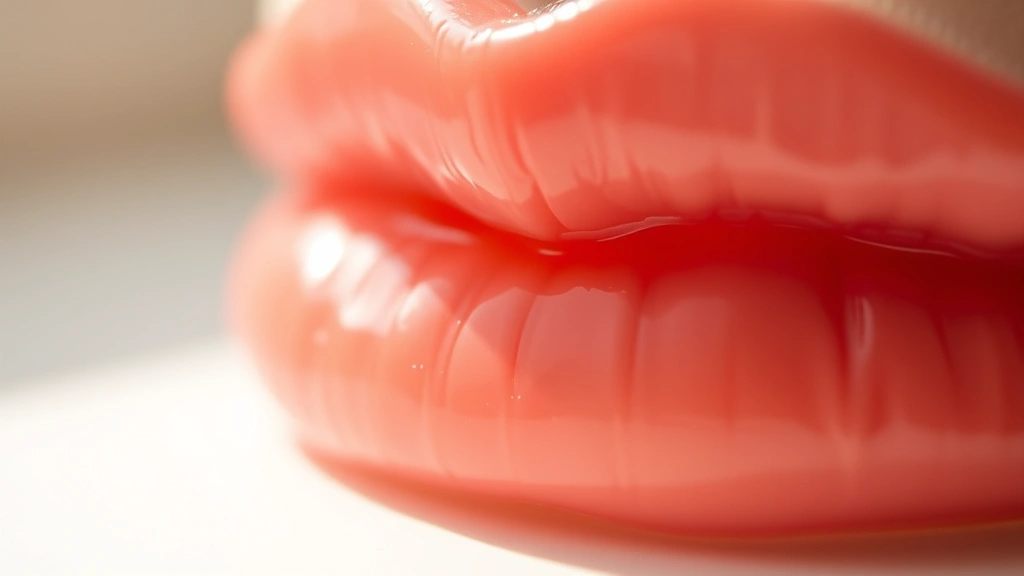
Making homemade lip balm is easier than you think, and the results are absolutely luxurious! This foolproof recipe creates a silky-smooth, nourishing lip balm that rivals any high-end beauty product. The beauty of this DIY lip balm is that you control every single ingredient, meaning no mystery chemicals or artificial flavors—just pure, natural goodness for your lips.
I’ve been making this lip balm recipe for years, and it never fails to impress. Whether you’re looking to pamper yourself or create thoughtful handmade gifts for friends and family, this tutorial will walk you through every step. The combination of beeswax, coconut oil, and shea butter creates the perfect texture—not too waxy, not too oily, but absolutely divine.
What I love most about this recipe is its versatility. Once you master the basic formula, you can customize it with different essential oils, natural colorants, or even add a hint of honey for extra moisture. The process takes less than fifteen minutes from start to finish, and you’ll end up with multiple lip balms that cost just pennies per tube.
Before you start, gather your ingredients and make sure your workspace is clean and organized. Having everything prepped and ready makes the process smooth and enjoyable. I recommend making a batch of at least four to six lip balms at once—they store beautifully for months, and you’ll want extras on hand. Check out our guide on DIY beauty basics for more natural skincare projects, and don’t miss our essential oils guide for scent inspiration.
For more inspiration on natural lip care, visit Bon Appétit’s lip balm recommendations and Serious Eats’ DIY beauty section. You might also enjoy exploring homemade gift ideas for creative packaging inspiration and New York Times’ lip care guide.
Ingredients
- 2 tablespoons pure beeswax pellets or grated beeswax
- 2 tablespoons unrefined coconut oil
- 2 tablespoons shea butter, raw or refined
- 1 tablespoon sweet almond oil
- ½ teaspoon vitamin E oil
- 3-4 drops essential oil of choice (peppermint, lavender, or vanilla)
- 2-3 drops natural food coloring (optional, for tinted lip balm)
- Pinch of mica powder (optional, for shimmer)
Instructions
- Gather all your materials: small glass bowls, lip balm tubes or tins, a small pot or skillet for creating a double boiler, a thermometer, a small whisk or spoon for stirring, measuring spoons, and paper towels for cleanup.
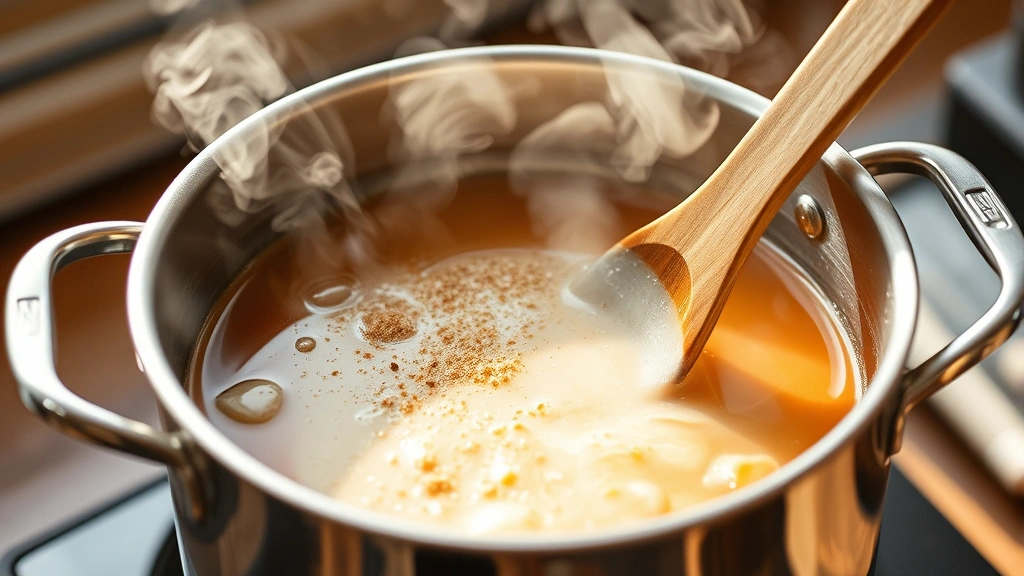
- Fill a small pot with about 2 inches of water and place it on the stove over medium heat. This will serve as the bottom of your double boiler setup.
- Place a heat-safe glass bowl on top of the pot, making sure the bottom of the bowl doesn’t touch the water. This is your double boiler—it allows gentle, even heating without scorching your ingredients.
- Add the beeswax pellets to the glass bowl and allow them to melt slowly, stirring occasionally with a small spoon, about 2-3 minutes.
- Once the beeswax is completely melted and reaches about 170°F, add the coconut oil and shea butter to the melted beeswax, stirring gently until everything is combined.
- Continue heating until all ingredients are fully melted and combined, reaching a temperature of approximately 175-180°F. This ensures everything is properly incorporated.
- Remove the bowl from heat and let the mixture cool for about 1 minute, then add the sweet almond oil and vitamin E oil, stirring well.
- Wait another 30 seconds, then add your chosen essential oil drops, stirring thoroughly to distribute the scent evenly throughout the mixture.
- If you’re adding natural food coloring or mica powder for shimmer, add it now and stir vigorously to ensure even color distribution. Mica powder creates a beautiful, subtle shimmer without the artificial appearance.
- Working quickly before the mixture hardens, carefully pour the warm lip balm mixture into your prepared lip balm tubes or tins, filling them about three-quarters full.
- Set the filled tubes or tins on a flat surface at room temperature and allow them to cool completely, about 30-45 minutes. Do not move them while they’re setting.
- Once fully cooled and solidified, seal the tubes or tins with their caps or lids.
- Label each lip balm with the date, ingredients, and any special notes about scent or customization.
- Store your homemade lip balms in a cool, dry place away from direct sunlight. They’ll keep for 6-12 months, though they’re so good they rarely last that long!
Pro Tips
- This recipe yields beautifully smooth, professional-quality lip balm that rivals expensive store-bought versions at a fraction of the cost—each lip balm costs approximately 50-75 cents to make.
- Beeswax is essential for creating the right texture; it’s what gives lip balm its signature firm consistency that doesn’t melt immediately on your lips. Never skip this ingredient or substitute it with paraffin wax, which provides no nourishment.
- The combination of coconut oil, shea butter, and sweet almond oil creates a deeply hydrating base that soothes dry, cracked lips while providing natural moisture retention.
- Vitamin E oil is a powerful antioxidant that protects your lips from environmental damage and free radicals while extending the shelf life of your lip balm.
- Temperature control is crucial—if your mixture gets too hot (above 185°F), it can affect the texture and cause separation. If it cools too much before pouring, gently reheat it.
- Essential oil selection is completely customizable: peppermint provides a cooling, refreshing sensation; lavender offers calming aromatherapy benefits; vanilla creates a sweet, comforting scent; and eucalyptus provides an invigorating flavor.
- For tinted lip balm, natural food coloring works beautifully—try beet juice powder for pink tones, cocoa powder for warm browns, or activated charcoal for subtle gray undertones.
- If you’re gifting these lip balms, package them in cute tins or tubes and create custom labels with the ingredients and date made—they make absolutely delightful homemade gifts for friends, coworkers, or family members.
- This recipe can be scaled up easily if you want to make larger batches. Simply multiply all ingredients by the number of batches you want to create.
- Store-bought lip balms often contain petroleum derivatives, synthetic fragrances, and mystery ingredients—this homemade version gives you complete control over what touches your lips.
- If your lip balm becomes too soft in warm weather, add an extra ½ tablespoon of beeswax to the next batch. If it’s too hard, reduce the beeswax by ½ tablespoon.
- Always use a double boiler method—never melt beeswax directly in a pot over heat, as it can scorch and lose its beneficial properties.