
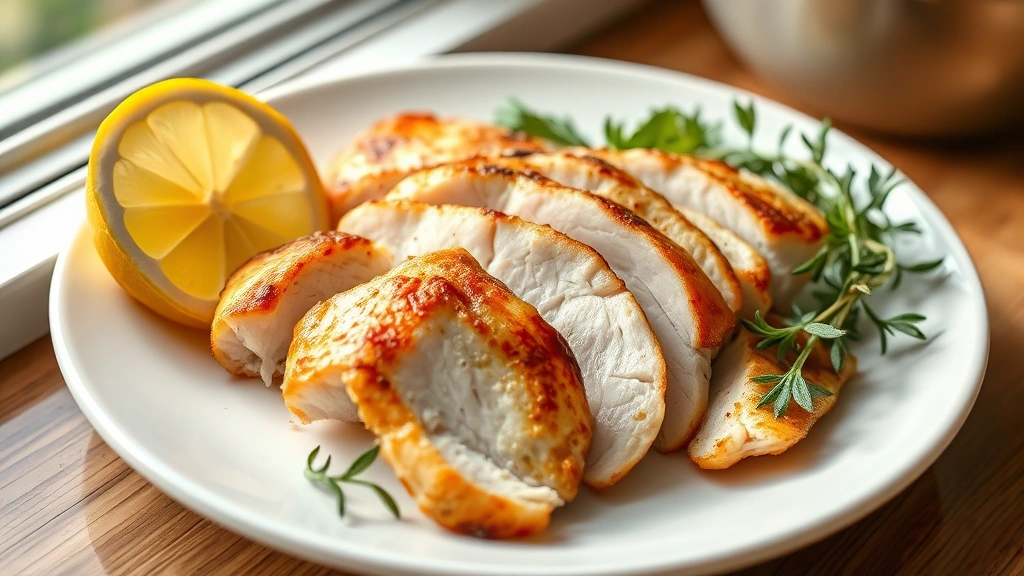
There’s nothing quite like perfectly cooked thin sliced chicken breast – it’s tender, juicy, and absolutely delicious! This is hands down my favorite way to prepare chicken, and I’m thrilled to share all my secrets with you today. Whether you’re looking for a quick weeknight dinner or an impressive meal to serve guests, thin sliced chicken breast is truly the MVP of the kitchen.
The key to achieving restaurant-quality results at home is understanding the proper technique for slicing, seasoning, and cooking your chicken. When you slice chicken breast thin, it cooks faster and more evenly, which means you get that perfect golden exterior while keeping the inside incredibly moist and tender. I’ve been making this recipe for years, and it never fails to impress!
This method works beautifully for so many applications – you can serve it alongside your favorite sides, use it in salads, pile it into sandwiches, or pair it with one of my Perfect Pesto Cream Sauce Recipe for an elevated dinner. The versatility is truly endless, which is why this has become a staple in my kitchen.
I love to prepare a big batch of thin sliced chicken breast at the beginning of the week for meal prep. It stores beautifully in the refrigerator and can be used in so many different ways throughout the week. Pair it with different sauces and sides to create completely different meals from the same base ingredient!
One of my favorite things about this recipe is how customizable it is. You can season it however you like – keep it simple with just salt and pepper, or go bold with your favorite spice blends. I often make a big batch plain, then portion it out and use it with different flavor profiles depending on what I’m in the mood for that day.
The technique I’m sharing with you today is foolproof and will guarantee perfectly cooked chicken every single time. No more dry, overcooked chicken – just beautiful, tender slices that are packed with flavor. Once you master this method, you’ll find yourself making it again and again. It’s become such a trusted recipe in my kitchen, and I know it will become one in yours too!
For an elegant presentation, try serving your thin sliced chicken breast with a fresh salad and a homemade dressing. My Best Caesar Dressing Recipe pairs beautifully, or if you’re looking for something lighter, check out my Best Broccoli Slaw Dressing Recipe for a fresh, crisp accompaniment.
If you’re entertaining, thin sliced chicken breast makes an excellent appetizer option when served on crostini or with dipping sauces. Check out my Best Appetizer Recipe for Any Occasion for more serving ideas that work beautifully with this protein.
For more inspiration on how to use your cooked chicken, explore my Best Party Dip Recipe – shredded thin sliced chicken is perfect for creating creamy, delicious dips that your guests will absolutely love.
Let me walk you through this technique step by step so you can create the most amazing thin sliced chicken breast at home. I promise this will become your go-to method!
Ingredients
- 2 boneless, skinless chicken breasts (about 1.5 pounds total)
- 1 teaspoon kosher salt
- 1/2 teaspoon freshly ground black pepper
- 1/2 teaspoon garlic powder
- 1/2 teaspoon onion powder
- 1/4 teaspoon paprika
- 2 tablespoons olive oil
- 2 tablespoons butter
- Optional: fresh lemon juice, fresh herbs like thyme or rosemary
Instructions
- Remove your chicken breasts from the refrigerator and let them sit at room temperature for about 5 minutes to ensure even cooking throughout.
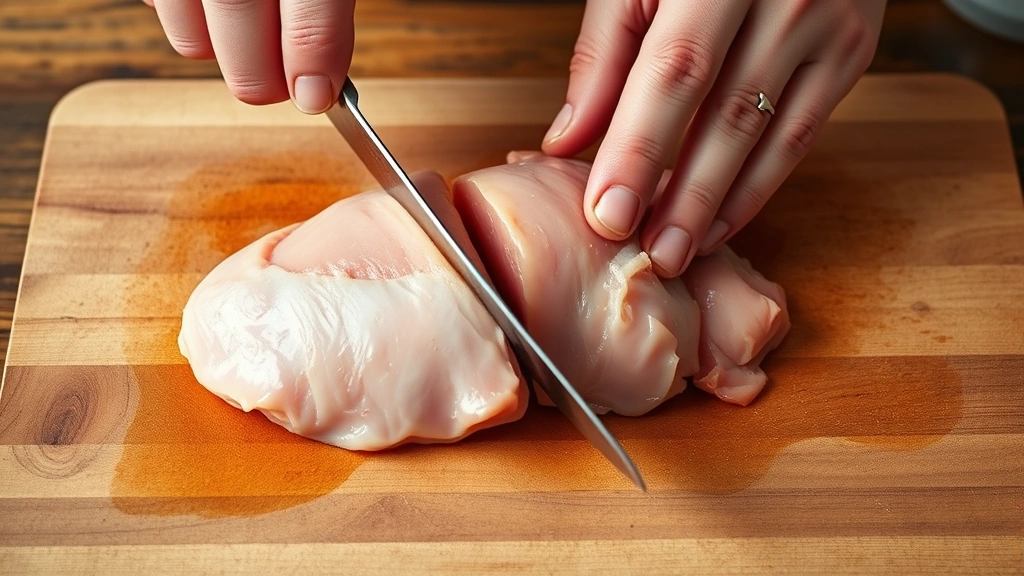
- Place each chicken breast on a cutting board and gently place your hand on top, then carefully slice horizontally through the thickest part of each breast to create two thinner pieces, creating an even thickness of about 1/2 inch.
- Alternatively, if you prefer, you can use a meat mallet to gently pound the chicken between plastic wrap until it reaches an even thickness of about 1/2 inch all over.
- Pat the chicken breasts dry with paper towels – this is crucial for achieving a beautiful golden crust and preventing sticking in the pan.
- In a small bowl, combine the kosher salt, black pepper, garlic powder, onion powder, and paprika, then generously season both sides of each chicken breast with this mixture.
- Heat a large skillet (preferably stainless steel or cast iron) over medium-high heat for about 2 minutes until it’s hot but not smoking.
- Add the olive oil to the pan and let it heat for about 30 seconds until it shimmers and moves easily around the pan.
- Carefully place the chicken breasts in the hot pan, making sure not to overcrowd – they should have space between them for proper browning.
- Let the chicken cook undisturbed for about 4-5 minutes without moving it, resisting the urge to peek or flip too early – this allows the beautiful golden crust to develop.
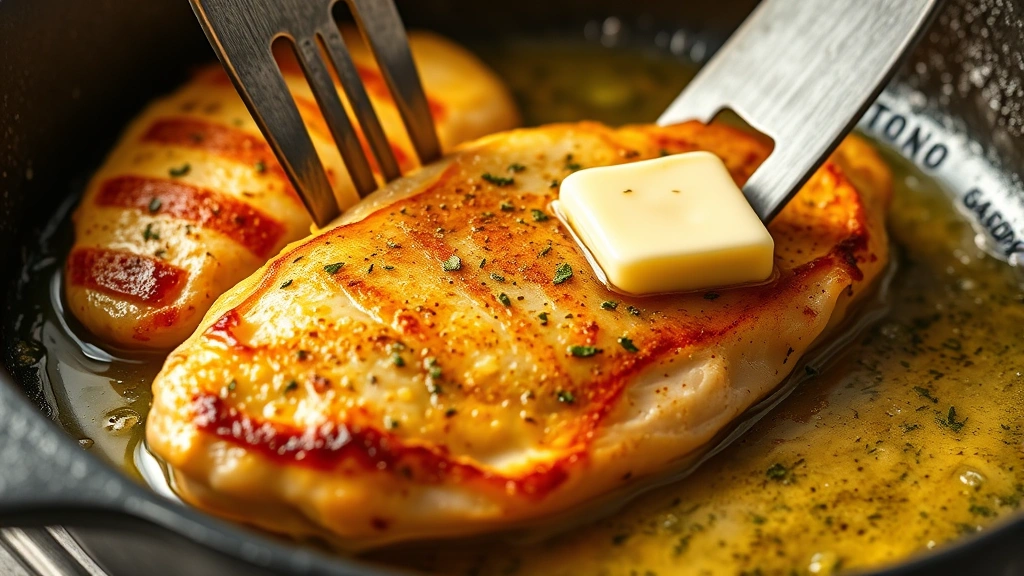
- Flip the chicken breasts over gently and add the butter to the pan, letting it melt and coat the chicken.
- Cook for another 3-5 minutes on the second side until the chicken is golden brown and cooked through – the internal temperature should reach 165°F when checked with a meat thermometer.
- If using fresh herbs or lemon juice, add them now and let the chicken cook for another 30 seconds to infuse the flavors.
- Transfer the cooked chicken to a clean plate and let it rest for about 2-3 minutes before serving – this allows the juices to redistribute throughout the meat.
- If desired, spoon any pan juices and browned bits (called fond) over the chicken for extra flavor and moisture.
Pro Tips
THICKNESS MATTERS: Aim for consistent thickness of about 1/2 inch throughout each piece. This ensures that all the chicken cooks at the same rate, eliminating dry edges and undercooked centers. Use your hand as a guide and adjust as needed.
DRYING THE CHICKEN: Moisture is the enemy of a good crust, so don’t skip the paper towel step. Pat the chicken thoroughly until completely dry before seasoning and cooking.
SEASONING STRATEGY: Season generously but thoughtfully. The salt draws moisture to the surface initially, but this actually helps create a better crust when the chicken hits the hot pan. Don’t be shy with seasoning – thin sliced chicken needs it!
PAN SELECTION: A stainless steel or cast iron skillet works best for this recipe because they retain heat better than non-stick pans and develop that beautiful golden crust. If using non-stick, reduce the heat slightly to prevent the coating from degrading.
OIL AND BUTTER COMBO: Using both olive oil and butter gives you the best of both worlds – the olive oil has a higher smoke point for initial cooking, while the butter adds incredible flavor and helps achieve a golden crust.
DON’T OVERCROWD: Cooking only two chicken pieces at a time ensures proper browning and cooking. Overcrowding the pan causes the temperature to drop and results in steaming rather than searing.
REST PERIOD: This step is absolutely critical! Resting allows carryover cooking to finish the job and lets the juices redistribute, keeping the chicken moist and tender.
FLAVOR VARIATIONS: Experiment with different seasonings like Italian herbs, Cajun spices, or Greek seasoning. You can also marinate the chicken for 30 minutes before cooking for added flavor depth.
STORAGE: Cooked chicken keeps in an airtight container in the refrigerator for up to 4 days, making it perfect for meal prep. You can also freeze for up to 3 months.