
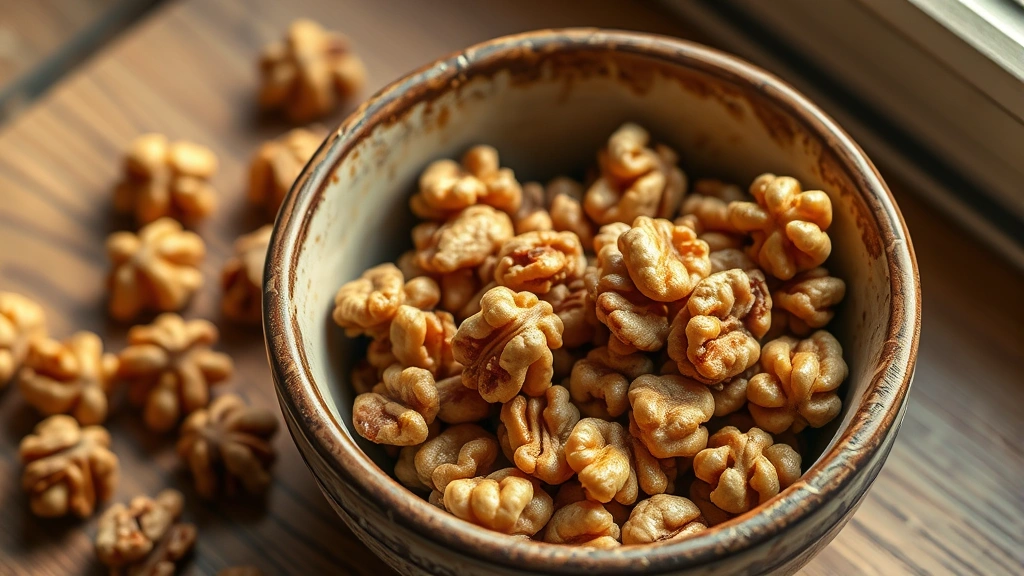
There’s nothing quite like the aroma of toasted walnuts filling your kitchen – it’s pure magic! This simple yet transformative recipe will teach you how to achieve perfectly golden, crispy walnuts with maximum flavor. Whether you’re looking to add them to salads, pasta dishes, or enjoy them as a snack, mastering the art of toasting walnuts is an absolute game-changer in the kitchen.
Toasted walnuts are incredibly versatile and can elevate so many dishes. I love tossing them into my Best Chickpea Salad Recipe for extra crunch and nutrition, or sprinkling them over pasta dishes like my Best Heavy Cream Alfredo Sauce Recipe. The key to perfect toasted walnuts is understanding the difference between oven-toasting and stovetop-toasting, and knowing exactly when they’ve reached that golden-brown perfection without burning.
What makes toasted walnuts so special is how the heat brings out their natural oils and deepens their flavor profile. Raw walnuts can taste a bit bitter and flat, but when properly toasted, they develop a rich, buttery, almost nutty complexity that’s simply irresistible. The toasting process also improves their digestibility and makes their nutrients more bioavailable. I’ve been toasting walnuts for years now, and I can tell you that this simple technique has completely transformed how I cook and bake.
The beauty of this recipe is its simplicity – you really only need walnuts and perhaps a pinch of salt if you’re feeling fancy. However, I’ll walk you through both the oven method and the stovetop method, so you can choose whichever works best for your kitchen situation. Some days I’m in a hurry and use the stovetop method, while other times when I’m preparing for entertaining, I use the oven for more even toasting. Either way, you’ll end up with absolutely delicious toasted walnuts that will make you wonder why you ever used raw ones before.
I also love adding toasted walnuts to my Delicious Heavy Cream Pasta Recipe for added texture and nutrition. They pair beautifully with both sweet and savory applications, making them one of the most versatile ingredients in your pantry. Keep reading for my complete guide to toasting walnuts to perfection, including pro tips and storage advice that’ll keep them fresh and delicious for weeks!
For more inspiration on how to use your toasted walnuts, check out my Easy Chicken Alfredo Recipe which features them as a delightful garnish. You can also incorporate them into pickled red onion salads for a wonderful contrast of flavors and textures. Now let’s get those walnuts toasted!
Ingredients
- 2 cups raw walnut halves or pieces
- 1/4 teaspoon sea salt (optional)
- 1/4 teaspoon cinnamon (optional, for sweet applications)
- Pinch of cayenne pepper (optional, for savory applications)
Instructions
- Preheat your oven to 350°F (175°C) for the oven method. If using the stovetop method, skip this step.
- Spread your raw walnuts in a single, even layer on a baking sheet or cast iron skillet. Avoid piling them on top of each other, as this prevents even toasting.
- For the oven method: Place the baking sheet in the preheated oven and bake for 8-12 minutes, stirring halfway through (around the 5-minute mark) to ensure even toasting.
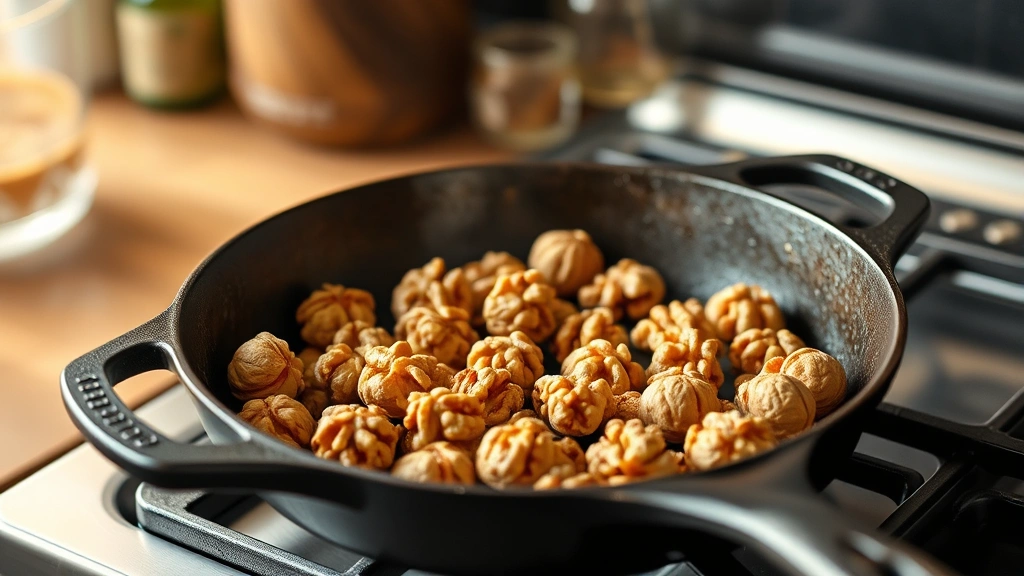
For the stovetop method: Heat a dry skillet over medium heat for 1 minute until warmed through.
- If using the stovetop method, add your walnuts to the warm skillet and stir frequently with a wooden spoon or spatula, toasting for 5-8 minutes until fragrant and golden brown.
- Watch carefully as the walnuts near the end of cooking – they can go from perfectly toasted to burnt very quickly. You’ll know they’re done when they smell wonderfully fragrant and toasty, and the majority have turned a light to medium golden brown.
- Remove the walnuts from heat immediately when they reach the desired color. They’ll continue to cook slightly from residual heat, so remove them just before they look completely done.
- If desired, immediately toss the hot walnuts with sea salt, cinnamon, cayenne pepper, or any other seasonings you prefer while they’re still warm and slightly moist.
- Spread the toasted walnuts on a clean baking sheet or cutting board to cool completely. This prevents them from steaming and helps them achieve maximum crispness.
- Allow the walnuts to cool for at least 10-15 minutes before storing or using in your recipes.
- Store cooled toasted walnuts in an airtight container at room temperature for up to 2 weeks, or in the refrigerator for up to 4 weeks for extended freshness.

Pro Tips
o The stovetop method is faster and allows you to toast smaller batches quickly – perfect for when you only need a cup or two of toasted walnuts for immediate use.
o Never leave toasting walnuts unattended! They can burn in a matter of seconds, transforming from perfectly golden to charred.
o If you accidentally burn your walnuts, don’t try to salvage them – burnt walnuts will taste bitter and ruin any dish they’re added to. Simply start fresh with a new batch.
o The aroma is your best indicator of doneness. When you smell that rich, toasty walnut fragrance wafting from your kitchen, they’re usually very close to being done.
o For sweeter applications like salads with dried fruit or baked goods, consider adding a light sprinkle of cinnamon or even a tiny bit of vanilla extract to your warm toasted walnuts.
o For savory applications like salads with cheese or grain bowls, try adding a pinch of sea salt, garlic powder, or cayenne pepper while the walnuts are still warm.
o Walnuts contain natural oils that can go rancid over time, especially when exposed to heat and light. Store them in a cool, dark place or in the refrigerator to maintain freshness.
o You can also freeze toasted walnuts for up to 3 months in an airtight freezer bag. Simply thaw at room temperature before using.
o Different oven brands and models can vary in temperature accuracy, so start checking your walnuts around the 7-minute mark if using the oven method, rather than waiting the full 12 minutes.
o For the most even toasting, use walnut halves rather than pieces, as smaller pieces can toast too quickly on the outside while remaining raw inside.
Pingback: How to make the BEST 5-Ingredient Chicken Salad Recipe! – Simple Recipe Finder
Pingback: How to Make an Easy High Protein Soup Recipe – Simple Recipe Finder