
There’s something absolutely magical about homemade vanilla pudding that takes you right back to your childhood kitchen. This isn’t just any vanilla pudding recipe—it’s the BEST vanilla pudding you’ll ever make, with a silky-smooth texture and pure, unadulterated vanilla flavor that’ll have everyone asking for seconds. What makes this recipe so special is the combination of quality ingredients, proper technique, and a few insider tricks that elevate it from ordinary to extraordinary.
I’ve been making this vanilla pudding for years, and I’ve perfected every single element to ensure you get restaurant-quality results in your own home. The secret starts with using real vanilla beans or pure vanilla extract—never the imitation stuff—and understanding the science behind the perfect custard ratio. Unlike boxed pudding mixes loaded with artificial flavors and thickeners, this homemade version lets the pure vanilla shine through while maintaining that luxurious, velvety texture we all crave.
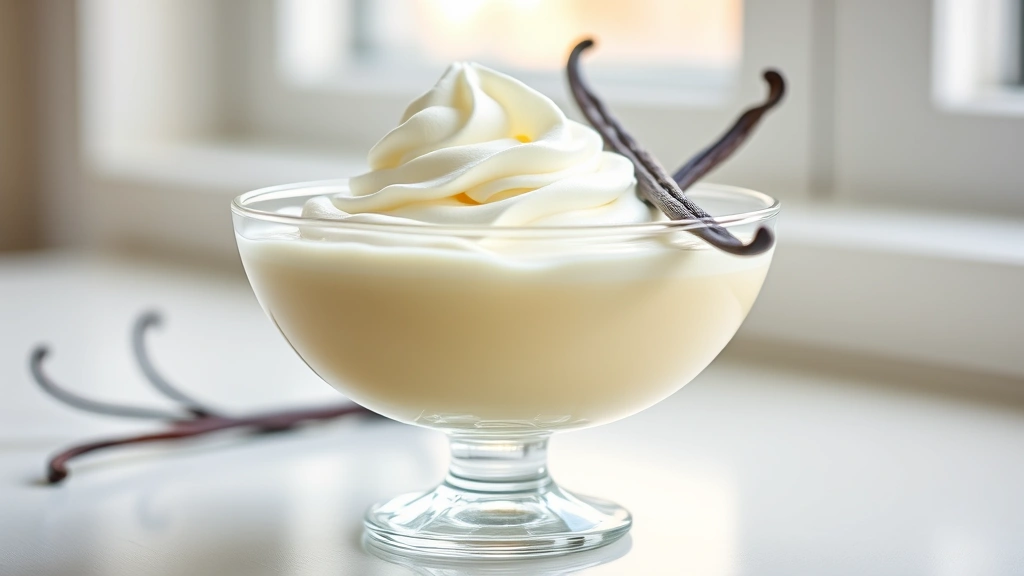
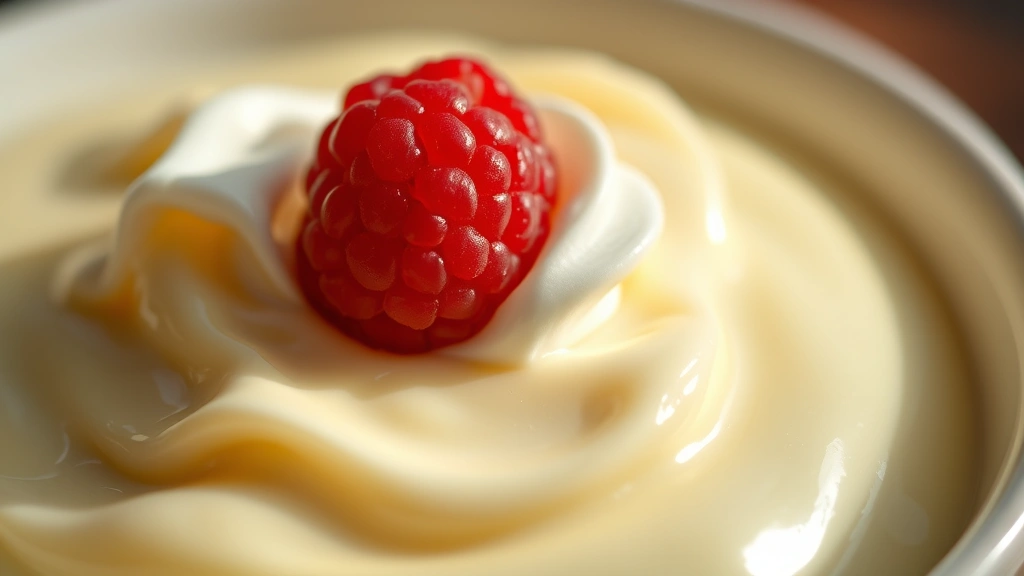
This heavy cream based pudding is incredibly versatile too. You can serve it simply in a pretty glass with a dollop of whipped cream, layer it into parfaits with fresh berries, or use it as a filling for cakes and tarts. It’s the kind of dessert that feels fancy enough for dinner parties but easy enough to whip up on a Tuesday night when you need something sweet.
The technique I’m sharing with you today eliminates the common pitfalls—lumpy pudding, grainy texture, or that starchy aftertaste. We’re going to create a silky custard base using egg yolks, whole milk, and heavy cream, then temper it properly to avoid scrambling the eggs. This method gives you complete control over the final product and ensures perfect results every single time.
Whether you’re a seasoned baker or someone who’s intimidated by the kitchen, this recipe is designed to be approachable and foolproof. I’ll walk you through each step with detailed instructions and helpful tips that will make you feel like a pastry chef. Once you master this vanilla pudding, you’ll understand the foundation for making chocolate pudding, butterscotch, and so many other creamy desserts. Let’s dive in and create something truly spectacular together!
Ingredients
- 2 cups whole milk
- 1 cup heavy cream
- 1 vanilla bean (or 1.5 teaspoons pure vanilla extract)
- 5 egg yolks
- 1/2 cup granulated sugar
- 3 tablespoons cornstarch
- 1/4 teaspoon salt
- 2 tablespoons unsalted butter
- 1 teaspoon pure vanilla extract (in addition to bean if using)
- Whipped cream for serving
- Fresh berries for garnish (optional)

Instructions
- If using a vanilla bean, slice it lengthwise with a sharp knife and scrape out all the tiny black seeds with the back of your knife blade, reserving both the seeds and the pod.
- Pour the whole milk and heavy cream into a heavy-bottomed saucepan, add the vanilla bean pod and seeds (if using), and place over medium heat until the mixture reaches a gentle simmer with small bubbles forming around the edges—do not boil.
- While the cream mixture is heating, whisk together the egg yolks and granulated sugar in a medium bowl, whisking constantly for about 2-3 minutes until the mixture is pale yellow and falls in ribbons from the whisk.
- In a small bowl, whisk together the cornstarch and salt, then gently fold this mixture into the egg yolk mixture, stirring until you have no lumps.
- Once the milk and cream mixture reaches a gentle simmer, remove it from heat and let it cool for exactly 1 minute.
- Slowly ladle about 1 cup of the hot milk mixture into the egg yolk mixture while whisking constantly—this is the tempering process that prevents the eggs from scrambling.
- Continue adding the hot milk mixture in a slow, steady stream while whisking continuously, incorporating it gradually until you’ve added about half the mixture.
- Pour the entire egg mixture back into the saucepan with the remaining hot cream, whisking constantly to combine smoothly.
- Place the saucepan back over medium heat and cook, stirring constantly with a wooden spoon or whisk, for about 3-4 minutes until the mixture thickens and coats the back of the spoon (it should reach 170°F on an instant-read thermometer).
- Remove the pudding from heat and strain it through a fine-mesh sieve into a clean bowl, pressing gently with a spatula to remove any lumps or cooked egg bits.
- Stir in the butter and vanilla extract (or additional extract if not using a vanilla bean), stirring until the butter is completely melted and incorporated.
- If you used a vanilla bean pod, you can fish it out now and rinse it to dry for future use—vanilla pods can be reused multiple times.
- Pour the pudding into serving glasses or a larger serving dish, then press plastic wrap directly onto the surface of the pudding to prevent a skin from forming.
- Refrigerate for at least 4 hours, or until completely chilled and set.
- Serve chilled with a dollop of freshly whipped cream and fresh berries if desired, or enjoy as-is for pure vanilla bliss.
Pro Tips
- Fresh vanilla beans make an enormous difference in flavor, but pure vanilla extract is an acceptable substitute if fresh beans aren’t available in your area. Avoid imitation vanilla extract entirely, as it will compromise the quality of this dessert.
- The tempering step is crucial for success. Adding the hot milk too quickly will cook the eggs and give you a grainy, unpleasant texture. Take your time with this step and whisk constantly.
- This pudding will keep in an airtight container in the refrigerator for up to 3 days. The texture and flavor actually improve slightly after a day as the vanilla flavor continues to develop.
- If lumps do form despite your best efforts, simply blend the cooled pudding briefly with an immersion blender or in a regular blender, working in batches if necessary.
- For a thicker pudding, increase the cornstarch to 3.5 tablespoons. For a looser, more pourable pudding, reduce it to 2.5 tablespoons. The amount I’ve specified creates the perfect spoon-coating consistency.
- Vanilla bean pods should never be thrown away. Rinse them, dry them thoroughly, and store them in a sealed jar with a cup of sugar to make homemade vanilla sugar. This will give you a bonus ingredient for baking.
- This pudding can be used as a filling for cream pies, layered into parfaits with fresh fruit, or paired with pound cake for an elegant dessert.
- For a lighter version, you can substitute half of the heavy cream with additional whole milk, though this will result in a slightly less rich pudding.
- The pudding must reach 170°F to ensure any food safety concerns with the raw eggs are eliminated. An instant-read thermometer takes the guesswork out of this step.
- Top with crushed vanilla wafers, fresh berries, or a sprinkle of cinnamon for extra flavor and texture.
- Make this pudding up to 2 days in advance for dinner parties—it’s the perfect do-ahead dessert that tastes even better the next day.
Pingback: How to make the BEST Celery Salad Recipe – Quick & Tasty! – Simple Recipe Finder
Pingback: How to make the BEST Quick Shrimp Pasta Recipe! – Simple Recipe Finder
Pingback: How to Make the BEST Venison Burger Recipe (Quick & Tasty!) – Simple Recipe Finder