
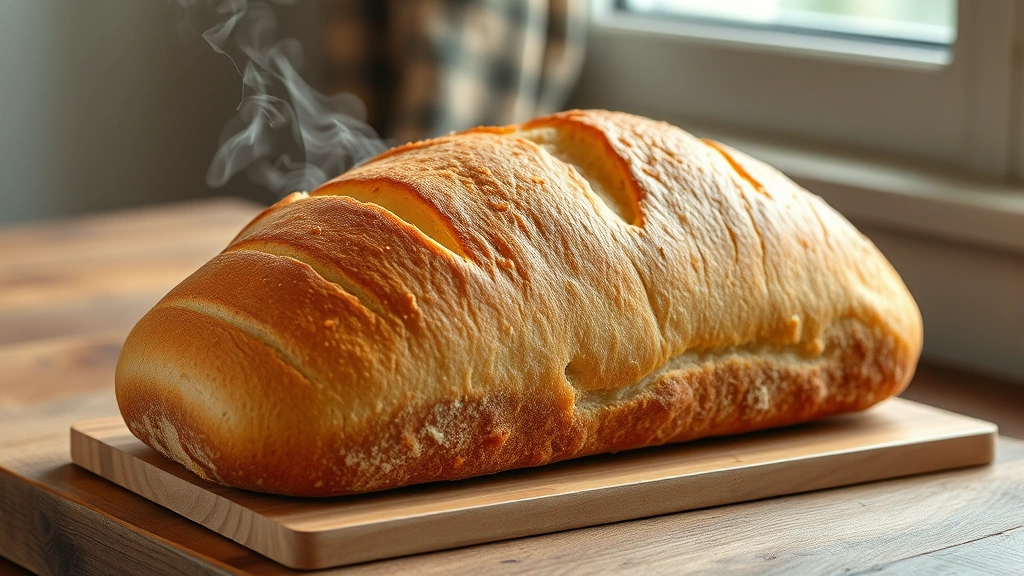
There’s something truly magical about pulling a warm, crusty loaf of vegan bread from the oven—and the best part? It’s incredibly easy to make at home! This vegan bread recipe is my go-to for weeknight baking, and I’m thrilled to share it with you today.
I’ve been perfecting this recipe for years, and I can honestly say it rivals any bakery loaf. The secret is in the technique and understanding how the dough develops. You don’t need fancy equipment or complicated steps—just good ingredients, a little patience, and these straightforward instructions.
This vegan bread is perfect served alongside a hearty chickpea salad or topped with pickled red onions for a complete meal. The beauty of this vegan bread recipe is its versatility—use it for sandwiches, toast it for breakfast, or serve it warm with your favorite spreads.
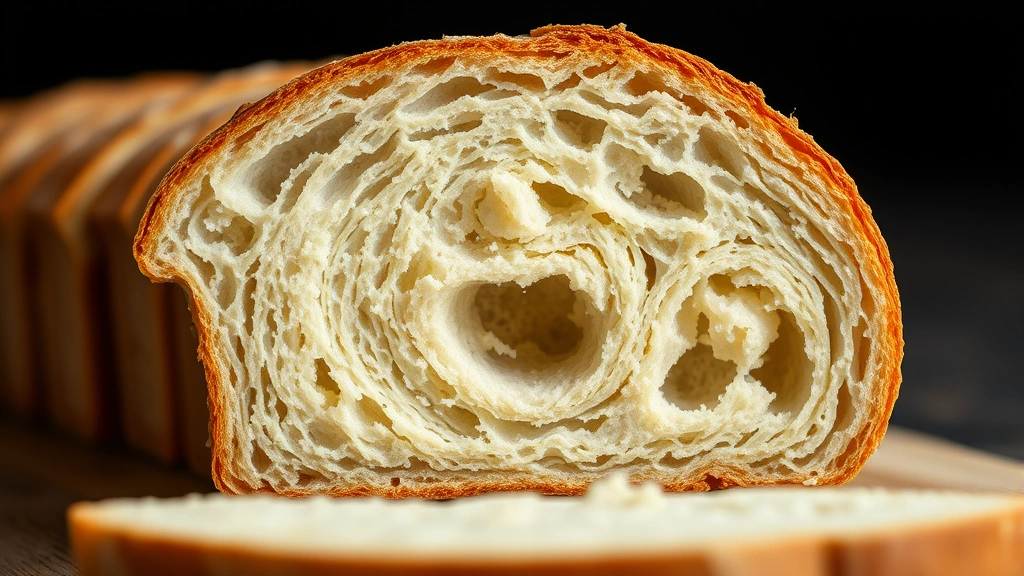
What makes this vegan bread so special is that it’s completely dairy-free and egg-free, yet still achieves that perfect golden crust and soft, pillowy interior. The dough is forgiving, making it ideal for beginner bakers while still satisfying experienced bread makers. I’ve tested this recipe countless times, adjusting hydration levels and fermentation times to ensure you get consistent, beautiful results every single time.
The flavor profile is beautifully neutral, allowing this vegan bread to pair with sweet or savory accompaniments. Toast a slice for breakfast with your favorite jam, or use it as the foundation for gourmet sandwiches. Some of my favorite toppings include roasted vegetables, hummus, or even a simple drizzle of quality olive oil with sea salt.
Baking bread at home is one of my favorite kitchen activities because it engages all your senses. You’ll develop an intuition for when the dough is properly proofed, and you’ll learn to listen for the perfect crust color. This vegan bread recipe teaches you fundamental bread-making techniques that you can apply to countless other loaves.
For more information on bread-making techniques, check out this comprehensive guide on Serious Eats. If you’re looking to expand your vegan cooking repertoire beyond bread, Bon Appétit’s vegan section offers fantastic inspiration. You might also enjoy exploring New York Times Cooking for more plant-based recipes.
I recommend using bread flour for this vegan bread recipe, as it has a higher protein content than all-purpose flour, which develops gluten more effectively. If you only have all-purpose flour, it will still work beautifully—just expect a slightly softer crumb. The key to success is understanding your kitchen environment and adjusting accordingly.
Temperature is crucial when making vegan bread. If your kitchen is cold, your fermentation will take longer. If it’s warm, you’ll need to watch your dough more carefully to prevent over-proofing. This is where learning to read your dough becomes invaluable. A perfectly proofed dough should increase in volume by about 50-75% during the bulk fermentation phase.
This vegan bread recipe makes a standard-sized loaf, but you can easily double the recipe if you want to make two loaves or freeze one for later. Homemade vegan bread actually freezes beautifully—I often bake an extra loaf and freeze it for busy weeks when I don’t have time for fresh bread.
Ingredients
- 3 cups (375g) bread flour
- 1½ teaspoons (9g) sea salt
- ½ teaspoon (3g) instant yeast
- 1¼ cups (300ml) warm water (around 75-80°F)
- 1 tablespoon (15ml) olive oil
- 1 teaspoon (5g) sugar or honey (optional, helps activate yeast)
- Additional water for steaming (about 1 cup)
Instructions
- Combine the warm water and sugar (if using) in a small bowl and let sit for 1 minute. Add the instant yeast and stir gently. Let this mixture sit for 5-10 minutes until foamy—this indicates the yeast is active and ready to work.
- In a large mixing bowl, whisk together the bread flour and sea salt until evenly distributed. Make a well in the center of the dry ingredients.
- Pour the activated yeast mixture and olive oil into the well you’ve created. Using a wooden spoon or your hands, mix until all the flour is incorporated and you have a shaggy, wet dough with no dry flour remaining.
- Let the dough rest for 20-30 minutes (this step is called autolyse). This resting period allows the flour to fully hydrate, which will make kneading easier and develop better gluten structure.
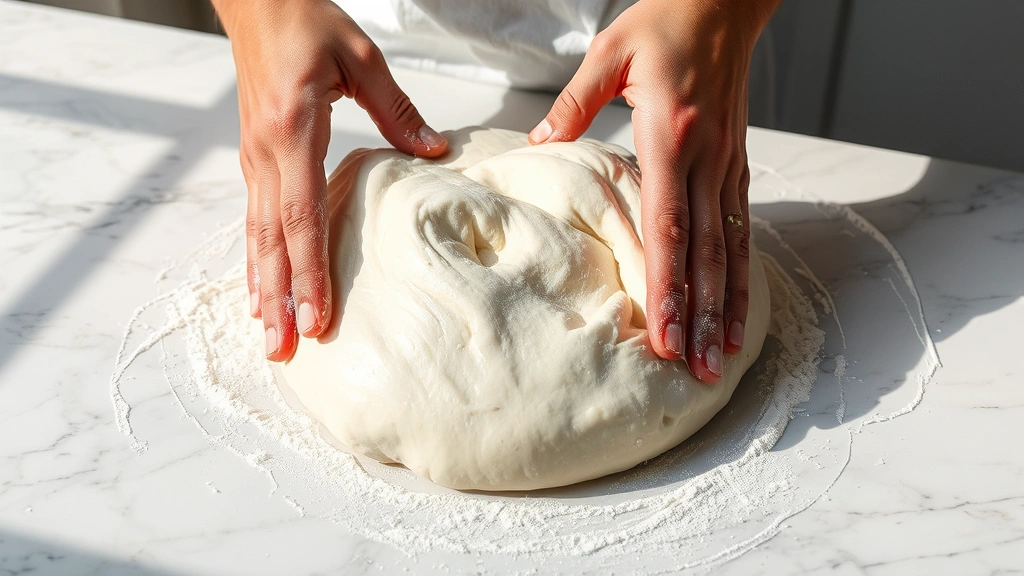
- After the autolyse, knead the dough for 8-10 minutes by hand, or use a stand mixer with a dough hook for 6-8 minutes. The dough should become smooth and elastic. You can also use the stretch-and-fold method: pull one side of the dough and fold it over itself, rotate the bowl 90 degrees, and repeat for 5 minutes.
- Form the dough into a ball by pulling the sides toward the center and pinching them together at the bottom. Place it seam-side down in a lightly oiled bowl, cover with a damp kitchen towel or plastic wrap, and let it bulk ferment for 1-2 hours at room temperature until it roughly doubles in size.
- After bulk fermentation, gently turn the dough out onto a lightly floured surface. Shape it into a round or oval boule by folding the edges toward the center and gently rolling it toward you to create surface tension.
- Place the shaped dough seam-side up in a floured proofing basket (banneton) or a bowl lined with a kitchen towel. Cover and let it proof for 45 minutes to 1 hour at room temperature, or until it passes the poke test—gently poke the dough, and if the indentation slowly springs back halfway, it’s ready to bake.
- While the dough proofs, preheat your oven to 450°F (230°C). If you have a Dutch oven, place it in the oven to heat as well. This creates steam, which is essential for developing a beautiful crust.
- Once the dough is fully proofed, carefully turn it out onto parchment paper. Using a sharp bread knife or lame, score the top with a single slash or an X pattern—this controls where the bread expands during baking.
- Carefully place the scored dough (still on parchment paper) into the preheated Dutch oven. Cover with the lid and bake for 20 minutes to trap the steam.
- Remove the Dutch oven lid and bake for an additional 15-20 minutes until the crust is deep golden brown and the loaf sounds hollow when tapped on the bottom.
- Remove from the oven and transfer the vegan bread to a wire cooling rack. This is crucial—let it cool completely for at least 1 hour before slicing, as the interior continues to set during cooling.
Pro Tips
- **Temperature matters**: Keep your kitchen at 70-75°F for consistent results. In warmer kitchens, reduce proofing times; in cooler kitchens, extend them.
- **The poke test is your friend**: This simple test tells you when your dough is perfectly proofed without relying solely on time. Press your finger gently into the dough about ½ inch deep—it should slowly spring back halfway.
- **Dutch oven alternatives**: If you don’t have a Dutch oven, place a baking stone in the oven and spray water onto the stone and oven walls three times during the first 10 minutes of baking to create steam.
- **Flour type affects results**: Bread flour creates a chewier crumb with better rise. All-purpose flour works but yields a softer texture. Whole wheat flour can be substituted for up to 25% of the flour, though it may require slightly more water.
- **Storage instructions**: Store cooled bread in a paper bag at room temperature for 2-3 days. For longer storage, wrap tightly in plastic wrap and freeze for up to 3 months. Thaw at room temperature or refresh in a 350°F oven for 10-15 minutes.
- **Scoring tips**: Score confidently with a sharp blade at a 30-45 degree angle, about ¼ inch deep. This controls oven spring and creates that beautiful rustic appearance.
- **Hydration levels**: This recipe uses about 80% hydration, which is perfect for beginners. More experienced bakers can increase water to 85% for an more open crumb structure.
- **Water temperature is critical**: Water that’s too hot (above 85°F) can kill the yeast. Water that’s too cold (below 65°F) will slow fermentation significantly. Use a thermometer for best results.
- **Make it even better**: Add ½ teaspoon of diastatic malt powder to enhance crust color, or incorporate 1-2 tablespoons of seeds (sesame, poppy, or sunflower) into the dough or sprinkle on top before scoring.
- **Pair with complementary recipes**: Serve your vegan bread with roasted shishito peppers for a complete appetizer, or create gourmet open-faced sandwiches with your favorite vegan toppings.