
Making vegan ice cream at home is easier than you might think, and the results are absolutely divine! This creamy, dreamy dessert rivals any traditional ice cream, and the best part? You probably already have most of the ingredients in your pantry. Whether you’re vegan, dairy-free, or simply looking to expand your dessert repertoire, this recipe is a total game-changer.
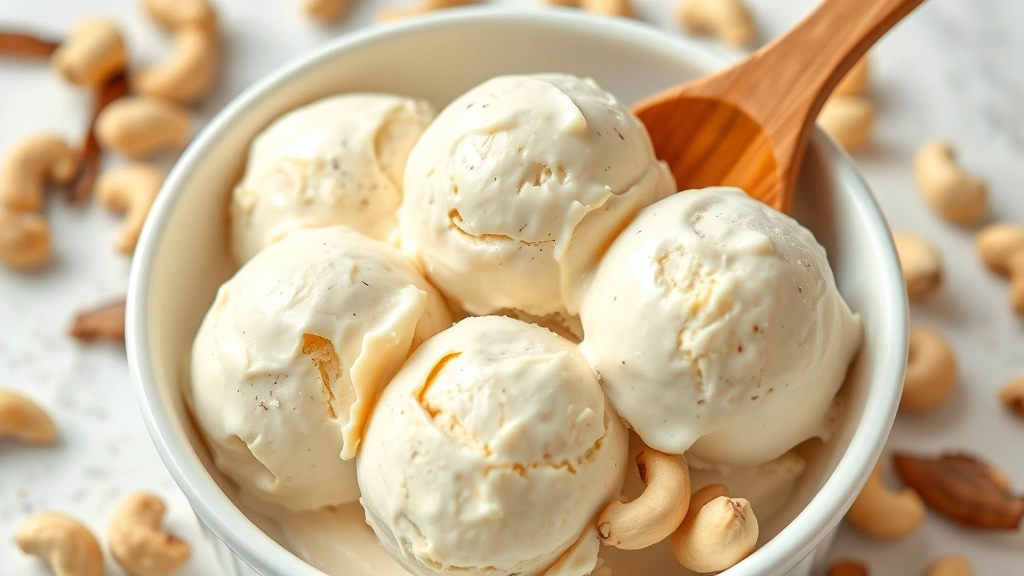
The secret to the creamiest vegan ice cream lies in using a combination of coconut milk and cashew cream, which creates that luxurious, smooth texture we all crave. No ice cream maker? No problem! This recipe works beautifully with just a blender and your freezer. The key is understanding how to properly freeze and blend your mixture to achieve that perfect scoopable consistency.
I’ve been making vegan ice cream for years now, and I’m thrilled to share my foolproof method with you. This base recipe is incredibly versatile – you can flavor it with vanilla, chocolate, fruit purees, or even create fun mix-ins. Once you master this technique, you’ll never buy store-bought ice cream again. The homemade version tastes fresher, creamier, and you control exactly what goes into it.
What makes this recipe truly special is how forgiving it is. Even if you don’t have an ice cream maker, the freeze-and-blend method works like a charm. Just pop your mixture in the freezer, blend it every 30 minutes for a couple of hours, and boom – you’ve got silky smooth vegan ice cream that will impress even the biggest ice cream skeptics. Plus, there’s something so satisfying about creating this frozen treat from scratch. Your friends won’t believe it’s vegan!
If you’re looking for more dairy-free dessert inspiration, check out our Best Heavy Cream Alfredo Sauce Recipe for savory options, or explore our Best Chickpea Salad Recipe for protein-packed meals. For more sweet treats, visit Bon Appétit for innovative dessert ideas, and check out Serious Eats for detailed food science behind creating the perfect frozen desserts. You can also find excellent vegan baking techniques at New York Times Cooking.
Ingredients
- 1 can (13.5 oz) full-fat coconut milk
- 1 cup raw cashews, soaked in hot water for 15 minutes
- 3/4 cup maple syrup or agave nectar
- 2 teaspoons vanilla extract
- 1/4 teaspoon sea salt
- 2 tablespoons coconut oil, melted
- 1/4 cup unsweetened almond milk (or any plant-based milk)

Instructions
- Drain your soaked cashews thoroughly, discarding the soaking water. This removes any bitterness and ensures a smooth, creamy texture.
- Add the drained cashews to a high-powered blender along with the full-fat coconut milk, maple syrup, vanilla extract, sea salt, melted coconut oil, and almond milk.
- Blend on high speed for 2-3 minutes until the mixture is completely smooth and creamy with no cashew pieces remaining. You may need to stop and scrape down the sides of the blender a few times.
- Strain the mixture through a fine-mesh sieve into a large bowl, pressing gently with a spatula to extract all the creamy goodness. This step is optional but creates an even silkier texture.
- Pour the strained mixture into a shallow freezer-safe container, cover it with plastic wrap or a lid, and place it in the freezer.
- After 1 hour, remove the mixture from the freezer and stir it with a fork, breaking up any ice crystals that have formed around the edges.
- Return to the freezer and repeat the stirring process every 30 minutes for the next 2 hours. This constant stirring prevents large ice crystals from forming and keeps the texture creamy.
- For the freeze-and-blend method, after the initial 3 hours of stirring, freeze the mixture for at least 4 more hours until it’s solid.
- When ready to serve, remove the ice cream from the freezer and let it sit at room temperature for 5-10 minutes to soften slightly.
- Scoop into a blender with a splash of almond milk and blend until creamy, then serve immediately for the smoothest texture.
- Alternatively, scoop directly from the container using an ice cream scoop that you’ve dipped in warm water between scoops for easier serving.
- Store leftover vegan ice cream in an airtight container in the freezer for up to 2 weeks, though it’s best enjoyed within the first week.
Pro Tips
If you don’t have a high-powered blender, a regular blender will work, but you may need to blend longer and possibly strain the mixture twice for the smoothest results. Some people prefer using a food processor, which also works well, though it may take slightly longer to achieve a completely smooth consistency.
The soaking of cashews is essential for creating that silky texture. Don’t skip this step, as it softens the cashews and makes them much easier to blend. If you’re in a hurry, use hot water instead of room temperature water to reduce soaking time.
For chocolate vegan ice cream, add 1/2 cup unsweetened cocoa powder and an additional 2 tablespoons of maple syrup to the base recipe. For strawberry, blend in 1 cup of fresh or frozen strawberries before freezing.
If you don’t have an ice cream maker, the freeze-and-blend method works beautifully, though it requires more patience. The key is consistent stirring to prevent large ice crystals from forming.
This recipe is completely dairy-free, vegan, and naturally gluten-free. It’s also free from artificial ingredients and refined sugars when using pure maple syrup.
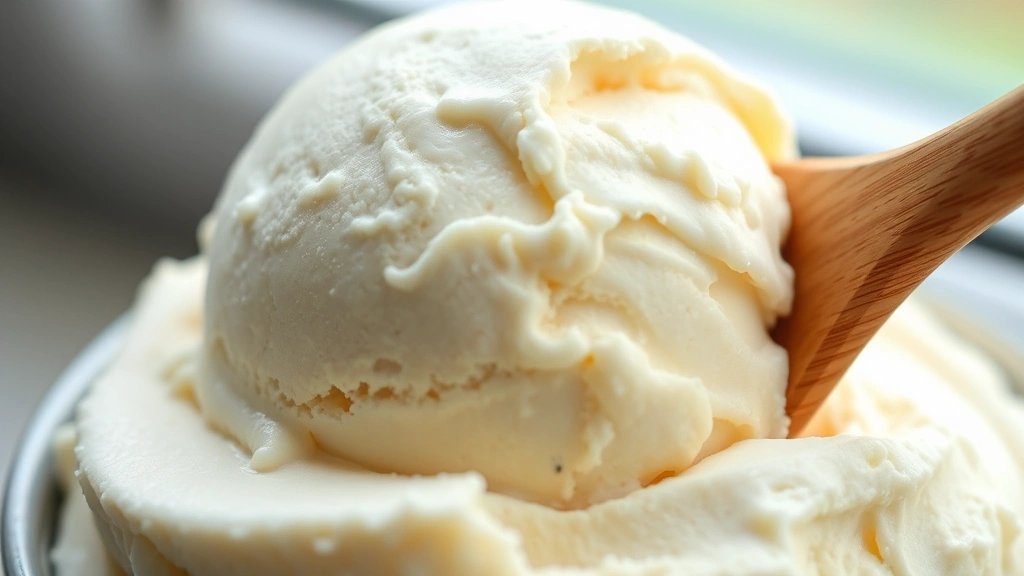
The texture will be slightly softer than traditional ice cream but will still be deliciously creamy and scoopable. Allow it to sit out for 5-10 minutes before serving for optimal scooping consistency.
Make sure to use full-fat coconut milk, not the light version, as the higher fat content is essential for achieving that creamy texture and rich mouthfeel.