
If you’re a Wendy’s chili lover, this copycat recipe will absolutely blow your mind! There’s nothing quite like that iconic, hearty chili that keeps us coming back to the fast-food chain time and time again. But here’s the beautiful thing—you can recreate that beloved flavor right in your own kitchen, and honestly, homemade tastes even better.
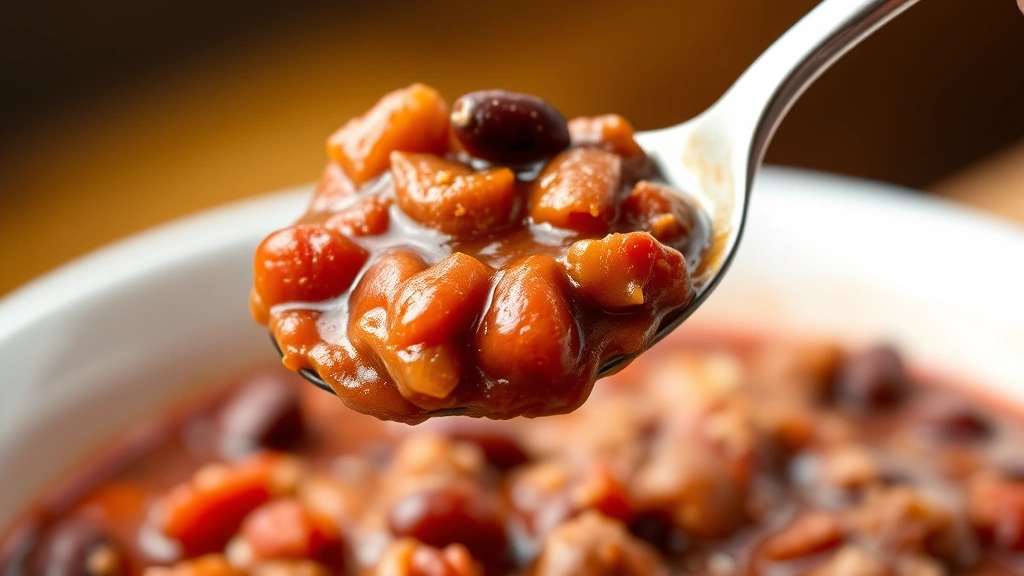
This recipe captures all the essence of Wendy’s famous chili: the rich, savory beef, the perfectly balanced spices, and that signature thick, satisfying texture. The secret lies in using quality ground beef, a careful blend of seasonings, and taking your time to let everything simmer together. Unlike the quick assembly-line version, your homemade chili will develop deeper, more complex flavors as it cooks.
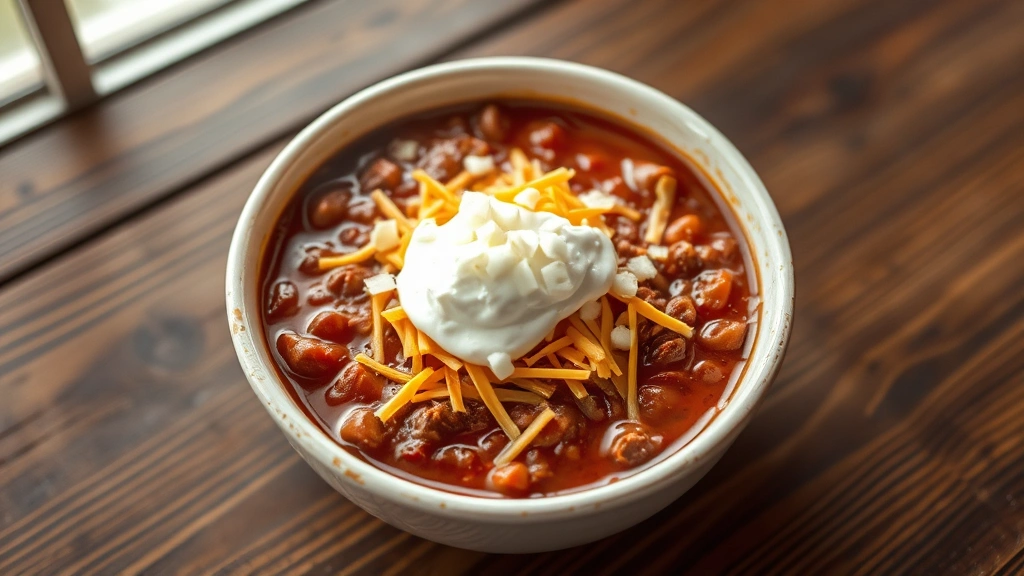
What makes this copycat recipe so special is that it’s not just delicious—it’s also incredibly versatile. Serve it as a standalone bowl topped with cheese and sour cream, ladle it over hot dogs for chili dogs, or use it as a topping for nachos and fries. You can even pair it with Best Bisquick Biscuits for a complete comfort food meal.
I’ve tested this recipe multiple times to ensure it matches that authentic Wendy’s flavor profile you know and love. The combination of tomato sauce, kidney beans, and carefully selected spices creates that distinctive taste. Some people try to recreate it with complicated ingredient lists, but this recipe proves that simplicity and quality ingredients are what truly matter. For a deeper dive into copycat recipes and cooking techniques, Serious Eats has some fantastic resources on deconstructing fast-food favorites.
One of the best parts about making this chili at home is that you have complete control over the ingredients and heat level. Want it spicier? Add more chili powder and jalapeños. Prefer it milder? Simply reduce the spices. You can also customize it with your favorite toppings and add-ins. This flexibility means everyone at your table can enjoy their perfect bowl.
The beauty of chili is that it actually tastes better the next day after the flavors have melded together overnight in the refrigerator. Make a big batch and you’ll have delicious meals ready to go for the entire week. It also freezes beautifully for up to three months, making it perfect for meal prep.
If you love this recipe, you might also enjoy making Easy Manicotti with Meat or Best Easy Chicken Pot Pie for other comforting weeknight dinners. And don’t overlook pairing your chili with sides like Best Creamed Corn Cornbread or Quick and Easy Bread Dressing for a complete spread.
For more inspiration on building complex flavors in slow-cooked dishes, Bon Appétit has excellent articles on chili techniques and variations. Whether you’re cooking for your family or bringing a pot to a gathering, this Wendy’s copycat chili is guaranteed to impress. Let’s get cooking!
Ingredients
- 3 tablespoons vegetable oil
- 2 pounds ground beef
- 1 large yellow onion, diced
- 4 cloves garlic, minced
- 3 tablespoons chili powder
- 2 tablespoons ground cumin
- 1 tablespoon paprika
- 1 tablespoon dried oregano
- 2 teaspoons salt
- 1 teaspoon black pepper
- 1/2 teaspoon cayenne pepper (optional, for more heat)
- 2 cans (15 ounces each) kidney beans, drained and rinsed
- 1 can (28 ounces) crushed tomatoes
- 2 cans (8 ounces each) tomato sauce
- 1 can (6 ounces) tomato paste
- 2 cups beef broth
- 1 tablespoon Worcestershire sauce
- 1 tablespoon brown sugar
- Optional toppings: shredded cheddar cheese, sour cream, diced onions, jalapeños
Instructions
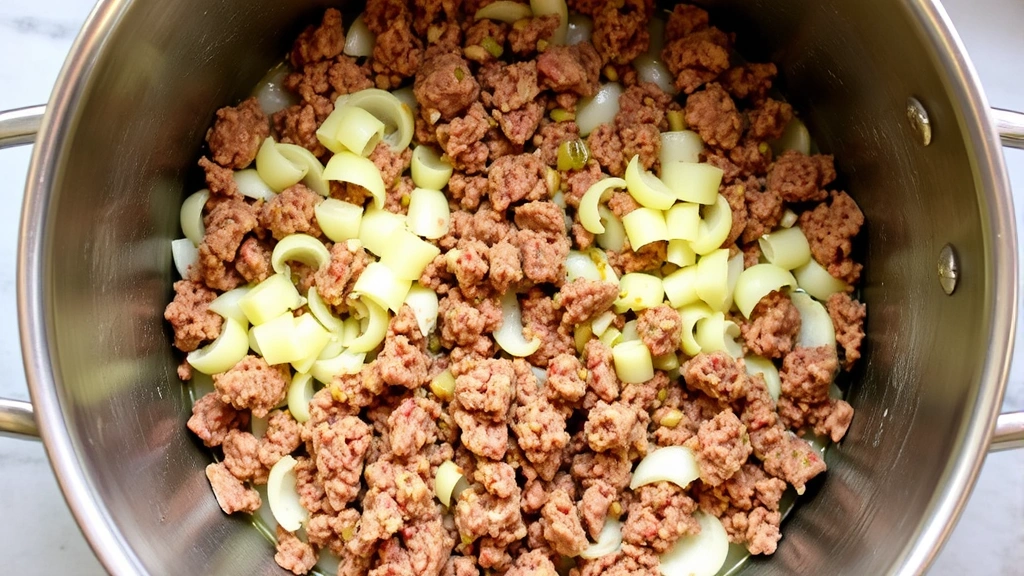
- Heat 3 tablespoons of vegetable oil in a large pot or Dutch oven over medium-high heat. Once the oil is shimmering and hot, add 2 pounds of ground beef, breaking it up with a wooden spoon as it cooks.
Continue stirring and breaking up the beef for 8-10 minutes until it’s completely browned and there’s no pink remaining. Make sure to render out as much fat as possible—this develops great flavor for your chili. Once cooked through, carefully pour off any excess fat, leaving about 2 tablespoons in the pot.
- Add the diced yellow onion to the pot with the cooked beef and sauté for 3-4 minutes, stirring occasionally, until the onion becomes translucent and fragrant. The onion should be soft and starting to release its natural sweetness.
- Stir in the minced garlic and cook for another 1-2 minutes until fragrant. Be careful not to burn the garlic, as this can make it bitter. You should smell that wonderful garlic aroma filling your kitchen.
- Add all the dry spices to the pot: 3 tablespoons chili powder, 2 tablespoons ground cumin, 1 tablespoon paprika, 1 tablespoon dried oregano, 2 teaspoons salt, 1 teaspoon black pepper, and 1/2 teaspoon cayenne pepper if you like extra heat.
Stir continuously for 2-3 minutes to toast the spices and distribute them evenly throughout the meat mixture. This blooming process releases all the aromatic compounds and creates that deep, complex flavor you’re after.
- Pour in the drained and rinsed kidney beans, crushed tomatoes, tomato sauce, and tomato paste. Stir well to combine all ingredients and break up any clumps of tomato paste.
Add 2 cups of beef broth, 1 tablespoon Worcestershire sauce, and 1 tablespoon brown sugar. The Worcestershire adds umami depth while the brown sugar balances the acidity of the tomatoes. Stir everything together until well combined.
- Increase the heat to bring the chili to a gentle boil, then immediately reduce the heat to low. You want a steady, gentle simmer—not a rolling boil.
Partially cover the pot with a lid (leave it slightly ajar to allow some steam to escape) and let it simmer for 30-35 minutes. Stir occasionally to prevent sticking and ensure even cooking. The chili should reduce slightly and thicken as it simmers.
- Taste the chili and adjust the seasonings as needed. Add more salt, pepper, chili powder, or cumin to suit your preferences. Remember that the flavors will intensify slightly as it cools, so taste before adding too much extra seasoning.
- Simmer for an additional 5-10 minutes if you prefer a thicker consistency. If your chili seems too thick, add more beef broth a quarter cup at a time. If it’s too thin, let it simmer uncovered for a few extra minutes to reduce and thicken.
- Ladle the hot chili into bowls and serve immediately with your choice of toppings: shredded cheddar cheese, a dollop of sour cream, diced onions, jalapeños, or anything else you love. The toppings are what make it truly special!
Pro Tips
For longer storage, freeze the chili in freezer bags or containers for up to 3 months. Thaw overnight in the refrigerator before reheating gently on the stovetop with a splash of beef broth to restore the ideal consistency.
When reheating, do so over low to medium heat, stirring occasionally. You can also reheat individual portions in the microwave, stirring every minute until heated through.
The key to achieving that authentic Wendy’s flavor is using the right combination of chili powder, cumin, and paprika. Don’t skip the Worcestershire sauce—it adds a subtle depth that makes all the difference.
For a smokier flavor, try using smoked paprika instead of regular paprika or add a pinch of liquid smoke. You can also customize the spice level by adjusting the cayenne pepper or adding fresh jalapeños.
This recipe yields a chili that’s thick and hearty, just like Wendy’s serves it. If you prefer a brothier consistency, simply add more beef broth when simmering.
Ground beef quality matters here. Use 80/20 ground beef for the best flavor and texture—not too lean, but not overly fatty either.
Make sure to drain and rinse your canned beans thoroughly to reduce sodium content and remove excess starch that can make the chili cloudy.
This chili is perfect for meal prep. Make it on Sunday and enjoy throughout the week, or double the batch and freeze half for future weeks.
Pair this chili with cornbread, crackers, or serve over baked potatoes, rice, or pasta for variety. It’s also delicious as a topping for hot dogs or nachos.