
Making homemade white bread has never been easier than with a bread machine! This classic white bread recipe delivers soft, fluffy loaves with a beautiful golden crust every single time. Whether you’re a bread machine novice or a seasoned baker, this foolproof method takes the guesswork out of kneading, rising, and baking. The result is bakery-quality bread that fills your home with an irresistible aroma and tastes infinitely better than store-bought loaves.
What I love most about this bread machine white bread recipe is its simplicity and reliability. You simply measure your ingredients, add them to your machine in the correct order, select your settings, and let the machine do all the work. No more sticky hands, no more monitoring rise times, and no more worrying about over-kneading. This recipe is perfect for busy weeknights when you want fresh bread without the fuss, or for weekend baking when you want to impress your family with homemade goodness.
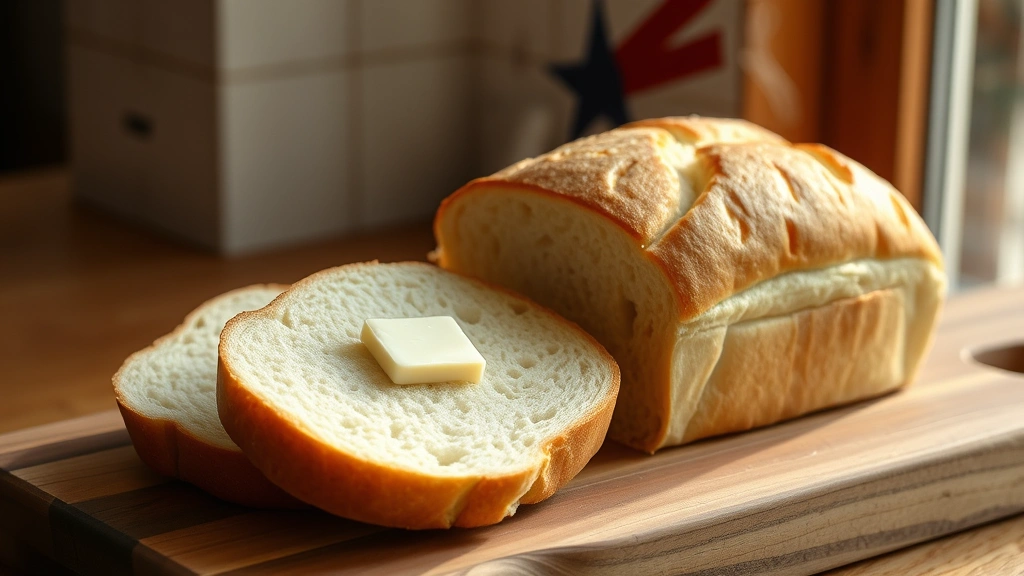
The key to perfect bread machine white bread lies in using the right ratio of flour to liquid, quality ingredients, and understanding your specific machine’s settings. I’ve tested this recipe in multiple bread machines and adjusted it to work universally, so whether you have a Zojirushi, Panasonic, or any other brand, you’ll achieve consistent results. The bread comes out with a tender crumb, perfect for sandwiches, toast, or simply enjoying with butter and jam.
One of the best things about making white bread in a bread machine is that you can customize it to your preferences. Want a softer crust? You can remove the bread right after baking. Prefer a crispier exterior? Let it cool in the machine for a few extra minutes. You can also experiment with adding herbs, seeds, or even a touch of honey for subtle flavor variations. This recipe serves as an excellent foundation for any white bread variations you’d like to try.
If you’re new to bread machine baking, this white bread recipe is the perfect starting point. It teaches you about ingredient ratios, machine settings, and how different factors affect your final loaf. Once you master this basic recipe, you’ll feel confident experimenting with sourdough bread machine recipes or whole wheat variations. Many of my readers tell me this recipe converted them from store-bought bread devotees to proud home bakers.
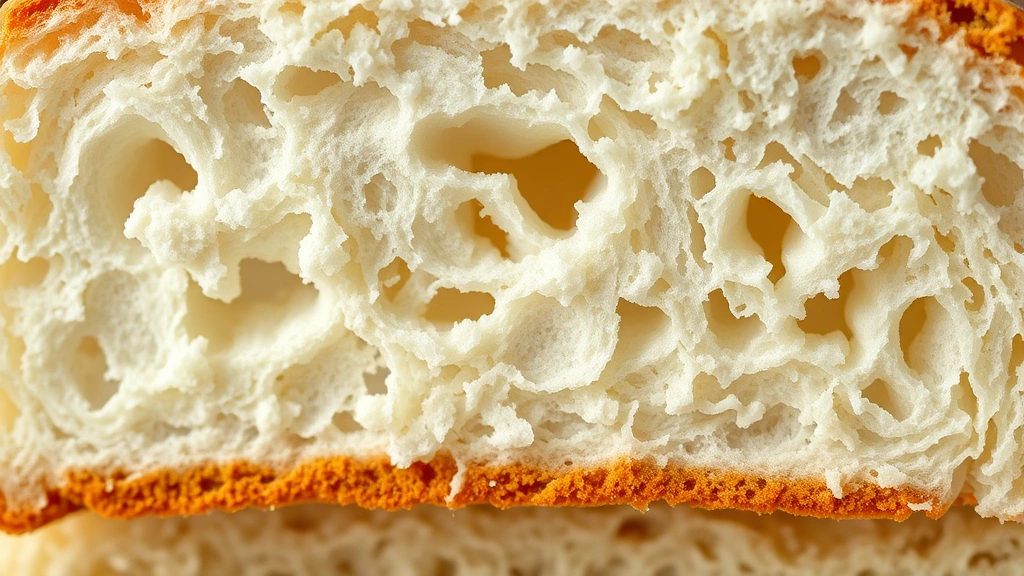
For best results, I recommend using bread flour rather than all-purpose flour, as it has a higher protein content that creates better structure and a more satisfying chew. However, all-purpose flour works perfectly fine if that’s what you have on hand. Room temperature water is also important—cold water can slow fermentation, while hot water can kill the yeast. Let me walk you through the simple steps to create this delicious homemade white bread in your bread machine.
This recipe makes one standard 1.5-pound loaf, which is perfect for a family of four or two people with leftovers for toast. You can also check your bread machine’s manual for 2-pound loaf settings if you prefer a larger loaf. The beauty of bread machines is that they’re incredibly forgiving once you understand the basics, and this white bread recipe demonstrates that perfectly.
Ingredients
- 1 cup warm water (110°F)
- 3 tablespoons granulated sugar
- 1½ teaspoons salt
- 2 tablespoons unsalted butter, softened
- 3 cups bread flour (or all-purpose flour)
- 2¼ teaspoons instant yeast (one packet)
Instructions
- Pour the warm water into your bread machine pan first. The water should feel warm to the touch but not hot—this is crucial for proper yeast activation. If you don’t have a thermometer, test it on your inner wrist; it should feel pleasantly warm, similar to a baby’s bathwater.
- Add the granulated sugar to the water. Sugar feeds the yeast and helps activate fermentation, creating a better rise and more developed flavor in your finished bread.
- Sprinkle the salt over the sugar and water mixture. Salt controls yeast fermentation and strengthens the gluten structure, which is essential for achieving that perfect bread texture.
- Add the softened butter pieces to the pan. Butter creates a softer, more tender crumb and adds richness to your white bread. Make sure the butter is at room temperature so it distributes evenly.
- Pour the bread flour into the pan, making sure it completely covers the water and other wet ingredients. This is important because you want to keep the yeast dry until the machine starts mixing.
- Make a small well in the center of the flour mound using your finger, then sprinkle the instant yeast directly into this well. This technique, called the yeast well method, helps prevent the yeast from activating prematurely if your machine mixes slowly at first.
- Place the bread pan securely into your bread machine, ensuring it’s locked in properly. Close the machine’s lid and select the basic white bread setting, which is typically the standard cycle on most machines.
- Set your loaf size to medium (1.5 pounds) if your machine offers this option. Select your desired crust color—I prefer medium for a beautiful golden brown that’s not too dark.
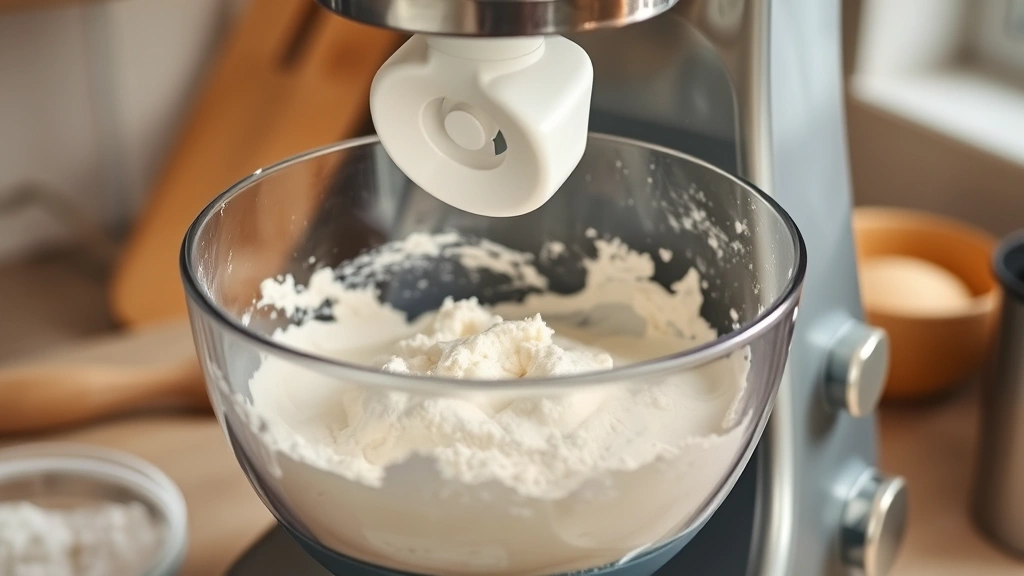
- Press start and allow the machine to begin its cycle. The machine will handle all the work from here: mixing, kneading, first rise, second rise, and baking. Most cycles take approximately 3 hours total.
- Resist the urge to open the machine during the cycle, as this disrupts temperature and humidity levels. The only exception is if you want to add mix-ins like seeds or herbs during the beep, which typically occurs about 5 minutes into the kneading phase on many machines.
- When the baking cycle completes, you’ll hear a beep alerting you that your bread is finished. Open the machine carefully as steam will be hot. The bread should have a beautiful golden-brown crust.
- Carefully remove the bread pan from the machine using the handle or tongs, being cautious of the hot surfaces. Tip the bread out onto a cooling rack immediately to prevent steam from making the bottom soggy.
- Let your white bread cool on the rack for at least 30 minutes before slicing. This resting period allows the interior crumb to set properly. Slicing too soon will result in a gummy texture.
- Once completely cooled, you can slice your bread and store it in an airtight bread box or bag at room temperature for up to 3 days. For longer storage, wrap cooled bread tightly and freeze for up to 3 months.
Pro Tips
- **Room Temperature Ingredients Matter**: Using room temperature water and softened butter helps activate the yeast properly and ensures even mixing. Cold ingredients can extend the cycle or result in uneven texture.
- **Understanding Your Machine**: Every bread machine is slightly different. Check your manual for the recommended ingredient order—some machines prefer wet ingredients first, while others want dry ingredients first. This recipe follows the most common order, but adjust if needed.
- **Yeast Quality is Critical**: Instant yeast has a shelf life; check your expiration date before using. Store opened yeast in an airtight container in the refrigerator or freezer to maintain viability longer. Old yeast will result in poor rise and dense bread.
- **Water Temperature is Crucial**: Water that’s too hot (above 120°F) will kill the yeast, resulting in bread that doesn’t rise. Water that’s too cold will slow fermentation. The ideal temperature is 110°F, roughly body temperature.
- **Flour Matters**: Bread flour contains more protein than all-purpose flour, resulting in better structure and a chewier crumb. If using all-purpose flour, your bread will be slightly softer. Both work perfectly well; it’s just a texture preference.
- **Don’t Peek During Baking**: Opening the machine during the bake cycle releases heat and steam, which can cause your bread to collapse or bake unevenly. Trust the process and let your machine do its job.
- **Crust Color Control**: If your bread is browning too quickly, select a lighter crust setting. If it’s not browning enough, try the darker setting. Machines vary in baking temperature.
- **Preventing a Gummy Interior**: Allow bread to cool completely before slicing. This is when the interior structure sets. Warm bread slices apart too easily and has a sticky texture.
- **Storage Tips**: Once cooled completely, store in an airtight bread box or bag at room temperature for 2-3 days. Refrigerating bread actually makes it stale faster. Freeze for longer storage.
- **Troubleshooting Dense Bread**: This usually indicates old yeast or water that was too hot. Dense bread can also result from too much salt, which inhibits yeast activity. Always measure carefully.
- **Why Your Bread is Too Pale**: Your crust setting might be too light, or your machine’s baking temperature might run cool. Try selecting a medium or dark crust setting.
- **Perfect for Sandwiches**: Once cooled, this bread slices beautifully for sandwiches. The soft crumb and neutral flavor pair perfectly with any filling. Toast slices for a satisfying breakfast or snack.
- **Budget-Friendly Baking**: Making bread at home costs a fraction of bakery prices. A loaf costs approximately $1-2 in ingredients compared to $4-6 at the store.
- **Variations to Try**: Once you master this basic recipe, try adding herbs like rosemary or Italian seasoning, seeds like sesame or poppy, or even a tablespoon of honey for subtle sweetness.