
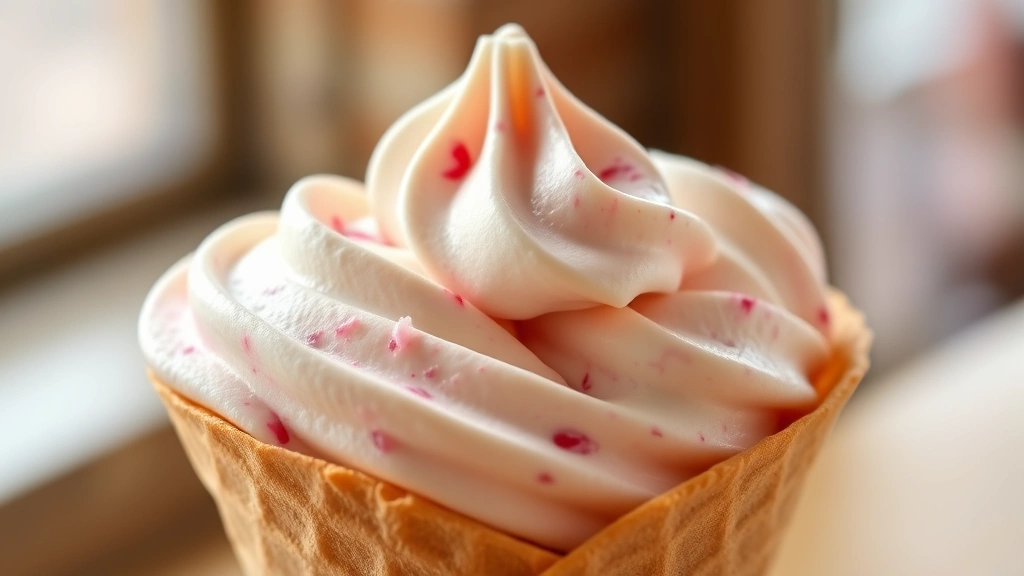
There’s something absolutely magical about homemade yogurt ice cream – it’s tangy, creamy, and so much more sophisticated than your average vanilla scoop. This recipe has become my go-to whenever I want to impress guests or treat myself to something special. The beauty of yogurt ice cream is its versatility; the subtle tartness of Greek yogurt creates a beautiful contrast with sweet flavors, and it’s naturally lighter than traditional ice cream while still delivering that luxurious, scoopable texture we all crave.
What I love most about making yogurt ice cream at home is how simple the process actually is. You don’t need any special equipment beyond a basic ice cream maker, and the ingredient list is refreshingly short. The secret to achieving that perfect creamy texture lies in using high-quality Greek yogurt – the thicker, the better – combined with sweetened condensed milk and a touch of heavy cream. This combination creates an ice cream that’s rich and smooth without being heavy, with a pleasant tang that keeps it from feeling overly sweet.
I’ve tested this recipe countless times, adjusting ratios and techniques to find what works best. The key is understanding how the yogurt affects the freezing point and texture of your ice cream. Unlike traditional custard-based ice creams that require tempering eggs, this method is foolproof and comes together in minutes. Whether you’re flavoring it with fresh berries, honey, or keeping it plain with a drizzle of fruit compote, this base recipe is absolutely foolproof.
The first time I served this to my family, my mother couldn’t believe it was homemade – she kept asking if I’d bought it from a fancy ice cream shop! That’s the power of this recipe. It tastes elevated and special, but the process is so straightforward that even beginner cooks can master it. I’ve shared this recipe with dozens of friends, and it’s become their favorite method for making ice cream at home.
One of the best parts about yogurt ice cream is how it pairs with desserts. Serve it alongside warm baked goods or as a topping for fresh fruit. The tartness complements rich desserts beautifully, cutting through sweetness and providing balance. You can also layer this with creamy components for elegant plated desserts that feel restaurant-quality.
I’m thrilled to share this recipe with you because I know you’re going to make it again and again. It’s the kind of recipe that becomes a staple in your cooking rotation, the one you turn to when you want something homemade that tastes far more complicated than it actually is. Let me walk you through my process, share my favorite flavor variations, and give you all the tips and tricks I’ve learned to make this absolutely perfect every single time.
For more creative ice cream inspiration, check out these fantastic resources from Bon Appétit and Serious Eats, which have incredible dessert content. You might also love exploring flavor combinations with New York Times Cooking for inspiration on pairing your yogurt ice cream with other desserts.
When you make this recipe, I’d love to hear how it turns out for you. Tag me on social media or leave a comment below – I read every single one and love seeing your creations! This yogurt ice cream recipe has brought so much joy to my kitchen, and I can’t wait for it to do the same in yours.
Ingredients
- 2 cups Greek yogurt, full-fat and plain
- 1 can (14 ounces) sweetened condensed milk
- 1/2 cup heavy cream, cold
- 1/4 cup honey or maple syrup
- 1 tablespoon fresh lemon juice
- 1 teaspoon vanilla extract
- Pinch of sea salt
- Optional: 1/2 cup fresh berries, fruit compote, or jam for flavoring
- Optional: 2 tablespoons chopped fresh mint or other herbs

Instructions
- In a large mixing bowl, combine the Greek yogurt and sweetened condensed milk, stirring until completely smooth and well incorporated. This is your flavor base, so make sure there are no lumps.
- Pour in the cold heavy cream and gently fold it into the yogurt mixture using a spatula, being careful not to deflate the cream too much. You want to maintain some of that airy texture.
- Add the honey, lemon juice, vanilla extract, and sea salt. Stir everything together until the mixture is uniform in color and texture, with no visible streaks.
- If you’re adding flavorings like fresh berries or jam, gently fold them in now, being careful to distribute them evenly throughout the mixture without over-mixing.
- Taste your mixture and adjust sweetness or tartness as needed. Remember that freezing will mute some flavors, so it should taste slightly sweeter and tangier than your desired final result.
- Transfer the mixture to a shallow dish and refrigerate for at least 1 hour, or until it’s very cold. This step is crucial for achieving the best texture in your ice cream maker.
- Pour the chilled mixture into your ice cream maker and churn according to the manufacturer’s instructions, typically 20-25 minutes, until it reaches a soft-serve consistency.
- Transfer the churned ice cream to a freezer-safe container, smoothing the top with a spatula.
- If desired, add a swirl of jam, fruit compote, or a sprinkle of granola to the top before freezing for added texture and flavor.
- Cover the container with plastic wrap or parchment paper before placing the lid on top to prevent freezer burn.
- Freeze for at least 3-4 hours, or until the ice cream reaches your desired firmness. It will continue to harden as it sits in the freezer.
- Allow the ice cream to soften at room temperature for 5-10 minutes before scooping for the easiest serving and best texture.

Pro Tips
TANG LEVEL: The amount of tartness is completely customizable based on your preference. If you like more tang, use plain yogurt and reduce the honey. For a milder flavor, use vanilla yogurt as your base.
CHURNING TIME: Don’t skip the pre-chilling step! A warm mixture will churn unevenly and take much longer to freeze. Your ice cream maker also works best when pre-chilled according to its instructions.
FLAVOR COMBINATIONS: This base pairs beautifully with honey and lavender, fresh strawberries and balsamic, lemon curd swirls, or dark chocolate chunks. Experiment with different flavor additions to make this recipe your own.
STORAGE: Homemade ice cream keeps best for about 2-3 weeks in the freezer when stored in an airtight container. After that, it may develop ice crystals or lose its creamy texture.
NO ICE CREAM MAKER: If you don’t have an ice cream maker, you can use the still-freeze method. Pour the mixture into a shallow dish, freeze for 2 hours, then whisk vigorously to break up ice crystals. Repeat every 2 hours for 6-8 hours total, or use a food processor to blend the partially frozen mixture until creamy.
SCOOPING HACK: If your ice cream is too hard to scoop, dip your scoop in hot water and wipe it between scoops for easier serving without melting the entire container.
EGG-FREE: This recipe contains no raw or cooked eggs, making it a great option for people concerned about egg safety or those who prefer egg-free ice cream.
DEIRY-FREE ADAPTATION: You can substitute Greek yogurt with dairy-free Greek yogurt alternatives and use coconut cream or cashew cream instead of heavy cream for a completely dairy-free version.
MEAL PREP: Prepare the mixture the night before and refrigerate overnight for added convenience – it’ll be perfectly chilled and ready to churn whenever you’re ready.