
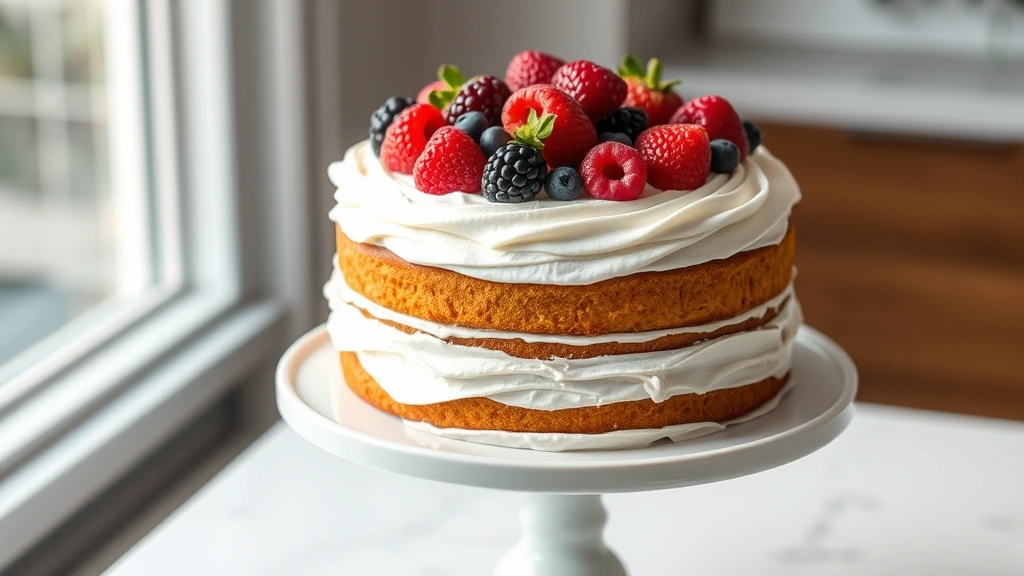
There’s nothing quite like the satisfaction of spreading a silky, perfectly sweet icing over a freshly baked cake or cookie. While many home bakers shy away from making their own icing, thinking it requires professional pastry skills or complicated techniques, I’m here to tell you that the easiest icing recipe is actually simpler than you might think! This straightforward simple icing recipe has been a staple in my kitchen for years, and I’ve shared it with countless friends and family members who were amazed at how easy it truly is.
The beauty of this icing lies in its simplicity. With just a handful of basic pantry ingredients that you likely already have on hand, you can whip up a batch of delicious, creamy icing in just a few minutes. No special equipment needed, no complicated techniques to master—just honest, straightforward baking magic. Whether you’re decorating a birthday cake, topping cupcakes, or frosting sugar cookies for a holiday gathering, this simple icing recipe will become your go-to formula.
What makes this icing so special is its versatility. The basic recipe serves as a blank canvas for your creativity. Want chocolate icing? Add some cocoa powder. Prefer a fruity twist? A splash of lemon juice or fresh berry puree works beautifully. Perhaps you’re in the mood for something more decadent? A touch of vanilla extract or almond extract can elevate the flavor profile instantly. This is truly a recipe that works for every occasion and every palate, which is why it has earned its place as one of my most-requested recipes.
I remember the first time I made homemade icing from scratch. I was convinced it would be difficult, that I’d need to follow some complicated recipe with measurements down to the eighth of a teaspoon. I was pleasantly surprised to discover that icing-making is actually one of the most forgiving baking endeavors. A little extra butter? The icing is richer. A splash more milk? It becomes easier to spread. This flexibility makes it perfect for beginner bakers and seasoned pros alike.
One of my favorite things about this simple icing recipe is how it compares to store-bought alternatives. While there’s certainly nothing wrong with using canned frosting when you’re in a pinch, homemade icing has a creamier texture, a fresher taste, and allows you to control exactly what goes into it. Plus, there’s something deeply satisfying about knowing you made it yourself. Your guests will taste the difference, and you’ll feel like a baking superstar.
Throughout this guide, I’ll walk you through everything you need to know about making this easiest icing recipe. We’ll cover ingredient selection, mixing techniques, troubleshooting tips, and creative flavor variations. By the time you’re finished reading, you’ll feel confident making this icing for any occasion. You might even find yourself making it so often that you could do it with your eyes closed!
Before we dive into the recipe, I want to mention that this icing pairs beautifully with so many other baked goods and dishes. If you’re making a layer cake with this frosting, you might want to serve it alongside complementary flavors. I often recommend checking out our Best Heavy Cream Alfredo Sauce Recipe for dinner inspiration, or our Delicious Heavy Cream Pasta Recipe for a complete meal plan. And if you’re hosting a dessert party, our Easy Chicken Alfredo Recipe makes a perfect savory starter course.
Now, let’s get into the nitty-gritty of creating the perfect icing. This recipe has been tested, refined, and perfected over many years of baking adventures. I’ve made it hundreds of times, in various kitchens, in different weather conditions, and it has never let me down. The consistency is always creamy, the taste is always delicious, and the ease of preparation is always reassuring. This is the icing recipe I reach for when I want guaranteed success.
The magic of this icing comes from the ratio of its key ingredients. Too much butter and it becomes greasy; too little and it won’t have that luxurious mouthfeel. Too much powdered sugar and it becomes grainy and dry; too little and it won’t hold its shape. The perfect balance creates an icing that’s spreadable, pipeable, delicious, and absolutely foolproof. Once you understand these ratios, you can easily scale the recipe up or down depending on your needs.
I should also mention that this icing has a wonderful shelf life. You can make it ahead of time and store it in the refrigerator for up to a week, or even freeze it for longer storage. This makes it perfect for busy bakers who like to prepare components in advance. Simply bring it to room temperature and give it a quick stir before using, and it’s ready to go. This convenience factor alone makes it a recipe worth keeping in your repertoire.
Whether you’re a complete baking novice or an experienced pastry chef looking for a reliable, simple recipe, this icing is for you. It’s the kind of recipe that becomes part of your baking DNA—the one you make so often you don’t even need to consult the recipe card anymore. It’s the recipe you teach your kids or your friends, passing down a bit of kitchen wisdom and baking confidence. It’s comfort in a bowl, and I couldn’t be more excited to share it with you.
Ingredients
- 1/2 cup (1 stick) unsalted butter, softened to room temperature
- 3 cups powdered sugar, sifted
- 2-3 tablespoons heavy cream or whole milk
- 1 teaspoon vanilla extract
- 1/4 teaspoon salt
- Optional: 1-2 tablespoons cocoa powder for chocolate icing, or food coloring for tinted icing
Instructions
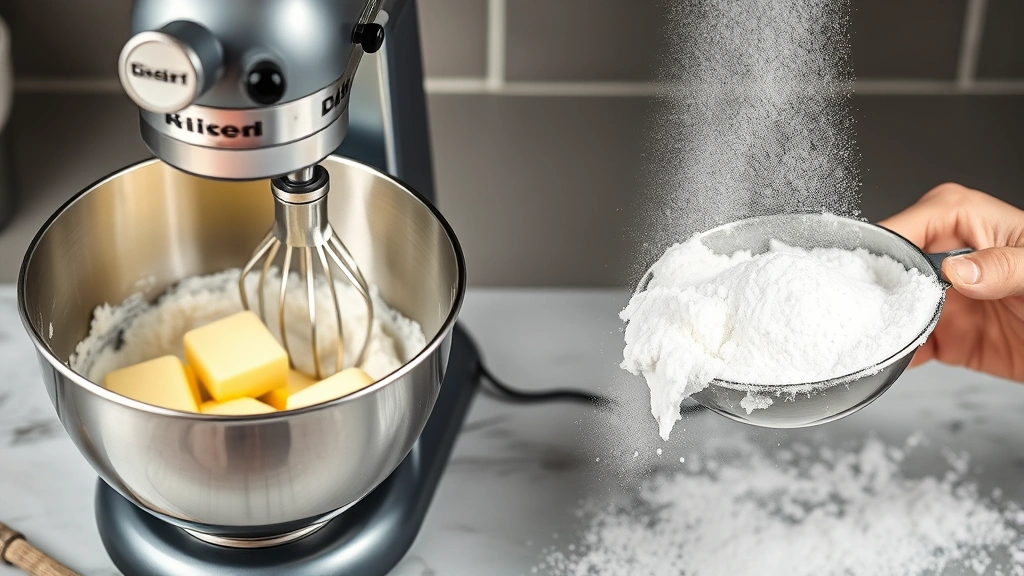
- Ensure your butter is at room temperature by leaving it on the counter for about 15-20 minutes. Cold butter will create lumps in your icing, so this step is important for achieving that silky smooth texture.
- Add the softened butter to a large mixing bowl. Using an electric mixer on medium speed, beat the butter for about 2-3 minutes until it becomes pale, fluffy, and creamy. This aerates the butter and creates a lighter icing base.
- Sift your powdered sugar into a separate bowl before adding it to the butter. This removes any lumps and ensures a smooth, lump-free icing. Sifting takes just a minute but makes a huge difference in the final texture.
- Gradually add the sifted powdered sugar to the butter, one cup at a time. After each addition, mix on low speed for about 30 seconds to combine. This prevents the powdered sugar from flying everywhere and ensures even distribution.
- Once all the powdered sugar is incorporated and the mixture looks dry and crumbly, add 2 tablespoons of heavy cream and the vanilla extract. Mix on medium speed for about 1 minute.
- Check the consistency of your icing. It should be spreadable but hold its shape. If it’s too thick, add the remaining tablespoon of heavy cream or milk, one teaspoon at a time, mixing well after each addition. If it’s too thin, add a bit more powdered sugar.
- Add the salt and mix for another 30 seconds. The salt enhances the flavor and balances the sweetness perfectly.
- For chocolate icing, sift the cocoa powder together with the powdered sugar before adding it to the butter. This prevents cocoa lumps and ensures an even chocolate flavor throughout.
- For tinted icing, add a few drops of your chosen food coloring and mix until you reach your desired shade. Add color gradually—you can always add more, but you can’t take it out!
- Transfer your icing to a piping bag fitted with your desired tip, or use an offset spatula for spreading. If you’re storing it for later, transfer it to an airtight container and refrigerate.

Pro Tips
Sifting powdered sugar is not optional if you want the smoothest texture. While it takes an extra minute, it completely eliminates lumps that can make your icing grainy. Use a fine-mesh sifter or even a small strainer.
The consistency of your icing depends on what you’ll be using it for. For piping decorative swirls on cupcakes, you want it thicker. For spreading on a layer cake, you want it slightly looser. Start with less liquid and add more gradually until you reach your preferred consistency.
This icing can be made up to three days in advance and stored in an airtight container in the refrigerator. When ready to use, let it come to room temperature for about 30 minutes and give it a quick stir to restore the fluffy texture. You can also rewhip it with an electric mixer for about one minute to make it fluffy again.
For chocolate icing, use unsweetened cocoa powder rather than hot cocoa mix, which contains sugar and can make the icing too sweet. The cocoa powder adds rich chocolate flavor without adding extra sweetness.
Experiment with extract variations. Almond extract, peppermint extract, or lemon extract can all be substituted for vanilla extract in equal amounts. Even a quarter teaspoon of espresso powder can add depth to chocolate icing.
If your icing becomes too soft during decorating, simply place the piping bag in the refrigerator for 10-15 minutes to firm up slightly. This is especially helpful on warm days.
This icing is stable enough for outdoor events and can handle modest temperature fluctuations better than cream cheese frosting. However, it will still soften in extremely hot conditions, so keep decorated cakes in a cool location when possible.
For vegan icing, substitute the butter with vegan butter in a 1:1 ratio and use non-dairy milk instead of heavy cream. The results are nearly identical to traditional icing.
If you accidentally add too much liquid and the icing becomes too soft, simply add more powdered sugar, one tablespoon at a time, mixing well after each addition until you reach the desired consistency.