
Making homemade ice cream has never been easier, and if you have a KitchenAid ice cream maker attachment, you’re about to discover just how simple and delicious this process can be! This foolproof recipe requires just a handful of ingredients and minimal effort, thanks to your trusty KitchenAid mixer. Whether you’re a seasoned baker or a complete beginner in the kitchen, this recipe will have you scooping creamy, dreamy ice cream in no time.
The beauty of using a KitchenAid ice cream maker is that it takes all the guesswork out of churning. No more standing over a hand-crank machine or worrying about the consistency – your mixer does all the heavy lifting for you. This recipe creates a rich, velvety vanilla base that’s perfect on its own, but it’s also incredibly versatile. Once you master this basic technique, you can easily customize it with your favorite flavors, mix-ins, and toppings.
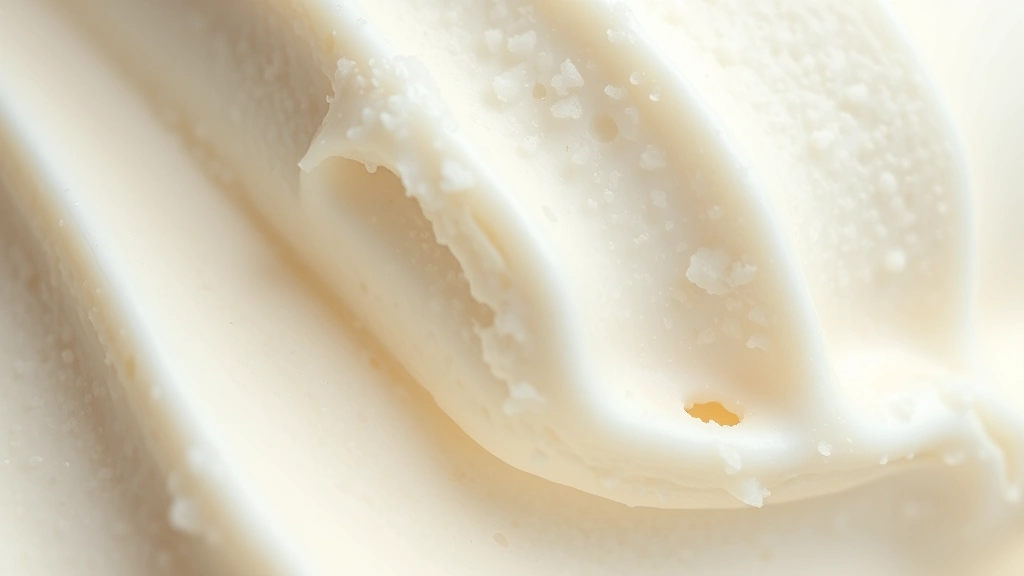
One of the best things about homemade ice cream is that you control exactly what goes into it. No mysterious ingredients or artificial flavors – just pure, simple, delicious ice cream made with love in your own kitchen. This recipe uses a no-cook method, which means you can have ice cream ready to churn in just 15 minutes. The custard-style base creates that luxurious texture that rivals any ice cream shop, and the best part? You’ll save money and have fun doing it.
I recommend starting with this classic vanilla flavor before experimenting with other options. Once you understand the basic proportions and technique, you can create countless variations. Want to make salted caramel? Chocolate? Strawberry? The possibilities are truly endless. Plus, homemade ice cream makes an impressive dessert for dinner parties or a special treat for the family. Your guests will be amazed when you tell them you made it yourself!
When selecting your ingredients, quality matters. Use real vanilla extract, not imitation, and choose the best heavy cream you can find. The higher fat content in quality cream will give you that restaurant-quality texture that makes homemade ice cream so special. This recipe also works beautifully as a base for heavy cream recipes that require a custard component. The same technique can be adapted for savory applications, though you’ll want to keep this one sweet!
If you’re new to the KitchenAid ice cream maker, don’t worry – the learning curve is incredibly gentle. The attachment does most of the work, and this recipe is specifically designed to work perfectly with it. You’ll have beautiful, homemade ice cream that’s creamier and more delicious than anything you can buy at the store. Once you make this recipe once, you’ll be making it constantly, I promise. Your family will absolutely love it, and you’ll love how easy it is to create something so impressive from scratch.
Ingredients
- 2 cups heavy cream, cold
- 1 cup whole milk, cold
- 3/4 cup granulated sugar
- 2 tablespoons light corn syrup
- 2 teaspoons pure vanilla extract
- 1/4 teaspoon sea salt
- 1/2 teaspoon xanthan gum (optional, for extra creaminess)
Instructions
- First, place your KitchenAid ice cream maker bowl in the freezer at least 24 hours before you plan to make ice cream. This step is crucial – the bowl must be completely frozen solid for the machine to work properly.
- In a large mixing bowl, combine the cold heavy cream, whole milk, granulated sugar, light corn syrup, vanilla extract, and sea salt.
- If you’re using xanthan gum for extra creaminess, whisk it together with 1 tablespoon of cold milk in a small bowl first to prevent lumps, then add it to your main mixture.
- Whisk all ingredients together until the sugar is completely dissolved. This usually takes about 3-4 minutes of continuous whisking. Make sure there are no sugar crystals remaining in the mixture.
- Taste the mixture and adjust the vanilla or salt if desired. The mixture should taste slightly sweeter than the final ice cream will be, as freezing dulls sweetness perception.
- Strain the mixture through a fine-mesh sieve into another bowl to remove any undissolved sugar or lumps. This step ensures a perfectly smooth texture.
- Cover the mixture and refrigerate for at least 2 hours, or preferably overnight. A well-chilled base churns better and creates a creamier final product.
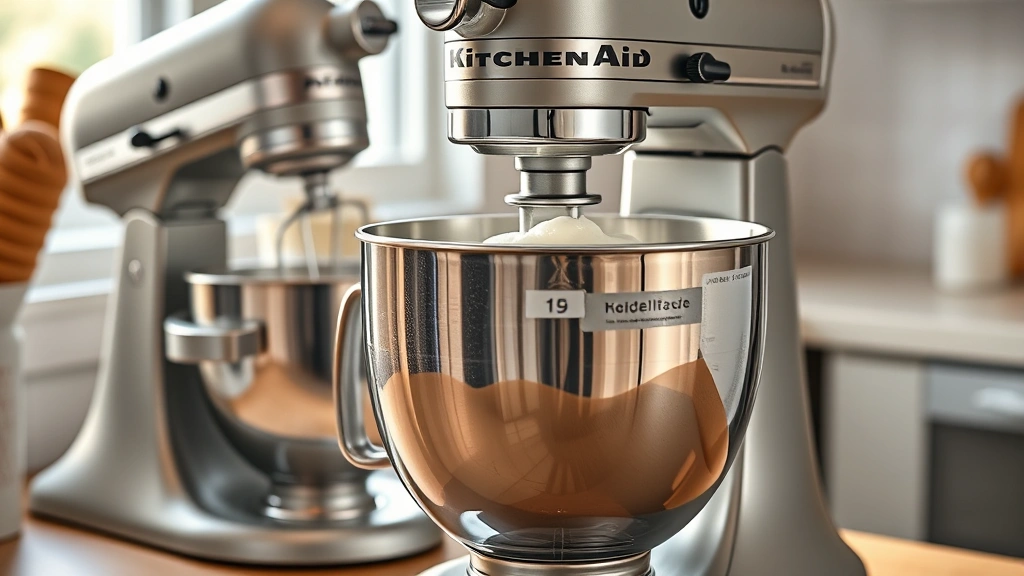
- When you’re ready to churn, remove your frozen KitchenAid ice cream maker bowl from the freezer and attach it to your KitchenAid stand mixer.
- Attach the dasher to the mixer and ensure everything is secure and properly aligned before starting.
- Pour your chilled ice cream base into the frozen bowl and turn the mixer to medium speed.
- Let the machine churn for 20-25 minutes. You’ll notice the mixture gradually thickening and changing color to a lighter shade as it churns.
- The ice cream is ready when it resembles soft-serve consistency and the dasher becomes difficult to turn. If using a KitchenAid stand mixer, you may feel some resistance in the mixer’s movement.
- If you want hard ice cream, transfer the churned ice cream to an airtight container and freeze for at least 4 hours, or until it reaches your desired firmness.
- For soft-serve style ice cream, serve immediately after churning with your favorite toppings.
- Store leftover ice cream in an airtight container in the freezer for up to 2 weeks, though it’s best enjoyed within the first week for optimal texture.
Pro Tips
The importance of the freezer bowl: The frozen bowl is the heart of the KitchenAid ice cream maker. If it’s not frozen solid, your ice cream won’t freeze properly during churning. Always freeze it at least 24 hours before use, and some recipes recommend 48 hours for optimal results.
Churning time variations: Different KitchenAid models may churn at slightly different speeds. If your ice cream isn’t reaching soft-serve consistency after 25 minutes, continue churning in 2-3 minute increments until you reach the desired consistency. Don’t over-churn, as this can result in grainy or separated ice cream.
Customization ideas: Once you master this basic recipe, try adding extract variations like almond, mint, or lemon. You can also fold in mix-ins like chocolate chips, crushed cookies, or nuts during the final 2 minutes of churning. For fruit flavors, make a fruit puree and swirl it in after churning.
Troubleshooting grainy texture: Grainy ice cream usually means the freezer bowl wasn’t cold enough or the base wasn’t cold enough before churning. Always ensure both are thoroughly chilled. The xanthan gum also helps prevent graininess by stabilizing the mixture.
Making it dairy-free: You can substitute heavy cream with coconut cream and milk with your favorite non-dairy alternative. The texture may be slightly different, but it will still be delicious. Add an extra tablespoon of corn syrup to compensate for any differences.
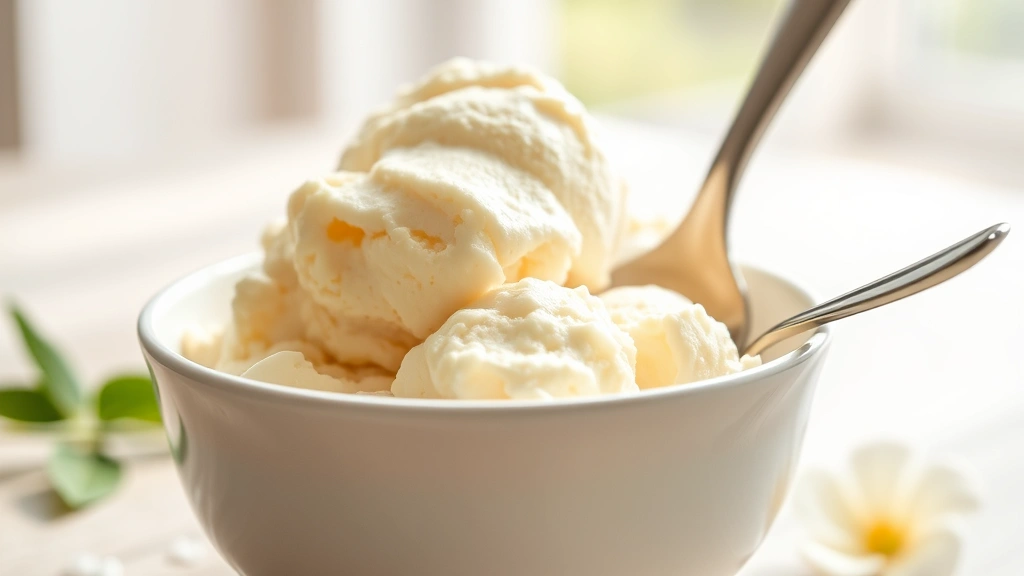
Serving suggestions: Serve your homemade ice cream in chilled bowls for the best experience. Pair it with fresh fruit, pickled red onions for a unique twist, or classic toppings like hot fudge and sprinkles. It’s also delicious alongside light desserts.
Storage recommendations: Homemade ice cream can be stored in the freezer for up to two weeks in an airtight container. To prevent ice crystals from forming, press plastic wrap directly onto the surface of the ice cream before covering with the container lid. Scoop with a warm ice cream scoop for easier serving.
Making larger batches: This recipe makes approximately one quart of ice cream. If you want to make multiple batches, simply double or triple the recipe. However, only churn one batch at a time in your KitchenAid ice cream maker. Prepare all your bases ahead of time so they’re ready to churn in succession.
Temperature control: The temperature of your ingredients and equipment affects the final product significantly. If your kitchen is particularly warm, chill your mixing bowl before preparing the base. In summer months, you might need to refreeze the bowl between batches.
Flavor intensity: Remember that freezing mutes flavors, so your ice cream base should taste noticeably sweet and flavorful before churning. Don’t be shy with vanilla or other extracts – you want these flavors to shine through even after freezing.