
Making perfect dumpling dough at home is easier than you think, and once you master this simple technique, you’ll never go back to store-bought wrappers again. This versatile dough works beautifully for pan-fried dumplings, steamed varieties, and even boiled dumplings. The key to achieving that delicate, chewy texture that rivals your favorite Chinese restaurant lies in understanding the ratio of flour to water and using the proper kneading technique. Whether you’re making pork and chive dumplings or vegetarian fillings, this foundational dough recipe will become your go-to base.
I’ve been making dumplings for years, and I can tell you that the difference between mediocre and exceptional dumplings starts with the dough. Many home cooks overthink it, but the truth is, you only need flour, water, salt, and a little oil to create something magical. The technique matters more than fancy ingredients. This dough is forgiving enough for beginners yet produces restaurant-quality results that will impress your family and friends.
What makes this recipe special is the resting time, which allows the gluten to develop naturally without excessive kneading. This resting period is crucial—it transforms a stiff, difficult-to-work-with dough into something silky and pliable. I’ll walk you through each step, from mixing to rolling, so you can create tender, delicious dumpling wrappers that showcase your favorite fillings. For more inspiration on filling combinations, check out dumpling filling ideas.
One of the best things about making dumpling dough from scratch is that you control the thickness and texture of each wrapper. Store-bought wrappers can be inconsistent, but homemade ones are always perfectly tailored to your preferences. Plus, your kitchen will smell absolutely incredible while you’re working. This recipe yields about 24-30 dumplings, depending on size, making it perfect for a family dinner or meal prep session. Once you’ve mastered this basic dough, you can experiment with variations like whole wheat options or herb-infused versions.
The beauty of this dumpling dough recipe is its simplicity and reliability. You don’t need a stand mixer or any special equipment—just your hands, a bowl, and a rolling pin. I’ve included detailed instructions for both hand-rolling and using a pasta machine, so you can choose the method that works best for you. Whether you’re a dumpling-making novice or an experienced hand, this foolproof recipe will deliver consistently delicious results every single time. For cooking techniques, explore how to cook dumplings and discover Bon Appétit’s dumpling guide for additional inspiration. You’ll also find excellent techniques on Serious Eats and New York Times Cooking.
Ingredients
- 2 cups all-purpose flour, plus more for dusting
- ¾ cup boiling water
- ¼ teaspoon salt
- 1 tablespoon neutral oil (vegetable, canola, or peanut oil)
- Additional water, as needed
Instructions
- Place the all-purpose flour in a large mixing bowl and add the salt, stirring to combine evenly throughout the flour.
- Create a well in the center of the flour mixture, similar to making pasta dough, leaving about an inch of flour around the edges of the bowl.
- Carefully pour the boiling water into the well, stirring gently with a wooden spoon or chopsticks to incorporate the flour gradually from the sides of the well.
- Continue stirring until the water is absorbed and the mixture forms a shaggy, rough dough that begins to come together.
- Allow the dough to cool for 2-3 minutes until it’s comfortable to handle, then transfer it to a clean work surface.
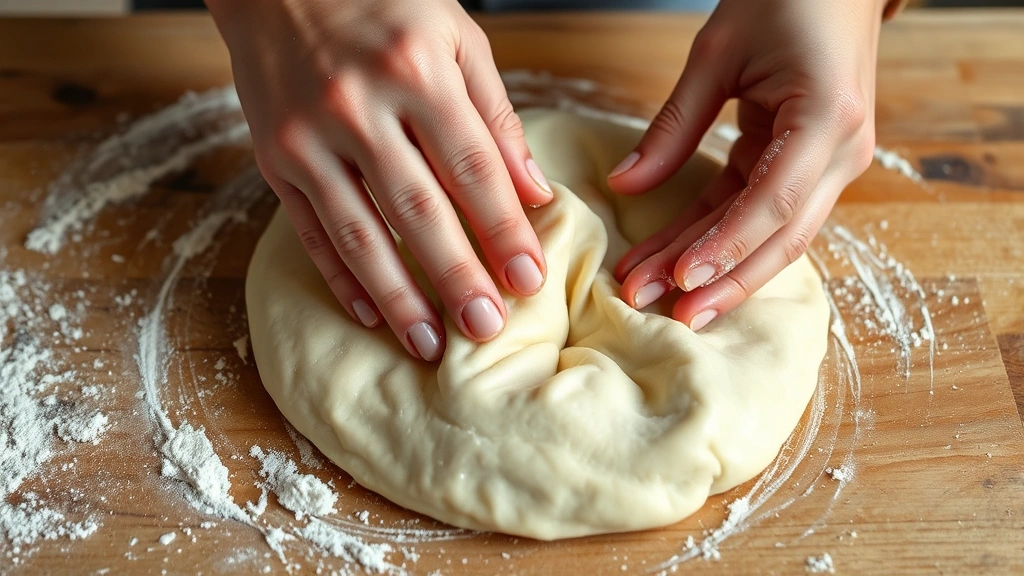
- Knead the dough with the heel of your hand, pushing it away from you and then folding it back over itself repeatedly for about 5-8 minutes.
- As you knead, you may notice the dough is slightly sticky; resist the urge to add more flour—it will become smooth and elastic with continued kneading.
- If the dough seems too dry and won’t come together, wet your hands slightly and continue kneading; if it’s too sticky, dust very lightly with flour.
- Once the dough is smooth, elastic, and no longer sticky (it should feel like a baby’s skin), form it into a ball.
- Rub the surface of the dough ball lightly with the neutral oil, which prevents a crust from forming and keeps it moist.
- Place the oiled dough ball back into the bowl and cover it with a damp kitchen towel or plastic wrap.
- Let the dough rest at room temperature for at least 30 minutes, though 1 hour is ideal; this resting period allows the gluten to relax and makes rolling much easier.
- After resting, divide the dough into two equal portions, keeping one portion covered while working with the other.
- On a lightly floured surface, roll one portion of dough into a log about 12 inches long and 1 inch in diameter.
- Cut the log into 12-15 equal pieces, depending on your desired dumpling size.
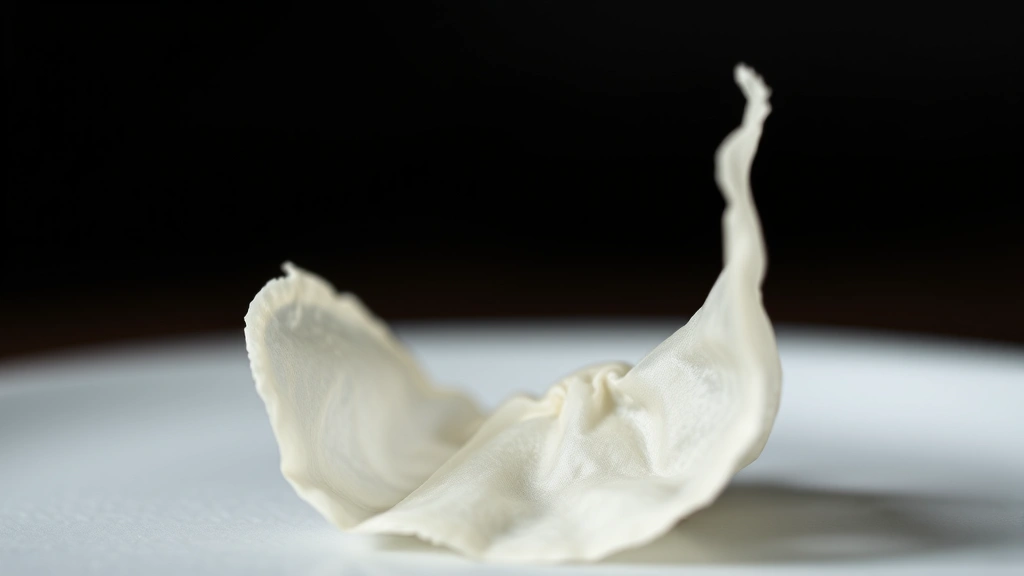
- Flatten each piece slightly with the palm of your hand, then roll it into a thin circle about 3-3.5 inches in diameter.
- To achieve a thinner center and thicker edges (traditional dumpling wrapper style), hold the wrapper in your hand and gently rotate it while pressing the outer edge slightly upward with your rolling pin.
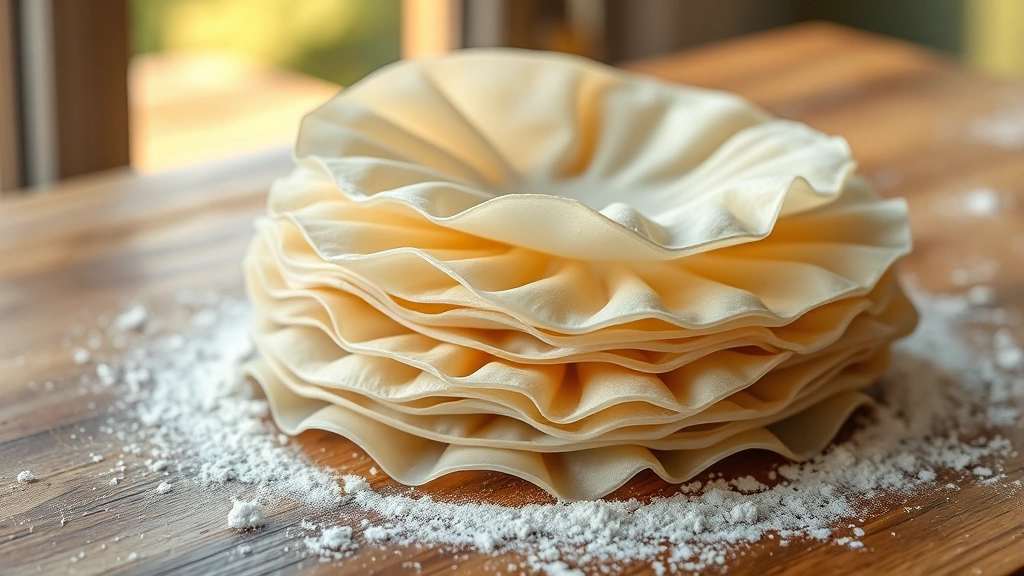
- Stack the finished wrappers on a lightly floured plate, separating each one with a small piece of parchment paper to prevent sticking.
- Repeat with the second portion of dough until all wrappers are complete.
- Use the wrappers immediately for filling and cooking, or store them in an airtight container in the refrigerator for up to 3 days, or freeze for up to 3 months.
Pro Tips
- **Boiling water technique**: Using boiling water helps gelatinize the starches in the flour, creating a more tender dough that doesn’t require excessive kneading. This is the secret to achieving that delicate, chewy texture.
- **Resting time is non-negotiable**: Don’t skip the resting period. This is when gluten relaxes and the flour fully hydrates, making the dough much easier to roll and preventing it from shrinking back.
- **Oil prevents drying**: The oil coating on the dough ball creates a barrier that keeps moisture in. This is especially important if you’re resting the dough for longer periods.
- **Flour ratios**: This recipe uses a 3:1 flour-to-water ratio, which is standard for dumpling dough. The exact amount of water needed can vary slightly based on humidity and flour brand, so add water gradually if needed.
- **Rolling thickness**: Traditional dumplings have thin, delicate centers with slightly thicker edges that hold up to folding and cooking. Practice rotating the wrapper while pressing the edges to achieve this professional look.
- **Storage options**: Fresh wrappers keep for 3 days refrigerated in an airtight container. For longer storage, freeze them on a baking sheet first (to prevent sticking), then transfer to freezer bags for up to 3 months. Cook frozen wrappers directly without thawing.
- **Common mistakes to avoid**: Don’t add too much flour during kneading—it should be slightly tacky at first. Don’t skip the resting period, which leads to tough, shrinking dough. Don’t over-knead, which can make wrappers tough instead of tender.
- **Consistency matters**: Each time you make this recipe, your results should be consistent. If you find wrappers are too thick, thin one, or too thin, increase kneading time slightly or reduce water by a tablespoon.
- **Equipment options**: A pasta machine can replace the rolling pin for ultra-thin, consistent wrappers. If using one, flatten dough pieces by hand first, then run through the machine on progressively thinner settings.
- **Scaling the recipe**: This recipe easily doubles or triples for larger batches. The process remains the same—just divide the final dough into more portions and work in batches.