
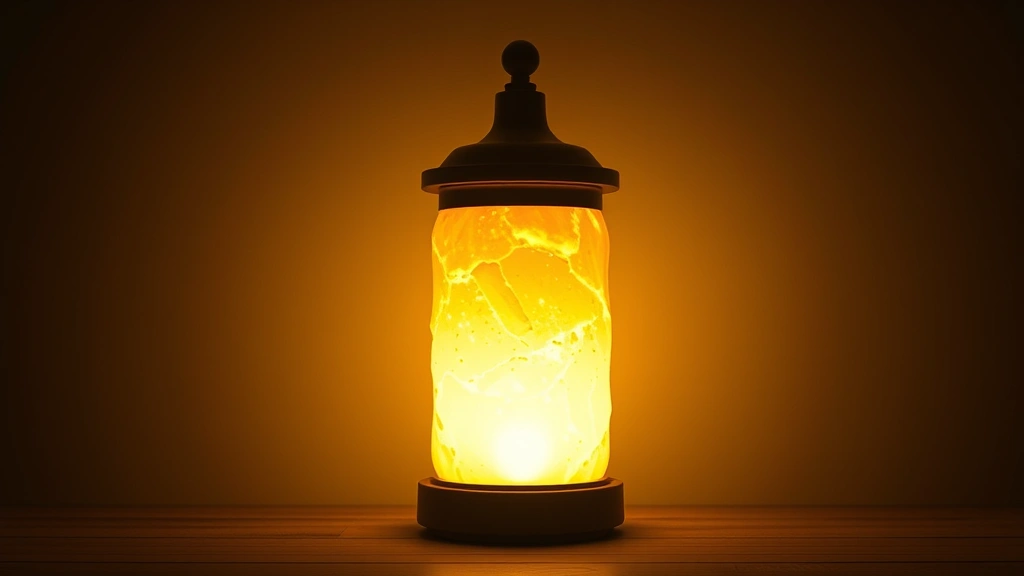
A Glowstone Lamp is a decorative Minecraft-inspired craft that brings magical ambiance to any space! This enchanting project combines simple materials with creative techniques to create a luminous centerpiece that glows softly in the dark. Whether you’re a Minecraft enthusiast, a fantasy fan, or simply looking for a unique DIY project, this glowstone lamp tutorial will guide you through every step of the process. The beauty of this craft lies in its versatility—you can customize the colors, sizes, and intensity of the glow to match your personal style and room décor.
Glowstone lamps have become increasingly popular as ambient lighting solutions and conversation pieces in bedrooms, gaming spaces, and creative studios. The combination of warm LED lighting with translucent materials creates that iconic glowing effect reminiscent of the beloved video game. Unlike traditional lamps, a glowstone lamp offers a softer, more ethereal light quality that’s perfect for relaxation and creating a cozy atmosphere. This project is suitable for crafters of all skill levels, from complete beginners to experienced DIY enthusiasts. You can complete a basic version in under an hour, while more elaborate designs might take a few hours to perfect.
The magic of creating your own glowstone lamp lies in understanding how light interacts with different materials. We’ll explore various techniques for achieving that perfect glow, including working with resin casting methods, LED light integration, and material selection strategies. You’ll learn how to layer translucent materials for depth and dimension, create realistic textures that mimic the blocky Minecraft aesthetic, and wire your lighting for optimal performance. This comprehensive guide includes troubleshooting tips, safety considerations, and creative variations to inspire your unique vision.
For additional inspiration and lighting design concepts, check out Bon Appétit’s creative lighting projects, though this craft transcends traditional cooking into pure creative territory. Many crafters also reference Serious Eats for precision techniques that apply to detailed crafting work. The New York Times Cooking section occasionally features creative food-based lighting projects that share similar principles with this glowstone lamp build.
Before you begin, gather all necessary materials and tools in one workspace. Read through the entire guide to familiarize yourself with the process and identify any steps where you might need additional research or preparation. This project is an excellent opportunity to experiment with color theory, light intensity, and material properties. Whether you’re creating this for personal enjoyment, as a gift for a Minecraft-loving friend, or as a unique room decoration, the satisfaction of seeing your glowstone lamp illuminate for the first time makes every step worthwhile. Let’s dive into the complete process of creating your perfect glowstone lamp!
Ingredients
- One clear or frosted glass or acrylic cube (4-6 inches per side)
- LED light strip or small LED bulb (warm white 3000K recommended)
- Clear epoxy resin or UV resin (2-part epoxy or single-part UV)
- Yellow, orange, or amber resin dye or acrylic paint
- Mica powder or metallic pigments for shimmer effect
- Sandpaper (120, 220, and 400 grit)
- Clear silicone sealant or adhesive
- Small wooden base or cork coaster (optional)
- Wire or electrical tape for securing LED
- Drill with bits (for cable holes if needed)
- Safety glasses and nitrile gloves
- Measuring cups and mixing sticks (dedicated to resin only)
- Heat gun or torch for bubble removal
- Foam padding or protective layers
Instructions
- Prepare your workspace by covering the entire area with newspaper or disposable surface protection, ensuring adequate ventilation if working with epoxy resin. Gather all materials and tools within arm’s reach to avoid interruptions during the resin mixing and pouring process.
- Put on safety glasses and nitrile gloves before handling any materials. Ensure you’re working in a well-ventilated area, as resin fumes can be strong and potentially irritating to respiratory systems.
- If using a glass cube, clean all surfaces thoroughly with rubbing alcohol and allow to dry completely. Any dust or residue will be trapped in the resin and compromise the final appearance.
- Measure out your resin according to package directions, typically using a 1:1 ratio for two-part epoxy resin. Pour both parts into a dedicated mixing container (never use cooking vessels).
- Stir the resin mixture slowly and deliberately for at least 2-3 minutes, ensuring thorough blending while minimizing air bubble introduction. Scrape the sides and bottom of the container multiple times.
- Add your chosen resin dye or pigment drop by drop, stirring constantly until you achieve your desired golden, yellow, or amber color. Start with less pigment than you think you need—you can always add more.
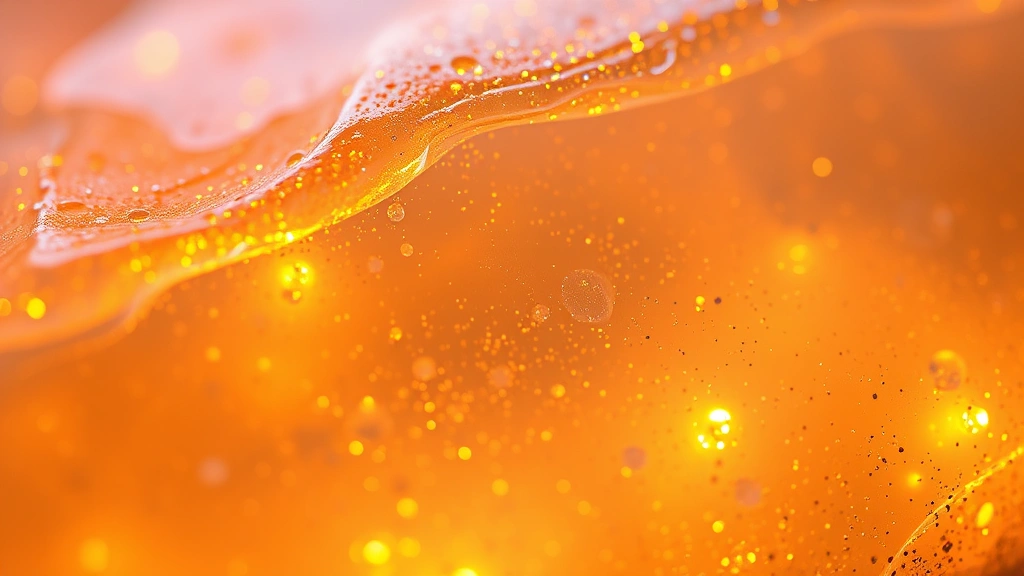
- Sprinkle a small amount of mica powder or metallic pigment into the colored resin and stir gently to distribute evenly. This creates the magical sparkle effect characteristic of glowstone.
- Use a heat gun or torch on low setting to carefully pass over the resin surface for 30-60 seconds, popping surface bubbles without overheating. Work in gentle circular motions to avoid creating new bubbles.
- Place your glass or acrylic cube on a level surface with foam padding underneath to protect it and absorb excess resin that may seep out.
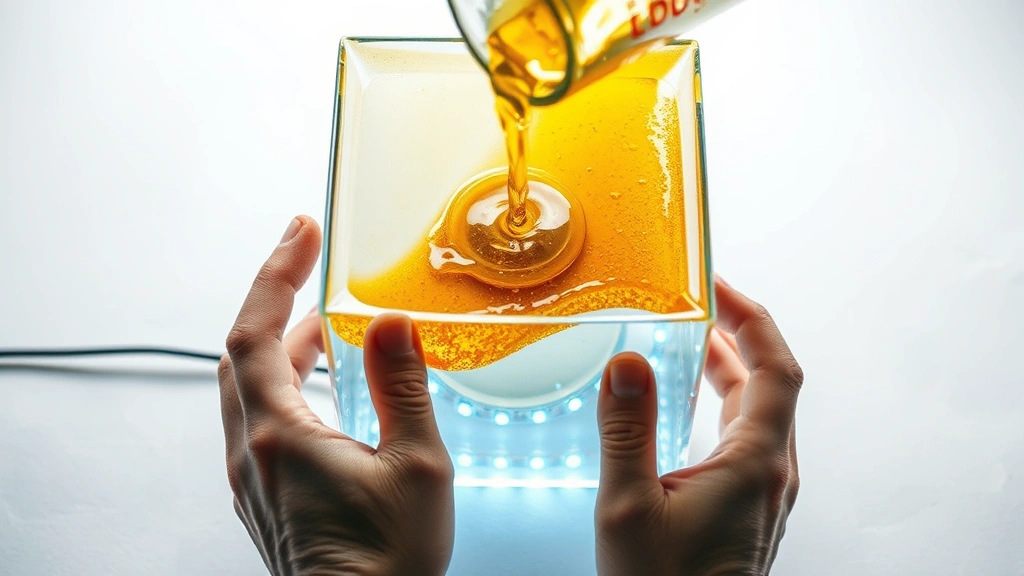
- Carefully pour the colored resin into your cube, filling it approximately three-quarters full. Pour slowly and steadily to minimize bubble formation and allow air pockets to escape naturally.
- Use a heat gun again over the freshly poured resin, moving it back and forth at a 45-degree angle. Watch as bubbles rise and pop on the surface—this process is crucial for clarity.
- If you see any remaining bubbles after heating, use a toothpick or small stick to gently pop them individually. Do not overwork the surface as this reactivates the sticky resin.
- Allow the resin to cure according to package directions, typically 24 hours for epoxy resin. Place in a dust-free location and resist the urge to move or disturb the cube during this time.
- Once fully cured, carefully remove the cube and inspect the resin casting for any defects. Lightly sand the outer surfaces with 400-grit sandpaper to remove dust particles and create a frosted effect if desired.
- Prepare your LED light source by testing it thoroughly before installation. Choose between an LED strip that can be attached to the interior surface or a small LED bulb that fits inside the cube.
- If using an LED strip, clean the interior surface where it will adhere with rubbing alcohol, then carefully peel and press the strip into place, running the wire along one edge or through a small drilled hole.
- Drill a small hole through the bottom or side of your cube base to accommodate the LED wire if it’s not already present. Use a drill bit appropriate for your material and work carefully to avoid cracking.
- Apply clear silicone sealant around the LED wire at the entry point to create a waterproof seal and prevent dust from entering the lamp interior.
- Connect the LED light to its power source, using a USB adapter, battery pack, or wall outlet depending on your LED type. Test the light to ensure it powers on correctly.
- Place your glowstone lamp on its base or wooden block, positioning it in your desired location. The soft glow should now illuminate beautifully, creating that authentic Minecraft glowstone effect.
- If the glow seems too bright or too dim, you can adjust by adding diffuser material around the lamp, changing the LED intensity if it’s dimmable, or creating a shade from frosted acetate or vellum paper.
- Allow the entire installation to cure and stabilize for an additional 24-48 hours before handling extensively. This ensures all adhesives and sealants are fully set.
- Clean any excess resin or adhesive from the exterior surfaces using rubbing alcohol and a soft cloth. Display your glowstone lamp proudly and enjoy the enchanting ambient lighting!
Pro Tips
- **Material Selection Matters**: Choose between glass and acrylic based on your preference—glass provides superior clarity and scratch resistance but is heavier and more fragile, while acrylic is lightweight, durable, and easier to drill, though it may scratch more easily.
- **Resin Type Considerations**: Two-part epoxy resin offers longer working time and is more forgiving for beginners, while UV resin cures faster (minutes instead of hours) but requires a UV light source and has a smaller working window.
- **Color Customization**: Experiment with different pigment ratios to achieve the perfect shade—golden yellow mimics classic Minecraft glowstone, while orange and amber variations create warmer or cooler ambiances depending on your preference.
- **Bubble Prevention is Critical**: Most imperfections in glowstone lamps result from trapped air bubbles. Invest in a heat gun for professional results—it’s the single most important tool for achieving crystal-clear resin.
- **LED Selection**: Warm white LEDs (2700-3000K color temperature) create the most authentic glowstone effect, while cool white or RGB LEDs offer modern alternatives. Battery-powered LEDs provide flexibility in placement without requiring nearby outlets.
- **Safety Precautions**: Always wear gloves when handling uncured resin, work in well-ventilated spaces, never use food containers for resin mixing, and keep resin away from skin contact. Allow proper curing time before handling extensively.
- **Texture and Finish Options**: For authentic Minecraft aesthetics, consider adding a frosted finish by lightly sanding the exterior with fine-grit sandpaper. This diffuses light more evenly and reduces glare.
- **Troubleshooting Common Issues**: Cloudy resin usually results from moisture contamination—ensure all materials are dry before mixing. Yellow discoloration over time indicates UV exposure—store lamps away from direct sunlight to preserve color vibrancy.
- **Display and Care**: Place your glowstone lamp on stable surfaces away from heat sources and direct sunlight. Clean the exterior occasionally with a soft, dry cloth to maintain clarity and prevent dust accumulation.
- **Creative Variations**: Create multiple lamps in different sizes for visual interest, build a display shelf featuring several glowstone pieces, or experiment with embedded objects like small stones, moss, or miniature figures suspended in the resin for unique effects.
- **Gift-Giving Appeal**: Glowstone lamps make exceptional gifts for Minecraft enthusiasts, gamers, and anyone who appreciates unique ambient lighting. Package carefully with protective padding to prevent damage during transport.