
Making gluten-free sourdough at home might seem intimidating, but I’m here to tell you it’s absolutely achievable! The secret is using the right blend of gluten-free flours and understanding how they behave differently than traditional wheat flour. This recipe creates a beautifully tangy, crusty loaf with a soft interior that rivals any traditional sourdough.
Gluten-free sourdough requires patience and a bit more technique than conventional sourdough, but the results are so worth it. The key is maintaining a healthy, active starter and using a combination of flours that provide structure and flavor. I like to use a mix of brown rice flour, tapioca starch, and sorghum flour for the best texture and taste.
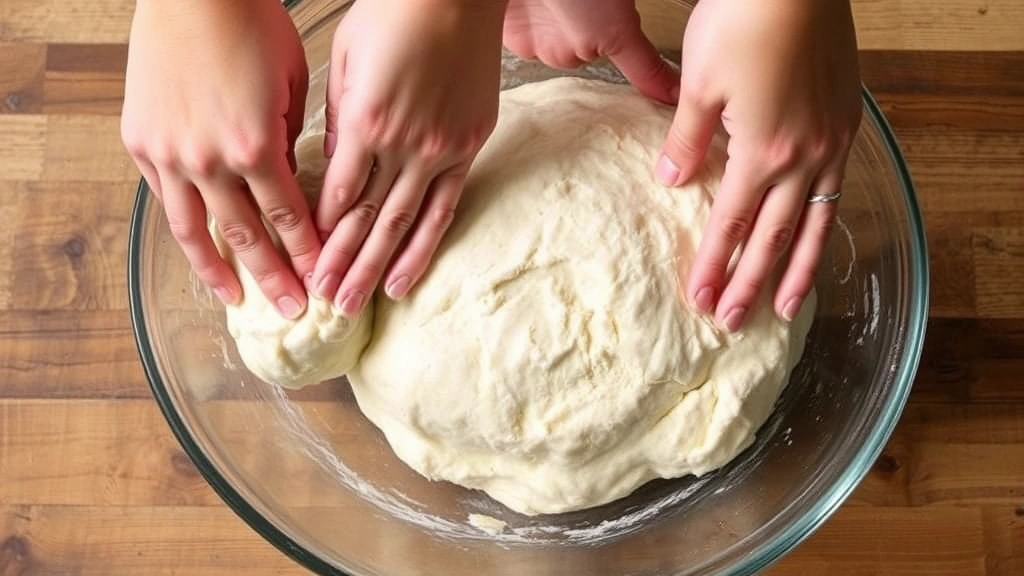
The fermentation process is slightly different from regular sourdough because gluten-free doughs are typically wetter and more delicate. We’ll use a series of gentle stretches and folds instead of aggressive kneading, which helps develop the dough’s strength without requiring gluten. The long, slow fermentation develops that signature sourdough tang and creates wonderful flavor complexity.
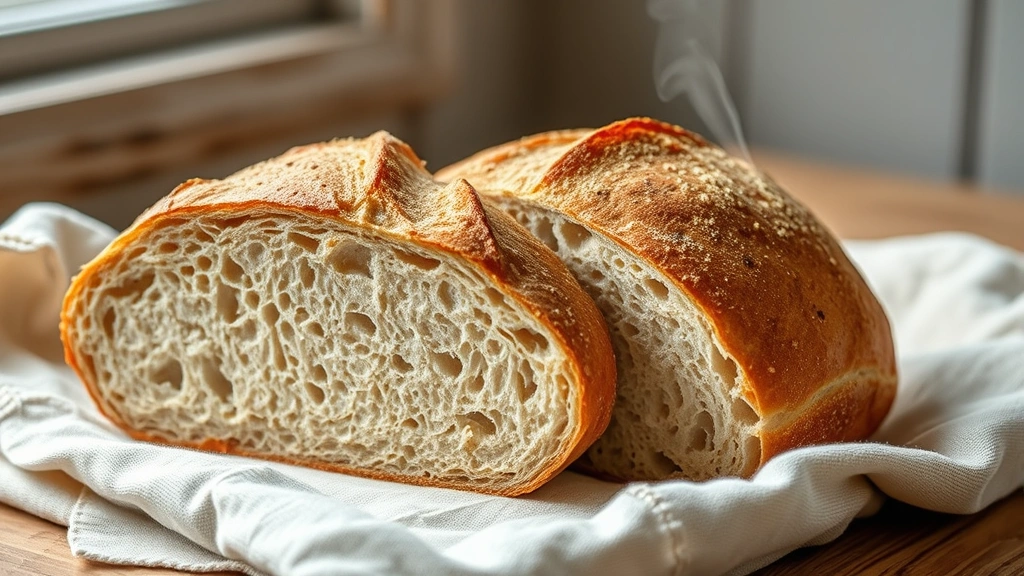
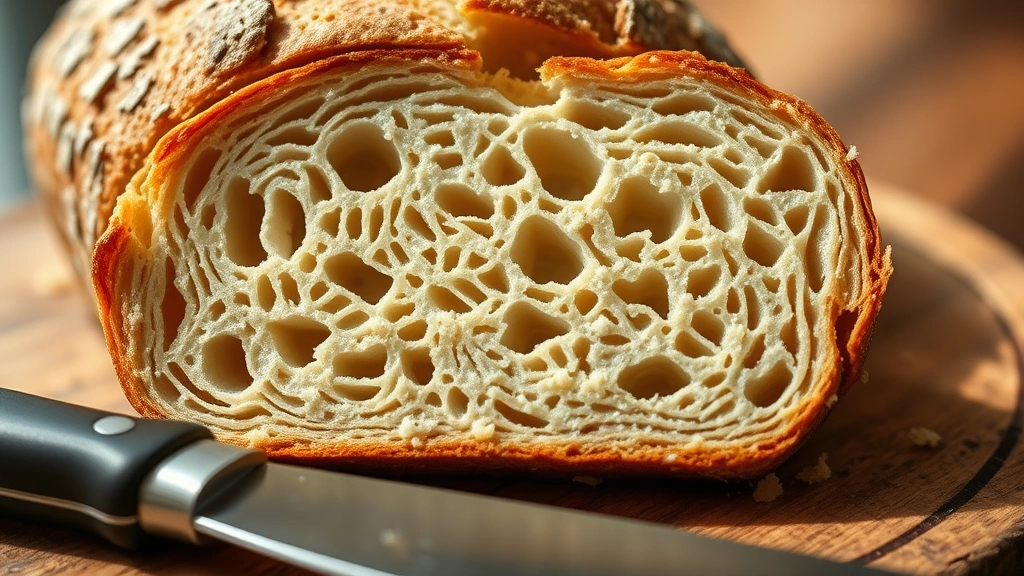
My favorite part about this recipe is the crust—it gets incredibly crispy and golden brown in a Dutch oven, creating that satisfying crackle when you slice into it. Inside, you’ll find a tender crumb with just the right amount of air pockets. Serve it warm with butter, use it for sandwiches, or toast it for breakfast. Check out my Best Heavy Cream Alfredo Sauce Recipe for a delicious way to use your fresh bread, or try it with my Easy Chicken Alfredo Recipe.
While you’re baking, explore more about sourdough techniques on Serious Eats, which has incredible resources on fermentation science. For additional inspiration on gluten-free baking, Bon Appétit offers wonderful gluten-free recipes. You might also enjoy pairing your sourdough with my Best Shishito Peppers Recipe or Best Garlic Shrimp Scampi Recipe for an elegant dinner.
The beauty of homemade gluten-free sourdough is that you control every ingredient—no strange additives or unnecessary chemicals. Plus, the slow fermentation makes it easier to digest than commercial gluten-free bread. Once you master this recipe, you’ll never want to buy store-bought gluten-free bread again!
Ingredients
- 1 cup active gluten-free sourdough starter (fed 4-8 hours prior, bubbly and doubled)
- 1 cup warm water (105-110°F)
- 1½ cups brown rice flour
- ¾ cup tapioca starch
- ½ cup sorghum flour
- ¼ cup potato starch
- 2 teaspoons fine sea salt
- 1 tablespoon honey or sugar
- 2 tablespoons olive oil or melted butter
- 1 teaspoon xanthan gum (omit if your GF flour blend already contains it)
- ½ teaspoon instant yeast (optional, helps with rise)
- Extra rice flour for dusting
Instructions
- Feed your gluten-free sourdough starter 4-8 hours before you plan to mix your dough. You want it to be bubbly, doubled in size, and at peak activity. A well-fed starter is crucial for good flavor and rise.
- In a large mixing bowl, combine your active starter with 1 cup of warm water, stirring until mostly combined.
- In a separate bowl, whisk together brown rice flour, tapioca starch, sorghum flour, potato starch, xanthan gum, and salt. This flour blend creates the best texture and flavor for gluten-free sourdough.
- Add the dry ingredients to the wet ingredients, stirring with a sturdy spoon or dough whisk until all flour is incorporated. The dough will be thick, batter-like, and much wetter than traditional sourdough.
- Add honey and olive oil, stirring until fully incorporated. The dough should look shaggy but well-combined.
- Cover the bowl with a damp kitchen towel or plastic wrap. Let it rest for 30 minutes. This autolyse period allows the flours to fully hydrate and improves overall texture.
- After the rest, perform your first set of stretch and folds: wet your hand, reach into the bowl, grab the side of the dough, and fold it over itself toward the center. Rotate the bowl 90 degrees and repeat. Do this 4-6 times until the dough becomes tighter and smoother.
- Cover again and let rest for 30 minutes at room temperature (68-72°F is ideal).
- Repeat the stretch and fold sequence 4 more times over the next 2-3 hours, with 30-minute rests between each set. This builds strength without kneading. You should see the dough gradually become smoother and more cohesive.
- After your final stretch and folds, cover the bowl and let the dough bulk ferment for 8-12 hours at room temperature, or until it’s visibly puffy and has increased in volume by about 50% (not doubled, as gluten-free dough won’t rise as dramatically).
- Once bulk fermentation is complete, prepare a banneton basket or bowl lined with a floured kitchen towel. Dust generously with rice flour.
- Gently turn your dough out onto a rice-flour-dusted surface. Be very gentle—you want to keep as many air bubbles intact as possible.
- Pre-shape the dough gently by folding the edges toward the center, creating a rounded shape. Let it rest for 20 minutes on the floured surface.
- Perform your final shape by gently folding the dough edges toward the center again, creating surface tension. The dough should look like a round ball.
- Carefully place the shaped dough into your prepared banneton, seam-side up. Cover with plastic wrap or a plastic bag.
- Cold retard your dough in the refrigerator for 12-18 hours. This slow, cold fermentation develops incredible flavor and makes the dough easier to score and handle.
- About 45 minutes before baking, preheat your oven to 475°F with a Dutch oven inside. The hot Dutch oven creates steam, which gives you that beautiful crust.
- Once the oven and Dutch oven are fully preheated, carefully remove the Dutch oven using oven mitts.
- Turn your dough out of the banneton onto parchment paper. It should release easily thanks to the rice flour.
- Using a very sharp knife or bread lame, score the top of your loaf with a single slash or a cross pattern, cutting about ¼ inch deep. This controls where the bread expands.
- Carefully place the dough (still on parchment) into the hot Dutch oven. It’s okay if some parchment hangs out of the pot.
- Cover with the Dutch oven lid and bake for 25 minutes. This steamy environment is essential for gluten-free bread, creating the crispy crust.
- Remove the Dutch oven lid and bake for an additional 20-25 minutes, until the crust is deep golden brown and the loaf sounds hollow when tapped on the bottom.
- Remove from the oven and let cool on a wire rack for at least 1 hour before slicing. This allows the interior to set properly.
- Slice, serve warm with butter, and enjoy your homemade gluten-free sourdough!
Pro Tips
- **Starter is everything**: Use a healthy, active gluten-free starter that’s been fed regularly. A weak starter will result in a dense, flat loaf. If you don’t have one, you can make one by mixing equal parts gluten-free flour and water, feeding daily for 5-7 days until bubbly.
- **Flour blends matter**: Don’t skip the specific flour combination. Brown rice flour provides structure, tapioca starch adds chewiness, sorghum flour adds flavor, and potato starch creates a lighter crumb. You can substitute with a quality gluten-free all-purpose flour that contains xanthan gum, but results may vary.
- **Xanthan gum is crucial**: This ingredient replaces gluten’s binding properties. Without it, your bread will be crumbly. Most gluten-free flour blends already contain it, so check before adding extra.
- **Temperature matters**: Gluten-free dough ferments differently at different temperatures. Cooler temps (68-70°F) are ideal, as they slow fermentation and improve flavor development. Warmer temps will speed things up.
- **The dough is supposed to be wet**: Unlike traditional sourdough, gluten-free sourdough is much wetter and more like a thick batter. This is normal and necessary for proper texture.
- **Stretch and folds are essential**: These replace traditional kneading and build dough strength gradually. Never skip them—they’re what makes the bread turn out light and airy.
- **Don’t double the dough**: Gluten-free dough won’t double in volume like traditional sourdough. Aim for 50-75% increase during bulk fermentation. Watch the dough, not the clock.
- **Cold retard overnight**: This step is game-changing for flavor. The long, cold fermentation develops that signature sourdough tang and makes scoring easier.
- **Dutch oven is non-negotiable**: The steam created by the covered Dutch oven is essential for developing that crispy, crackly crust. Without it, you’ll get a pale, tough crust.
- **Score before baking**: Even a simple single slash helps control expansion and creates that beautiful ear on the bread.
- **Cool completely before slicing**: This is hard to do when the bread smells amazing, but cutting into warm bread will compress the crumb. Wait at least an hour for the best texture.
- **Storage**: Keep leftover bread in a paper bag at room temperature for 2-3 days. For longer storage, wrap tightly and freeze for up to 3 months. Thaw at room temperature before serving.
- **Troubleshooting**: If your bread is dense, your starter might not be active enough or you didn’t ferment long enough. If it’s too sour, reduce bulk fermentation time. If the crust is too thick, reduce oven temperature by 25°F.