
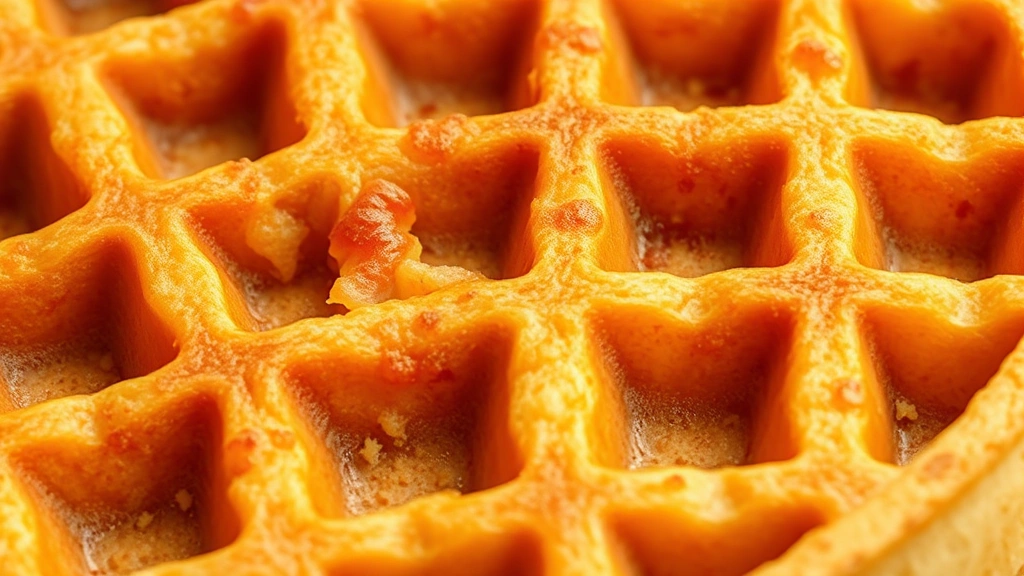
There’s nothing quite like waking up to a stack of warm, crispy waffles fresh off the griddle—and the best part is, you don’t need gluten to make them absolutely delicious! This gluten-free waffle recipe has been perfected through years of testing, and I’m thrilled to finally share it with you. These waffles are light, fluffy, and have that perfect golden-brown exterior that makes your taste buds sing.
What makes this recipe truly special is the combination of gluten-free flours that work together to create an incredibly tender crumb while maintaining structure and that signature waffle texture. Unlike some gluten-free baking attempts that can feel dense or gritty, these waffles are genuinely indistinguishable from their traditional counterparts. The secret lies in using a blend of rice flour, tapioca starch, and cornstarch, along with xanthan gum to provide that crucial binding element that gluten usually provides.
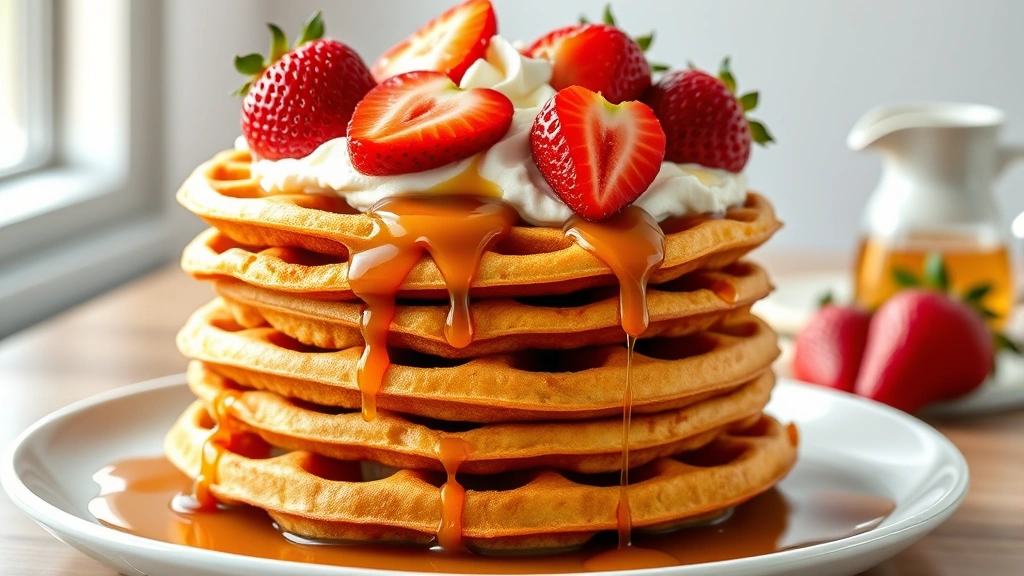
I’ve served these waffles to countless guests over the years, and most people are genuinely shocked when I tell them they’re gluten-free. They’re that good. Whether you’re cooking for someone with celiac disease, a gluten sensitivity, or you’re simply looking to expand your breakfast repertoire, this recipe is an absolute game-changer. The beauty of this recipe is its versatility—you can top them with fresh berries and whipped cream, maple syrup and butter, or even savory toppings like chicken alfredo for a creative brunch twist.
Before you start, make sure you have a good quality waffle iron—this really does make a difference in the final product. I also recommend investing in a reliable gluten-free flour blend if you don’t want to mix your own flours. That said, this homemade blend is incredibly cost-effective and gives you complete control over the ingredients. Many store-bought blends contain additives and fillers that aren’t always necessary.
The technique is just as important as the ingredients when making perfect waffles. You’ll want to separate your eggs to create extra volume and fluffiness—the egg whites, when whipped into stiff peaks, incorporate air that creates those beautiful, light waffles with a wonderful texture. Don’t overmix the batter once you’ve added the dry ingredients; a few lumps are actually desirable here. Overmixing can activate the xanthan gum too much and make your waffles gluey instead of fluffy.
Temperature is another crucial factor. Make sure your waffle iron is fully preheated and hot enough—if it’s not hot enough, your waffles won’t get that beautiful crispy exterior. I like to test my iron with a tiny bit of batter first to ensure it’s at the right temperature. Also, resist the urge to open your waffle iron too early. Let those waffles cook for the full time indicated by your machine’s indicator light, or about 4-5 minutes, depending on your specific iron.
For serving suggestions, I love pairing these waffles with fresh whipped cream, maple syrup, fresh berries, or even a chickpea salad for a more protein-packed breakfast option. You could also drizzle them with a homemade heavy cream alfredo sauce for a delightful brunch dish, or keep things simple with butter and powdered sugar.
One of my favorite aspects of this recipe is that the batter can be made ahead of time and refrigerated for up to 24 hours, which makes it perfect for those mornings when you want breakfast ready quickly. Just fold in the whipped egg whites right before cooking for maximum fluffiness. These waffles also freeze beautifully—pop them in a freezer-safe container, and you can reheat them in the toaster for a quick weekday breakfast.
If you’re new to gluten-free baking, this recipe is an excellent starting point because waffles are more forgiving than some other baked goods. The moisture from the eggs and milk helps compensate for the lack of gluten’s binding properties, and the waffle iron’s heat helps set the structure. For more tips on gluten-free cooking techniques, check out Serious Eats’ gluten-free section.
The nutritional benefits of this recipe are worth noting too. By using gluten-free flours and real eggs, you’re getting a breakfast that’s actually quite nutritious. The eggs provide protein and choline for brain health, while the rice flour offers a good source of carbohydrates for sustained energy. If you want to add even more nutrition, you could incorporate mashed bananas, grated zucchini, or add some chopped nuts to the batter.
I absolutely love the consistency of texture you get with this particular blend of flours. The rice flour provides a light base, the tapioca starch adds elasticity and chewiness, and the cornstarch brings a tender crumb. Together, they create a flour blend that mimics all-purpose flour remarkably well. Xanthan gum is the crucial binding agent that replaces gluten’s elasticity—without it, your waffles would fall apart.
For those watching their sugar intake, this recipe uses a moderate amount of sugar, but you can always reduce it slightly or substitute with a sugar alternative if desired. The recipe also includes a touch of vanilla extract and a pinch of salt to enhance all the flavors and prevent the waffles from tasting flat.
If you find that your waffles are coming out too dry, you might need to add an extra tablespoon or two of milk to your batter. Conversely, if they’re too wet and not cooking through properly, reduce the milk slightly. Every waffle iron is different, and humidity in your kitchen can affect the batter consistency, so slight adjustments might be necessary.
I’d love to hear how your waffles turn out! This recipe has been perfected through countless breakfast attempts, and it’s one I’m truly proud to share. For additional inspiration on gluten-free breakfast options, check out Bon Appétit’s breakfast collection or The New York Times Cooking section.
Ingredients
- 1 cup sweet rice flour
- 1/2 cup tapioca starch
- 1/4 cup cornstarch
- 2 tablespoons sugar
- 1 1/2 teaspoons baking powder
- 1/2 teaspoon xanthan gum
- 1/4 teaspoon salt
- 2 large eggs, separated
- 1 3/4 cups whole milk
- 4 tablespoons unsalted butter, melted
- 1 1/2 teaspoons vanilla extract
- Additional butter for greasing waffle iron
Instructions
- Preheat your waffle iron according to manufacturer instructions, usually 3-5 minutes until the indicator light shows it’s ready.
- In a large mixing bowl, whisk together the sweet rice flour, tapioca starch, cornstarch, sugar, baking powder, xanthan gum, and salt until well combined and no lumps remain.
- In a separate medium bowl, whisk together the egg yolks, milk, melted butter, and vanilla extract until smooth and fully combined.
- Pour the wet ingredients into the dry ingredients and stir gently until just combined—some lumps are okay and actually preferable; overmixing will result in tough waffles.
- In another clean bowl, beat the egg whites with an electric mixer on high speed until stiff peaks form, about 2-3 minutes.
- Gently fold the whipped egg whites into the batter in two additions using a rubber spatula, being careful not to deflate the whites—this creates the light, fluffy texture.
- Lightly butter or spray your preheated waffle iron with cooking spray to prevent sticking.
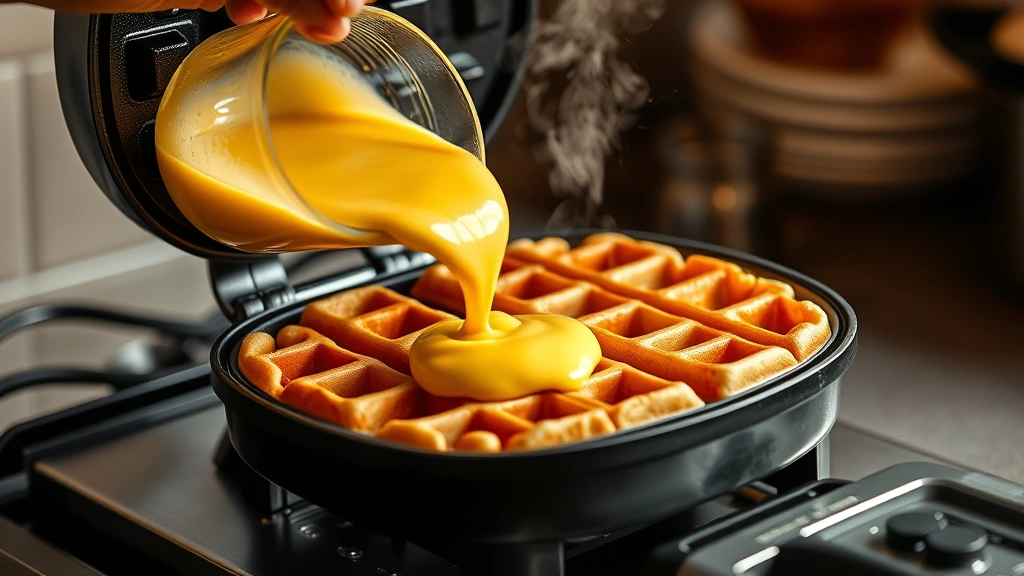
- Pour approximately 3/4 cup of batter (adjust based on your waffle iron size) into the center of the waffle iron.
- Close the lid and cook according to your waffle iron’s instructions, typically 4-5 minutes, until the indicator light signals they’re done or the waffles are golden brown.
- Carefully remove the finished waffle using a fork or small spatula and place on a wire rack to keep warm and maintain crispiness.
- Repeat steps 8-10 with remaining batter, lightly buttering the iron between each waffle.
- Serve warm waffles immediately with your choice of toppings such as maple syrup, fresh berries, whipped cream, powdered sugar, or savory options.
- Any leftover cooked waffles can be cooled completely and frozen in an airtight container for up to 3 months; reheat in a toaster or toaster oven until crispy.
Pro Tips
Flour Blending: If you prefer not to mix your own flours, high-quality commercial gluten-free all-purpose flour blends (like Bob’s Red Mill or King Arthur) work well as a 1:1 substitute, though you may need to add an extra 1/4 teaspoon of xanthan gum since commercial blends sometimes already contain it.
Waffle Iron Temperature: The temperature of your waffle iron significantly affects the final texture. If waffles are pale and soft, your iron isn’t hot enough. If they’re dark too quickly, reduce heat or cooking time. Testing with a small amount of batter first helps you find the perfect temperature.
Xanthan Gum Importance: Don’t skip the xanthan gum—it replaces gluten’s binding and elasticity properties. If you’re sensitive to xanthan gum, you can substitute with psyllium husk powder in equal amounts, though results may vary slightly.
Egg White Separation: Make absolutely sure no yolk gets into your egg whites, as even a tiny bit of yolk will prevent them from whipping properly. Use three bowls instead of two when separating eggs to eliminate this risk.
Frozen Waffle Storage: Frozen waffles keep for up to 3 months and reheat beautifully in a toaster or toaster oven, making them perfect for busy mornings or meal prep.
Topping Variations: Try pairing with Greek yogurt and honey, chocolate chips and banana, berries and lemon curd, or a fried egg and bacon for a savory breakfast option.
Milk Substitutes: Almond milk, oat milk, or coconut milk work as substitutes, though dairy milk produces the best texture and flavor. Adjust thickness of batter as needed depending on your milk choice.
Nutrition Boost: Add mashed banana, grated zucchini, or chopped nuts to the batter for extra nutrition and flavor without affecting the cooking time or technique.