

There’s something truly magical about Libby’s pumpkin pie—it’s the recipe that has graced American dinner tables for generations, and honestly, once you master it, you’ll understand why. This iconic dessert has become synonymous with fall entertaining, and the beauty of using Libby’s canned pumpkin is that you’re getting a consistently perfect base every single time.
I absolutely love making this pie because it requires minimal fuss while delivering maximum flavor and that gorgeous, creamy texture that makes everyone ask for seconds. The combination of warm spices like cinnamon, ginger, and nutmeg creates an aromatic experience that fills your entire kitchen with the essence of autumn. What I appreciate most about this recipe is its reliability—Libby’s has perfected the pumpkin puree process, so you’re not dealing with watery or stringy results.
The secret to achieving that showstopping pumpkin pie lies in a few key techniques that I’m thrilled to share with you. First, understanding the importance of your crust cannot be overstated; whether you’re making it from scratch or using a store-bought version, it needs to be perfectly prepped. Second, the filling ratio of eggs to cream to pumpkin creates that silky, custard-like consistency that melts on your tongue. And third, nailing the baking temperature and time ensures you get that beautiful set without any cracks or weeping.
I recommend making this pie at least a day ahead of your gathering—it actually develops even better flavor overnight, and you’ll have one less thing to worry about on the day of your celebration. The careful balance of ingredients in pumpkin pie is similar to how you’d approach any custard-based dessert, requiring attention to detail and proper technique.
For those seeking additional inspiration on achieving perfect textures in creamy desserts, you might also explore how cream transforms dishes and the science behind emulsification. This knowledge translates beautifully into understanding why your pumpkin pie filling behaves the way it does during baking.
While you’re planning your fall menu, don’t forget about complementary sides and appetizers. Consider preparing pickled red onions for a fresh contrast to your rich desserts, or perhaps a chickpea salad for your main course spread.
Now, let me walk you through creating this stunning Libby’s pumpkin pie that will have your guests raving all season long. According to Serious Eats’ pumpkin pie guide, the key to avoiding a soggy crust is proper preparation and understanding your oven’s hot spots. For additional expert techniques, The New York Times offers comprehensive pumpkin pie methodology, while Bon Appétit provides creative variations if you want to experiment once you’ve mastered the classic. These resources will deepen your understanding of pie science and help you troubleshoot any challenges.
Ingredients
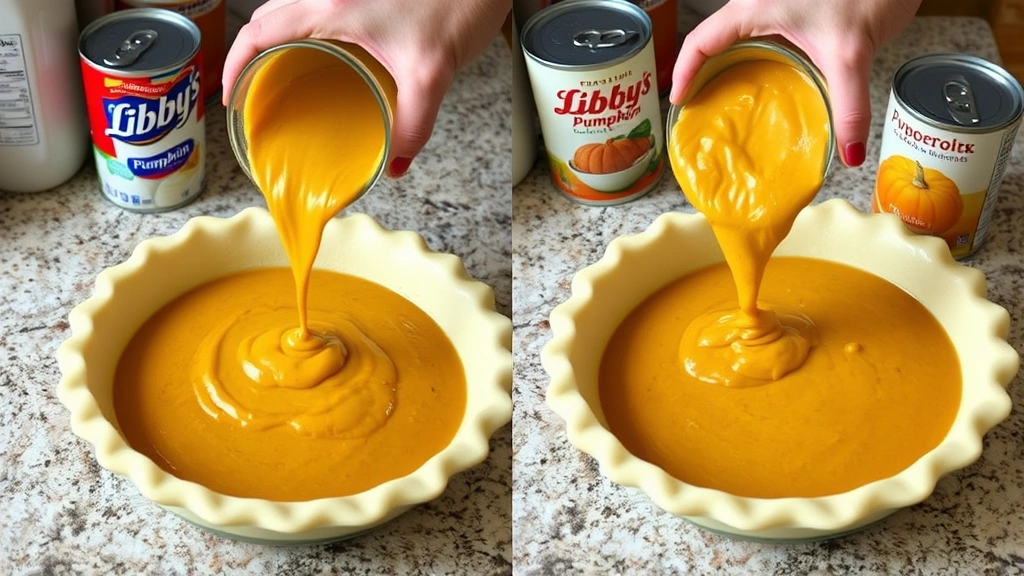
- 1 (15-ounce) can Libby’s 100% Pure Pumpkin
- 3/4 cup granulated sugar
- 1 teaspoon ground cinnamon
- 1/2 teaspoon ground ginger
- 1/4 teaspoon ground cloves
- 1/2 teaspoon salt
- 2 large eggs
- 1 (12-ounce) can evaporated milk
- 1 (9-inch) unbaked pie crust
- 1 tablespoon all-purpose flour (for dusting crust)
- Whipped cream for serving
- Extra cinnamon for garnish (optional)
Instructions
- Preheat your oven to 425°F. Remove your pie crust from the refrigerator and let it sit at room temperature for about 5 minutes to make it easier to work with. This prevents it from cracking when you adjust it in the pan.
- Lightly dust the inside of the pie crust with all-purpose flour, which helps create a barrier against moisture and prevents a soggy bottom crust during baking.
- In a large mixing bowl, combine the Libby’s pumpkin puree, granulated sugar, ground cinnamon, ground ginger, ground cloves, and salt. Stir these dry ingredients together until they’re evenly distributed throughout the pumpkin.
- Crack both eggs into a small bowl and beat them lightly with a fork until the yolks and whites are combined and slightly frothy. This aerates the eggs and helps create a lighter filling texture.
- Pour the beaten eggs into the pumpkin mixture and stir well to combine, making sure there are no streaks of egg white visible in the filling.
- Gradually pour the evaporated milk into the pumpkin and egg mixture while stirring constantly. The filling should be smooth and pourable but not too thin. If you see any lumps, strain the mixture through a fine-mesh sieve.
- Carefully pour the filling into your prepared pie crust, filling it almost to the top but leaving about 1/4 inch of space to prevent overflow during baking.
- Place the filled pie on a baking sheet (this catches any drips and makes it easier to handle the hot pie when removing it from the oven) and transfer it to your preheated 425°F oven.
- Bake at 425°F for 15 minutes, then reduce the oven temperature to 350°F without opening the oven door. Bake for an additional 40-50 minutes, or until a knife inserted near the center comes out clean.
- Remove the pie from the oven and place it on a wire rack to cool. The pie will continue to cook slightly from residual heat, so don’t worry if the center seems slightly soft—it will firm up as it cools.
- Allow the pie to cool to room temperature (about 2 hours), then refrigerate for at least 4 hours or preferably overnight before slicing. This resting time allows the filling to set completely and develop its full flavor.
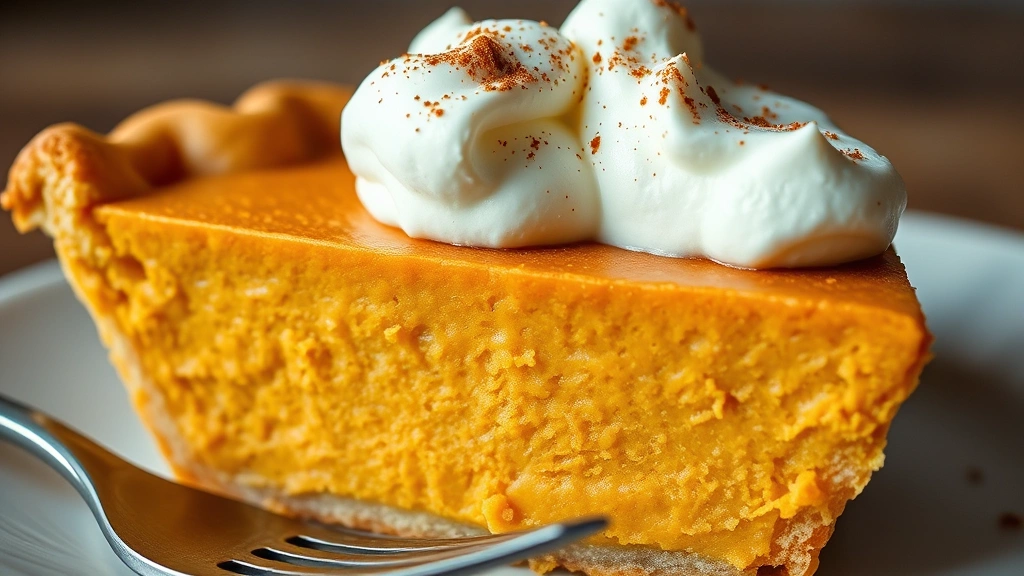
- When ready to serve, slice with a sharp knife dipped in hot water (wipe it clean between cuts for neat slices) and top generously with whipped cream and a sprinkle of cinnamon if desired.
Pro Tips
If your pie starts browning too quickly around the edges, don’t hesitate to cover the crust with aluminum foil or a pie shield. This is completely normal and prevents the crust from burning while the filling continues to set.
The knife test for doneness is crucial—insert it about 1 inch from the edge of the pie rather than directly in the center. The center should still jiggle slightly, as it will continue to cook after removal from the oven. Overbaking results in cracks and a rubbery texture.
For make-ahead convenience, you can prepare this pie up to two days in advance. Cover it loosely with plastic wrap once fully cooled and refrigerate. Bring it to room temperature for about 30 minutes before serving for the best flavor and texture.
If you’re not a fan of evaporated milk, you can substitute it with heavy cream or a combination of heavy cream and milk, though evaporated milk creates a uniquely silky texture that’s hard to replicate.
Leftover pie keeps beautifully in the refrigerator for up to five days. Simply cover it loosely with plastic wrap or store it in a pie container. You can also freeze unbaked pie filling for up to three months—just thaw in the refrigerator before baking.
For a creamier filling, add one extra egg yolk to the mixture. For a firmer, more custard-like texture, reduce the evaporated milk by two tablespoons.
Don’t skip the cooling time—it’s not just about food safety. The filling needs time to set properly through the entire pie, which is why overnight refrigeration yields the best results.