
Making the perfect meringue is easier than you might think, and once you master this classic technique, you’ll be whipping up gorgeous meringue pies, pavlovas, and cookies in no time! Meringue is one of those magical recipes that transforms just a few simple ingredients—egg whites, sugar, and a touch of vanilla—into something absolutely stunning. Whether you’re looking to top a lemon meringue pie, create delicate meringue cookies, or impress guests with a show-stopping pavlova, understanding the fundamentals of meringue-making is essential.
I absolutely love teaching people how to make meringue because it’s genuinely foolproof once you understand what’s happening. The key to perfect meringue is all about patience, the right equipment, and a few insider tricks that make the difference between a flat, weepy meringue and one that’s glossy, stable, and absolutely divine. I’ve been making meringue for years, and I’m thrilled to share everything I’ve learned with you today.
There are three main types of meringue: French meringue (which we’re making here), Swiss meringue, and Italian meringue. French meringue is the most common and the easiest for home bakers to master. It’s perfect for pie toppings, cookies, and pavlovas. The beauty of meringue is that it’s incredibly versatile—you can use it in so many different ways, and it always looks impressive.
Before we dive into the recipe, let me share some important tips that will guarantee your success. First, make sure your bowl and beaters are completely clean and free of any grease or egg yolk. Even a tiny bit of fat will prevent your egg whites from reaching stiff peaks. I always wipe my bowl with a paper towel and a little vinegar to ensure it’s perfectly clean. Second, room temperature egg whites whip up faster and more efficiently than cold ones, so take them out of the fridge about 30 minutes before you start. Third, add your sugar gradually—this is what creates that silky, stable meringue we’re after.
One of my favorite things about meringue is how economical it is. If you’re making a recipe that calls for just egg yolks, like a rich custard-based sauce, you can save those egg whites and make a batch of meringue! It’s a wonderful way to use every part of your ingredients. You could even use leftover egg whites to create a silky sauce or other delicate preparations.
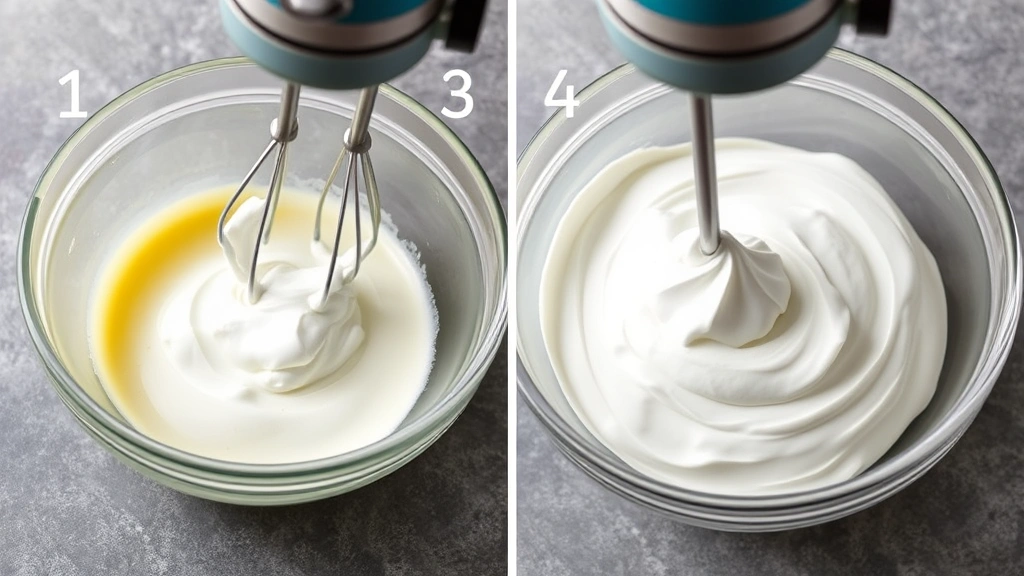
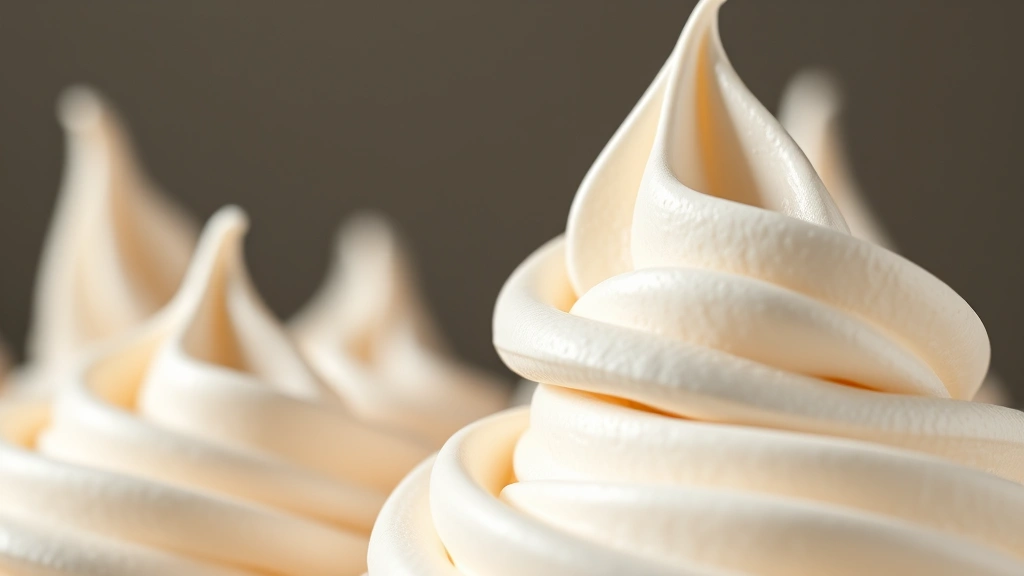
The texture of your finished meringue depends on how long you whip it. For soft peaks, you’ll have meringue that’s fluffy but still slightly droopy—perfect for topping pies. For stiff peaks, you’ll have glossy, stable meringue that holds its shape beautifully—ideal for pavlovas and cookies. I usually aim for stiff peaks with a slight shine, which tells me the meringue is perfectly done.
Temperature control is also crucial. If you’re making a meringue topping for a pie, you want to spread it on hot filling so the bottom cooks slightly. If you’re baking meringue cookies or pavlovas, use a low oven temperature (around 200-225°F) for several hours to dry them out gently. This prevents browning and keeps them crispy and white.
One thing I always tell people is that meringue can be a bit temperamental in humid weather. On very humid days, meringue might not whip up as quickly or hold its shape as well. If you’re having trouble, add a tiny pinch of cream of tartar or a few drops of lemon juice to help stabilize the egg whites. This is an old baker’s trick that really works!
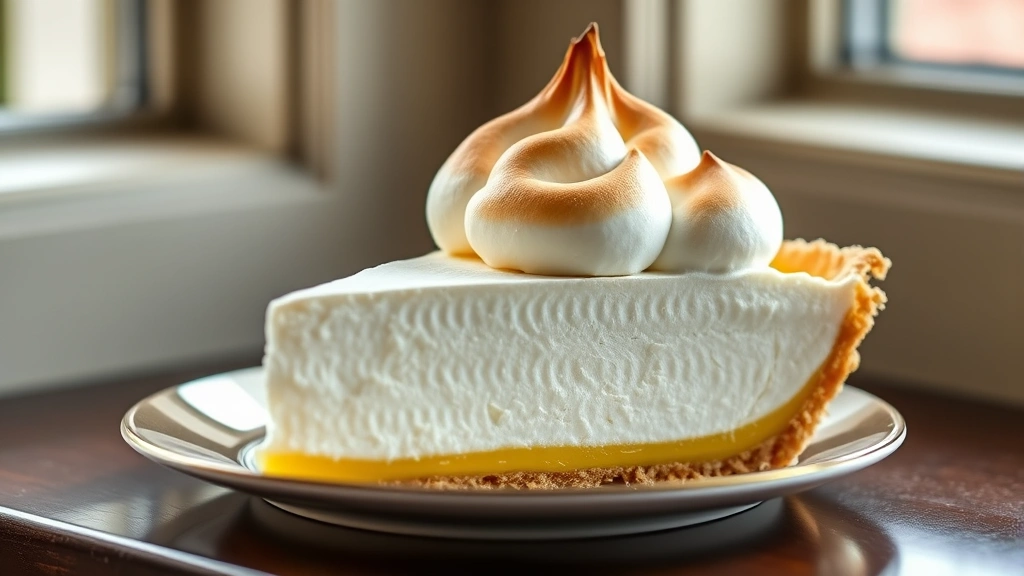
I love serving meringue in so many ways. Top it on a slice of homemade lemon pie, use it to sandwich two cookies together, or simply bake meringue cookies to enjoy as a light, elegant treat. You could even crumble baked meringue over fresh berries and whipped cream for a dessert that looks absolutely restaurant-quality.
For more inspiration on complementary flavors, check out recipes like tangy pickled elements that can balance sweet desserts, or explore other recipes that showcase how different components work together.
If you want to learn more about meringue techniques, I highly recommend checking out resources from Bon Appétit and Serious Eats, which have excellent deep dives into the science behind meringue. The New York Times cooking section also has some wonderful meringue recipes to explore.
Once you’ve mastered basic meringue, you can get creative with flavoring. Add a tablespoon of cocoa powder for chocolate meringue, or a teaspoon of espresso powder for coffee meringue. You could even add finely chopped pistachios or a drizzle of melted chocolate for something extra special. The possibilities are truly endless!
I’m so excited for you to try this recipe. Meringue is one of those classic techniques that will serve you well throughout your baking journey. Whether you’re making it for a special occasion or just because you want something light and lovely, I promise you’re going to love how it turns out. Let’s get started!
Ingredients
- 3 large egg whites, room temperature
- 1/4 teaspoon cream of tartar
- 6 tablespoons granulated sugar
- 1/2 teaspoon vanilla extract
- Pinch of salt
Instructions
- Start by ensuring your mixing bowl and beaters are completely clean and dry. Even a tiny bit of grease or egg yolk will prevent your egg whites from reaching stiff peaks. I like to wipe my bowl with a paper towel and a little white vinegar for extra security.
- Add your room temperature egg whites to the clean bowl. If your eggs were refrigerated, let them sit out for about 30 minutes before using. Room temperature egg whites will whip up much faster and achieve better volume than cold ones.
- Begin beating the egg whites on medium speed. After about 30 seconds, add the cream of tartar and salt. These ingredients help stabilize the egg whites and prevent them from becoming grainy.
- Continue beating on medium speed until soft peaks form, about 2-3 minutes. Soft peaks will curl over when you lift the beaters—this is perfect if you’re topping a pie where you want a slightly softer texture.
- With the mixer still running on medium speed, add the sugar one tablespoon at a time, waiting a few seconds between each addition. This gradual addition is crucial for creating a silky, stable meringue. If you add all the sugar at once, it won’t incorporate properly.
- After all the sugar is added, continue beating on medium-high speed for another 3-5 minutes until stiff peaks form. Your meringue should be glossy and bright white, and when you lift the beaters, the peaks should stand straight up without curling over.
- Add the vanilla extract and beat for just a few more seconds to incorporate it evenly throughout the meringue.
- Your meringue is now ready to use! For pie topping, spread it immediately onto hot pie filling (the heat will gently cook the bottom). For cookies or pavlova, transfer to a piping bag and pipe onto a parchment-lined baking sheet.
- If making a meringue-topped pie, bake at 350°F for 10-15 minutes until the meringue is light golden brown on the peaks. Remove from the oven and let cool to room temperature before refrigerating.
- If making meringue cookies or pavlova, bake at 200°F for 2-3 hours, depending on size, until completely dried out and crispy. Turn off the oven and let them cool completely inside the oven to prevent cracking.
Pro Tips
- Room temperature egg whites are absolutely essential—they whip up faster and achieve better volume than cold eggs, so plan ahead and remove them from the fridge about 30 minutes before you begin
- Make sure your mixing bowl and all beaters are completely grease-free; even a tiny amount of egg yolk or oil will prevent the egg whites from reaching stiff peaks, so wipe everything with a clean paper towel and a bit of vinegar if you’re unsure
- Add sugar gradually, one tablespoon at a time, to create that silky, stable texture that’s the hallmark of perfect meringue; rushing this step will result in grainy, unstable meringue that may weep or collapse
- Cream of tartar is a game-changer that stabilizes egg whites and helps prevent them from becoming grainy or separating; if you don’t have it, a few drops of lemon juice or white vinegar works in a pinch
- Meringue can be temperamental on humid days since moisture in the air interferes with proper whipping and stabilization; if you’re having trouble achieving stiff peaks, the humidity might be the culprit—try adding an extra pinch of cream of tartar
- For pie topping, spread meringue on hot filling so the bottom cooks slightly and seals to the filling; if the filling is cool, the meringue won’t cook properly and may become weepy or separate
- For meringue cookies and pavlovas, use a low oven temperature (around 200-225°F) and bake for several hours to dry them out gently rather than brown them; this keeps them crispy, white, and beautiful
- Don’t open the oven door while meringue is baking, especially in the early stages, as temperature fluctuations can cause cracking or browning
- Store baked meringue cookies in an airtight container at room temperature; they’ll keep for up to a week, though they’re best enjoyed within the first few days for optimal crispiness
- You can add flavoring to meringue by incorporating cocoa powder, espresso powder, melted chocolate, or finely chopped nuts; add these after the stiff peaks form and fold in gently to maintain volume
- If your meringue starts to break down or look grainy, you’ve overbeaten it; this sometimes happens with older eggs or if you’re using a very powerful mixer, so watch carefully as you approach stiff peaks
- Meringue can be made up to several hours ahead if you’re topping a pie; cover it loosely with plastic wrap and refrigerate until you’re ready to spread it on your pie filling
Pingback: How to Make the Perfect Sautéed Mushroom Recipe! – Simple Recipe Finder