
There’s nothing quite like the perfect Oreo crust—crispy, chocolatey, and absolutely foolproof! Whether you’re topping a cheesecake, pie, or creating a show-stopping dessert base, this Oreo crust recipe is about to become your go-to. I’ve been making this for years, and I’m so excited to share my tried-and-true method with you today.
The secret to the perfect Oreo crust is all about the butter-to-cookie ratio and not over-mixing. You want those cookie crumbs to hold together beautifully while still maintaining that delicious chocolate cookie texture. This recipe works wonderfully for no-bake cheesecakes, chocolate pies, and even layered dessert bars.
I love how versatile this crust is—you can press it into a springform pan, pie dish, or even a square baking pan depending on your dessert needs. The beauty of an Oreo crust is that it requires just three ingredients and about five minutes of hands-on time. After baking, it sets up perfectly and provides the ideal foundation for any creamy topping.
One of my favorite ways to use this crust is for a classic no-bake cheesecake, which pairs beautifully with a rich chocolate or vanilla filling. You can also make it ahead—this crust keeps perfectly in an airtight container for up to three days, making it ideal for entertaining and meal prep.
For more inspiration on chocolate desserts, check out these fantastic resources: Bon Appétit’s Oreo Cheesecake, Serious Eats Chocolate Guide, and New York Times Oreo Pie Crust. You might also enjoy Bon Appétit’s chocolate pie collection and Serious Eats Chocolate Cream Pie.
Ingredients
- 20 Oreo cookies (about 7 ounces), filling included
- 5 tablespoons unsalted butter, melted
- 1 tablespoon granulated sugar
- ¼ teaspoon salt

Instructions
- Preheat your oven to 350°F. If you’re making a crust for a no-bake cheesecake or dessert, you can skip the oven preheating and just prepare to bake the crust for structural integrity.
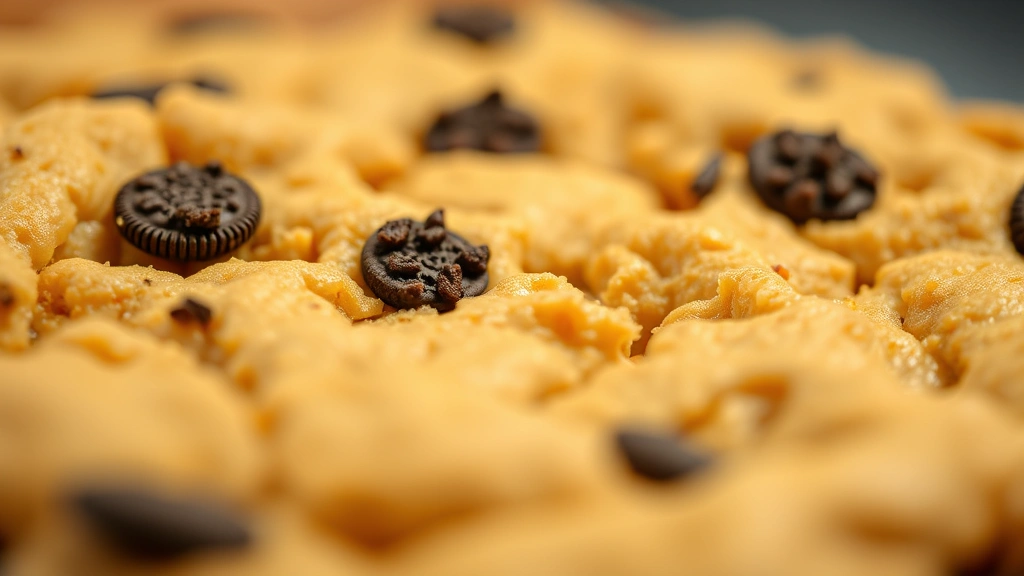
- Place the Oreo cookies in a food processor and pulse until you achieve fine, even crumbs. You should have about 1¾ cups of crumbs. If you don’t have a food processor, place the cookies in a sealed bag and crush them with a rolling pin or the bottom of a heavy pan until finely crushed.
- Pour the cookie crumbs into a medium mixing bowl. Make sure there are no large chunks remaining—the crumbs should be consistent in size for even pressing and baking.
- Add the melted butter to the cookie crumbs, stirring gently with a fork until the mixture resembles wet sand. You should be able to squeeze a handful and have it hold together, but it shouldn’t be overly wet or clumpy.
- Stir in the granulated sugar and salt, mixing until just combined. The sugar helps add a touch of sweetness and improves the texture, while the salt enhances the chocolate flavor of the cookies.
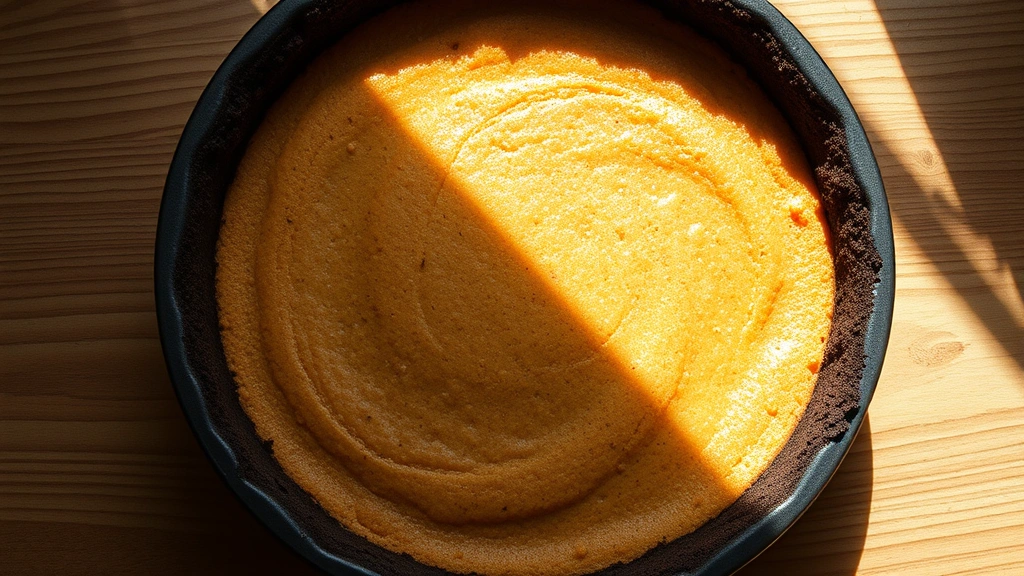
- Press the mixture firmly and evenly into the bottom of a 9-inch pie dish or springform pan. Use the bottom of a measuring cup or your fingers to press it down, creating an even, compact layer about ¼ inch thick.
- For extra structural support, press the mixture slightly up the sides of the pan, creating a slight rim. This helps contain fillings and creates a professional appearance.
- Place the prepared crust in the preheated 350°F oven and bake for 8 minutes. The crust will look set but may still feel slightly soft—this is perfect, as it will continue to firm up as it cools.
- Remove the crust from the oven and let it cool completely at room temperature for at least 15 minutes. This cooling time is crucial for the crust to set properly and become sturdy enough to hold fillings.
- If you’re making a baked cheesecake, you can pour your cheesecake filling directly onto the warm crust and proceed with your recipe. If making a no-bake dessert, wait until the crust is completely cool before adding your filling.
- For best results, let the cooled crust sit for at least 30 minutes before adding any wet fillings. This ensures maximum stability and prevents the crust from becoming soggy or breaking apart.
Pro Tips
- The ratio of butter to cookies is essential for the perfect texture. Too much butter makes the crust greasy and prevents it from holding together; too little makes it dry and crumbly. Five tablespoons per 20 cookies is the ideal balance.
- You can customize this crust by adding a tablespoon of cocoa powder for extra chocolate flavor, or a teaspoon of vanilla extract for added depth.
- Double-stuffed Oreos work beautifully in this recipe and create an even more indulgent crust. Simply use the same amount and process as directed.
- If your oven runs hot, check the crust at the 6-minute mark to prevent over-browning. The crust should look set but not dark brown.
- This crust can be made up to 3 days in advance. Store it in an airtight container at room temperature or in the refrigerator for extended storage.
- For a no-bake version, you can skip the baking step entirely, though baking adds structural integrity and helps the crust hold up better when slicing.
- If the crust cracks while you’re pressing it, simply press it back together—the butter will help seal any small breaks.
- This recipe scales beautifully. For a larger crust or multiple pans, simply multiply the ingredients as needed, maintaining the same ratios.
- The crust pairs wonderfully with cream cheese fillings, chocolate mousse, vanilla pudding, or whipped cream-based toppings.
- For individuals with nut allergies, this recipe is naturally nut-free, though always verify that your Oreo cookies are processed in a nut-free facility if this is a concern.
- Store leftover baked crust at room temperature for up to one day, or wrap tightly and refrigerate for up to five days.