
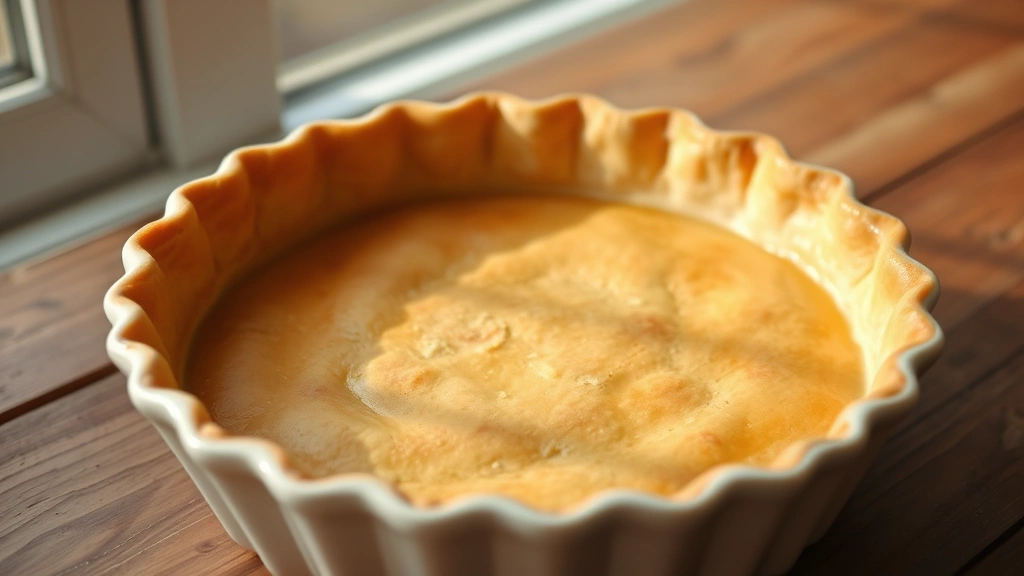
There’s nothing quite like homemade pie crust—that buttery, flaky, golden-brown perfection that makes any pie truly special. But here’s the thing: you don’t need shortening to achieve pie crust excellence! In fact, I’d argue that a pie crust made without shortening is superior in every way. This recipe uses a combination of cold butter and a touch of oil to create a crust that’s incredibly tender, wonderfully flaky, and has that rich, authentic butter flavor that we all crave.
I grew up watching my grandmother make pie crusts from scratch, and she always said that the secret to the perfect crust lies in keeping everything cold and handling the dough as little as possible. She never used shortening—just good quality butter, a little oil, and her trusty pastry cutter. Today, I’m sharing her method with you, along with some modern tips and tricks I’ve learned over the years.
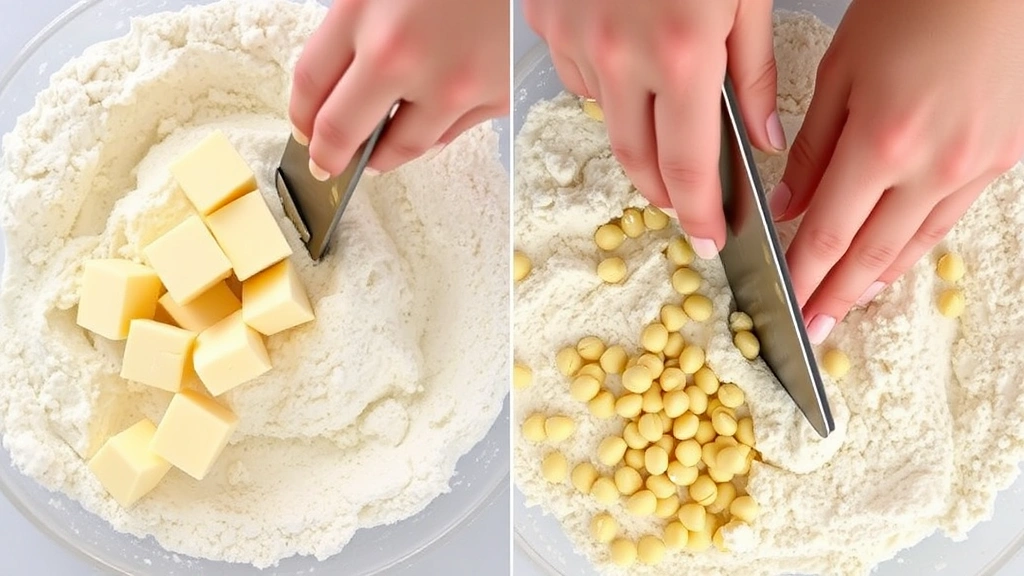
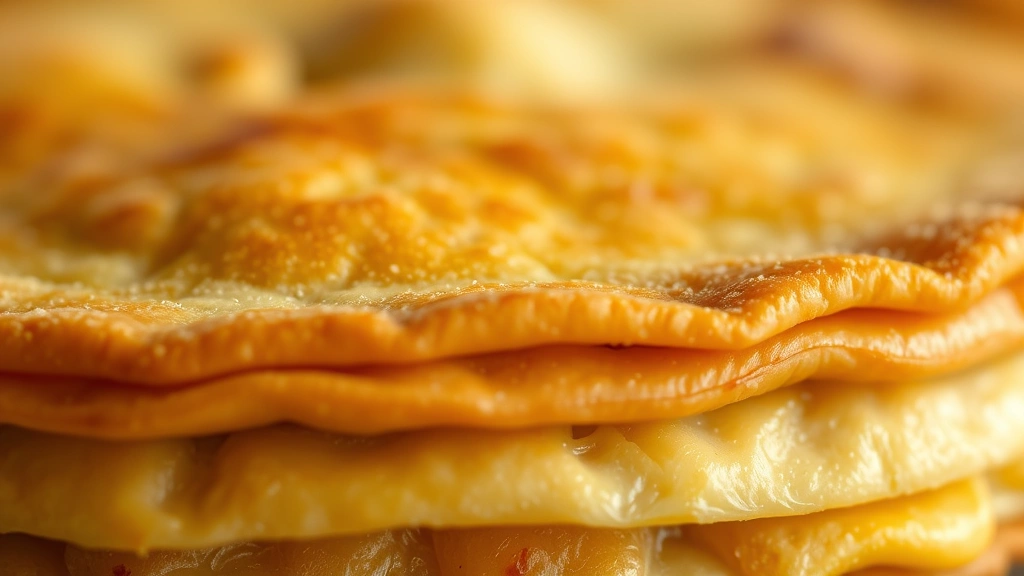
Making a pie crust without shortening is easier than you might think. The key is understanding the science behind what makes a crust flaky. When cold butter is cut into the flour, it creates little pockets of fat. As the pie bakes, these pockets create steam, which causes the layers to separate and become delightfully flaky. By using butter instead of shortening, you get that same flaky texture, plus superior flavor that will make your guests ask for your secret.
This recipe is perfect for any pie—whether you’re making a classic apple pie, a tangy lemon meringue, or a decadent chocolate cream pie. You can even use it for savory galettes and hand pies. I love that this crust comes together quickly, requires just a few pantry staples, and delivers restaurant-quality results every single time.
Whether you’re a seasoned baker or someone who’s intimidated by pie crust, this recipe will give you the confidence to make beautiful pies at home. The dough is forgiving, the instructions are straightforward, and the results are absolutely foolproof. Trust me—once you master this pie crust, you’ll never buy store-bought again.
For more baking inspiration, check out our Best Heavy Cream Alfredo Sauce Recipe for when you want to switch gears to savory dishes. If you’re looking to complement your pie with other homemade treats, our Delicious Heavy Cream Pasta Recipe is always a crowd-pleaser. And for a lighter option to serve alongside dessert, try our Best Chickpea Salad Recipe.
Ready to become a pie crust master? Let’s get started with this foolproof method that requires no shortening and delivers all the flakiness and flavor you could ever want.
Ingredients
- 2 1/2 cups all-purpose flour
- 1 tablespoon sugar
- 1 teaspoon salt
- 1 cup (2 sticks) cold unsalted butter, cubed
- 2 tablespoons neutral oil (vegetable or canola)
- 6-8 tablespoons ice water
- 1 tablespoon apple cider vinegar or lemon juice
Instructions
- Whisk together the flour, sugar, and salt in a large mixing bowl until well combined.
- Add the cold cubed butter to the flour mixture and use a pastry cutter, two knives, or your fingertips to work the butter into the flour until the mixture resembles coarse sand with some pea-sized pieces of butter remaining throughout.
- Drizzle the neutral oil over the mixture and gently toss with a fork, distributing it evenly throughout the flour.
- In a small bowl, combine 6 tablespoons of ice water with the apple cider vinegar or lemon juice.
- Add the ice water mixture to the flour mixture one tablespoon at a time, gently mixing with a fork until the dough just begins to come together.
- Form the dough into a ball, being careful not to overwork it, then divide it in half and flatten each half into a disk about 1 inch thick.
- Wrap each disk tightly in plastic wrap and refrigerate for at least 1 hour, or up to 2 days, before rolling out.
- When ready to use, remove one disk from the refrigerator and let it sit at room temperature for 5-10 minutes until it’s just slightly soft enough to roll.
- On a lightly floured surface, roll the dough from the center outward into a circle about 1/8 inch thick and 2 inches larger than your pie pan.
- Carefully transfer the rolled dough to your pie pan, letting the excess hang over the edge.
- Fill with your desired pie filling.
- If making a double-crust pie, roll out the second disk of dough and place it over the filling, then trim, seal, and flute the edges as desired.
- For a single-crust pie, trim the excess dough to 1 inch beyond the pan edge, fold the overhang under itself, and crimp the edges with your fingers or a fork.
- Brush the crust with egg wash (1 egg beaten with 1 tablespoon water) if desired for extra golden color and shine.
- Bake according to your specific pie recipe instructions, covering the edges with foil if they begin to brown too quickly.
Pro Tips
Don’t skip the chilling step. This resting period is crucial because it allows the gluten to relax and helps the dough hold its shape when baking. If you’re in a rush, you can chill for a minimum of 30 minutes, but longer is always better.
The apple cider vinegar or lemon juice in the ice water serves two purposes: it helps relax the gluten and adds a subtle tang that enhances the overall flavor of the crust without making it sour.
This crust is forgiving and can be made ahead. You can prepare it up to 2 days in advance and store it in the refrigerator, or freeze it for up to 3 months. If freezing, wrap the disks well in plastic wrap and place them in a freezer-safe bag. Thaw in the refrigerator overnight before using.
When rolling out the dough, work on a cool surface if possible. If the dough becomes too warm and sticky, pop it back in the refrigerator for 10 minutes and try again. Warm dough is difficult to work with and will produce a less flaky result.
For a foolproof rolling method, place the disk between two sheets of parchment paper and roll between them. This prevents sticking and makes transferring to the pie pan much easier.
This recipe makes enough for two 9-inch pie crusts, which is perfect if you want to make both a top and bottom crust. If you only need one crust, you can freeze the second disk for later.
For extra flavor, consider adding 1/2 teaspoon of vanilla extract or a pinch of nutmeg to the flour mixture. Some bakers love adding a tablespoon of cornstarch to make the crust extra tender.
If your pie crust edges are browning too quickly during baking, cover them with a pie shield or aluminum foil to prevent burning while the center finishes cooking.
For more advanced baking techniques and flavor inspirations, check out Bon Appétit’s baking section and Serious Eats’ comprehensive baking guides.