
There’s something absolutely magical about homemade pierogi dough—it’s pillowy, tender, and so much better than anything store-bought. I’ve been making pierogi for years, and I’m thrilled to share my foolproof pierogi dough recipe that works beautifully every single time. This dough is the foundation for the most delicious pierogi you’ll ever make, whether you’re filling them with potato and cheese, sauerkraut, or even sweet fillings like fruit.
What makes this dough so special is the perfect balance of ingredients that creates that signature tender texture without being too delicate to work with. The technique is straightforward, but there are a few key tips that will ensure your success. This recipe yields enough dough for about 24-30 pierogi, depending on size, making it perfect for a family dinner or to freeze for later.
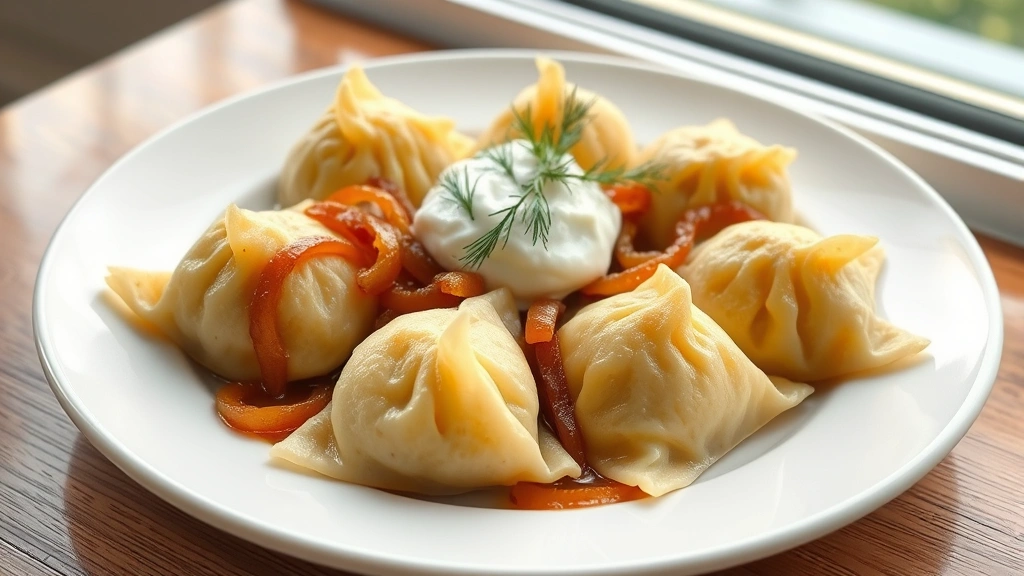
I love serving my pierogi with caramelized onions, a dollop of sour cream, and fresh dill. You could also pair them with heavy cream alfredo sauce for a decadent twist, or enjoy them alongside pickled red onions for brightness and tang.
The dough comes together in just minutes, and the resting time is crucial—it allows the gluten to relax, making the dough much easier to roll out. I always prepare this dough at least 30 minutes before I plan to use it, though it can be made several hours ahead and refrigerated. The beauty of this recipe is its versatility and reliability.
One of my favorite things about making pierogi from scratch is that you can freeze the filled pierogi for weeks, making them perfect for meal prep or unexpected guests. The dough freezes beautifully too, so you could even prepare this dough ahead of time and thaw it when you’re ready to fill your pierogi.
If you’re new to pierogi making, don’t worry! This dough is forgiving and straightforward. The most important thing is to keep your work surface lightly floured and your dough at the right consistency. With this recipe and a little patience, you’ll be making restaurant-quality pierogi at home. Check out my heavy cream pasta recipe for another comforting dish, or try my chicken alfredo recipe for similar comfort food vibes.
For more inspiration on building complete meals, explore my chickpea salad recipe to serve alongside your pierogi. When you’re ready to master this dough, I promise you’ll be making pierogi regularly. Let’s get started!
Ingredients
- 2 cups all-purpose flour
- 1 teaspoon salt
- 1 large egg, room temperature
- 1/2 cup sour cream, room temperature
- 2 tablespoons unsalted butter, melted
- 1/4 cup warm water, plus more as needed
- Extra flour for dusting and rolling
Instructions
- In a large mixing bowl, whisk together the all-purpose flour and salt until well combined. Create a small well in the center of the flour mixture.
- Crack the egg into the well and add the room temperature sour cream and melted butter to the center.
- Using a fork, gently beat the egg, sour cream, and butter together, then slowly incorporate the flour from the sides of the well into the wet ingredients, mixing gradually.
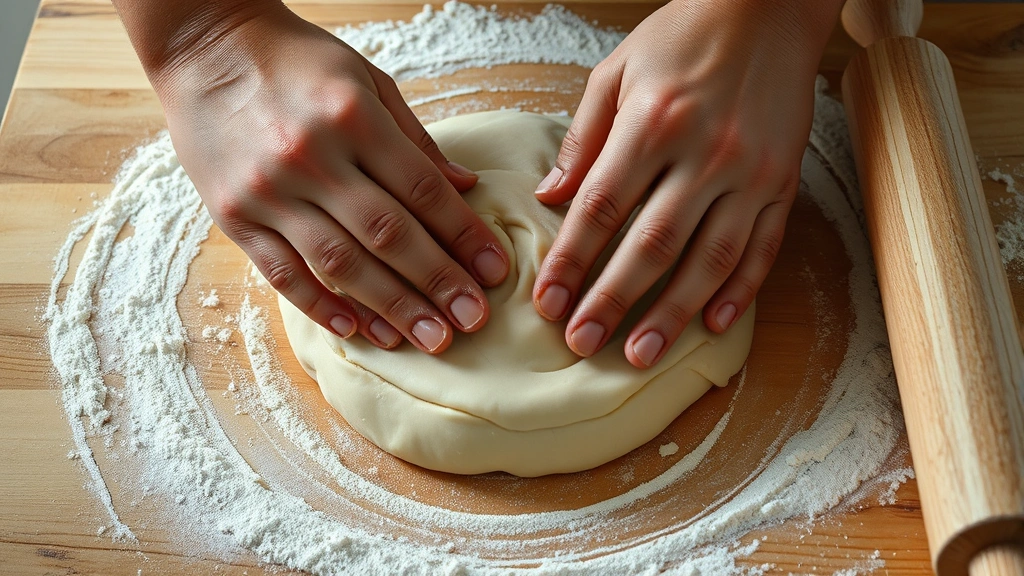
- Once the mixture becomes shaggy and difficult to mix with a fork, turn the dough out onto a lightly floured work surface.
- Knead the dough by hand for 5-7 minutes, adding a little warm water (about 1 tablespoon at a time) if the dough feels too dry or stiff. The dough should be soft and slightly sticky but not wet.
- Continue kneading until the dough becomes smooth and elastic, about 8-10 minutes total. You should be able to press your finger into it and have it spring back slightly.
- Shape the dough into a smooth ball and place it back in the mixing bowl.
- Cover the bowl with plastic wrap or a clean kitchen towel and let the dough rest at room temperature for at least 30 minutes, or up to 2 hours.
- After resting, divide the dough into two equal portions. This makes it easier to work with and roll out.
- On a lightly floured surface, take one portion of dough and gently flatten it with your hands into a small disk.
- Using a rolling pin, roll the dough out to about 1/8-inch thickness, rotating and flipping occasionally to maintain an even thickness and prevent sticking.
- Using a 3-inch round cutter or the rim of a glass, cut out circles from the dough. You should get approximately 12-15 circles per portion.
- Gather any scraps, gently re-roll them out, and cut additional circles until you’ve used all the dough.
- Place the dough circles on a lightly floured baking sheet or clean kitchen towel, making sure they don’t touch each other.
- Keep the circles covered with a clean towel while you work to prevent them from drying out.
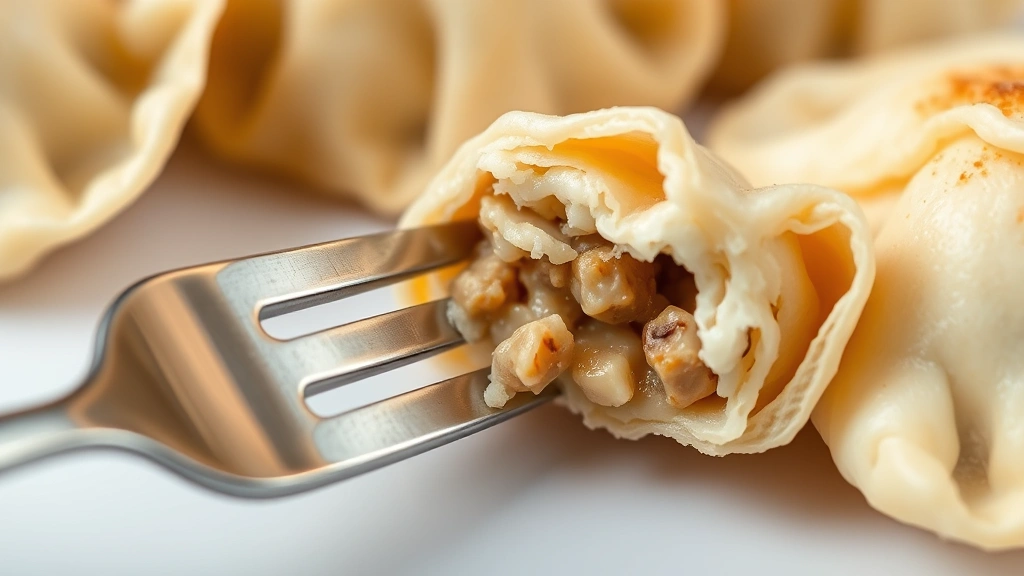
- Fill each circle with your desired filling (about 1 tablespoon per circle), leaving a small border around the edges.
- Fold the circle in half to create a half-moon shape, pressing the edges firmly with your fingers to seal.
- For a more decorative finish, use the tines of a fork to crimp the edges all the way around the pierogi.
- Place finished pierogi on a lightly floured surface or baking sheet. At this point, you can refrigerate for up to 4 hours, or freeze for up to 3 months.
- To cook, bring a large pot of salted water to a rolling boil.
- Carefully add the pierogi to the boiling water in batches, being careful not to overcrowd the pot.
- The pierogi will initially sink, then float to the surface as they cook. Once they float, cook them for an additional 1-2 minutes.
- Remove the cooked pierogi with a slotted spoon and place them on a clean kitchen towel or serving plate.
- Serve the pierogi warm with your favorite toppings such as caramelized onions, sour cream, fresh dill, or crispy bacon bits.
Pro Tips
The resting time is not optional—it’s what makes this dough so tender and easy to work with. During this time, the gluten relaxes and the flour fully hydrates, resulting in a silky dough.
Water is added gradually because different flours absorb moisture differently. You may not need all the water, or you might need slightly more. The dough should be soft and slightly tacky but not sticky enough to stick to your hands.
If you don’t have a round cutter, you can use the rim of a drinking glass or even cut squares or triangles. The shape doesn’t matter—the taste does!
Frozen uncooked pierogi can go directly into boiling water. They’ll take 1-2 minutes longer to cook than fresh ones. Cook them until they float and then for another 1-2 minutes.
This dough can be made 1-2 days ahead and refrigerated. Wrap it well in plastic wrap to prevent it from drying out. Bring it to room temperature for about 15 minutes before rolling.
For the best results, use a good quality all-purpose flour. Bread flour will make a tougher dough, while cake flour will make it too delicate.
The sour cream in this dough adds flavor and tenderness. Don’t substitute it with Greek yogurt or regular yogurt, as they have different moisture content and will affect the dough consistency.
If your dough tears while you’re filling or folding, simply pinch it back together. A small tear won’t affect the final pierogi.
Store cooked pierogi in an airtight container in the refrigerator for up to 3 days. Reheat by pan-frying them in a little butter until warmed through.
Make this recipe your own by experimenting with different filling combinations. Traditional fillings include potato and cheese, sauerkraut and mushrooms, or ground meat. Sweet pierogi can be filled with fruit preserves or potato and cinnamon.