
There’s nothing quite like a perfectly cooked porterhouse steak – that beautiful crust, the tender, juicy interior, and the satisfaction of knowing you’ve mastered one of cooking’s most rewarding techniques. A porterhouse steak is essentially the king of steaks, combining the best of both worlds: a generous strip steak on one side and a tenderloin filet on the other, separated by a T-shaped bone. This cut is a showstopper that deserves your attention and respect in the kitchen.
The key to achieving the perfect porterhouse lies in understanding the fundamentals: quality meat, proper seasoning, precise temperature control, and patience. Many home cooks rush the process or use techniques that work better for thinner cuts, but a thick-cut porterhouse demands a more thoughtful approach. Whether you’re cooking for a special occasion or simply treating yourself to an exceptional dinner, this guide will walk you through every step to create a steakhouse-quality porterhouse in your own kitchen.
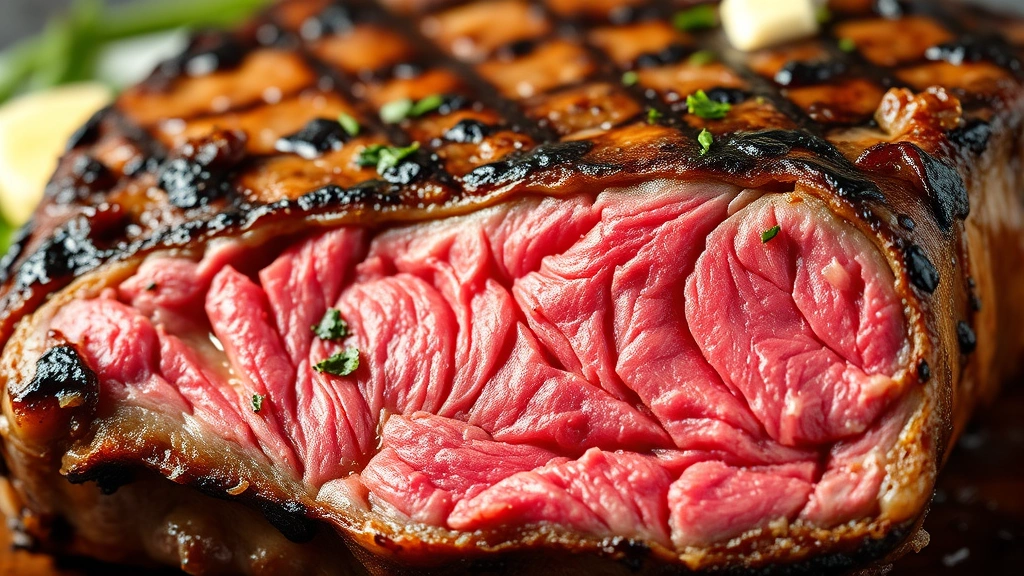
When selecting your porterhouse, look for meat that’s at least 1.5 to 2 inches thick – this thickness is crucial because it allows you to develop that gorgeous crust while keeping the interior perfectly medium-rare. The marbling throughout the meat (those white lines of fat) is your friend; it melts during cooking and bastes the steak from within, creating incredible flavor and tenderness. Don’t be intimidated by the price tag; a great porterhouse is an investment in a truly memorable meal.
One of the most important secrets to steakhouse-quality results is bringing your steak to room temperature before cooking. This ensures even cooking throughout the meat and prevents the exterior from overcooking while waiting for the center to reach the desired temperature. Seasoning is equally important – we’re keeping it simple with just salt and pepper, allowing the quality of the meat to shine through. Fresh cracked black pepper and kosher salt are non-negotiable here.
The cooking method I’m recommending is a combination technique that gives you the best of both worlds: a high-heat sear to develop that beautiful crust, followed by a lower-heat finishing in the oven. This method is far more reliable than trying to cook the entire steak on the stovetop, where it’s challenging to achieve both a perfect crust and a perfect interior. The oven finishing also ensures that both the strip and tenderloin sides cook evenly, accounting for their different thicknesses and muscle structures.
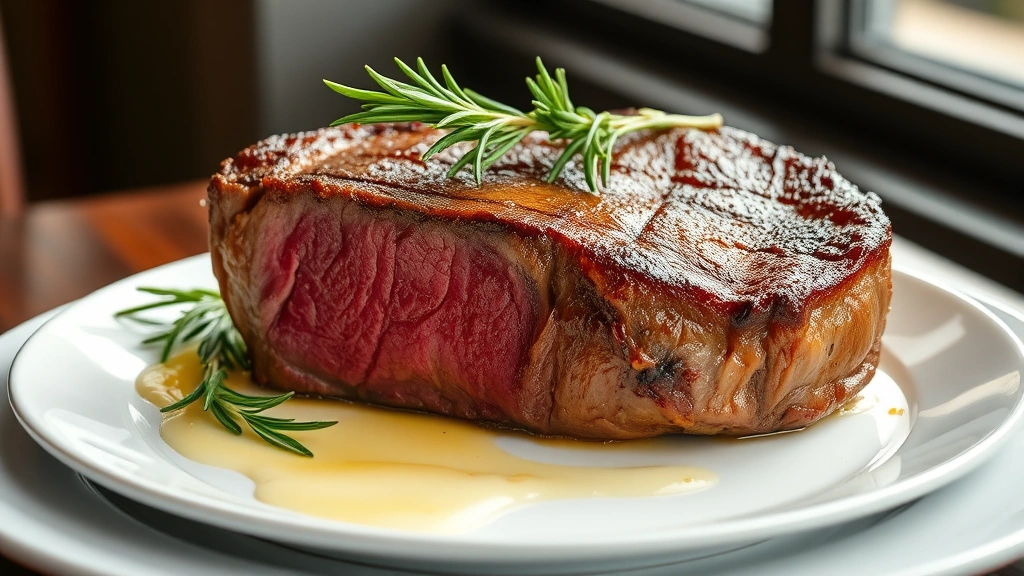
Butter basting is the final touch that elevates a good steak to an exceptional one. As your steak finishes cooking in the oven, basting it with melted butter infused with garlic and fresh herbs creates an incredible crust and adds layers of flavor. This is a technique used in high-end steakhouses, and it’s easier than you might think. The aroma alone will have everyone in your kitchen eager to eat.
Resting your steak after cooking is absolutely critical and often overlooked. When meat cooks, the muscle fibers contract and push out moisture toward the edges. Resting allows those juices to redistribute throughout the meat, ensuring that every bite is tender and juicy. Cutting into a steak too early results in all those precious juices running onto the plate instead of staying in the meat where they belong.
For side dishes, consider classic steakhouse pairings like creamed spinach or loaded baked potatoes, or keep it simple with roasted vegetables. The porterhouse is truly the star of the show, so you don’t need anything too complicated competing for attention on the plate.
If you’re new to cooking premium steaks, I highly recommend checking out Serious Eats’ comprehensive guide to pan-searing steak for additional insights into the science behind the perfect crust. For those interested in exploring different steak cuts and their characteristics, Bon Appétit’s exploration of dry-aged steaks is incredibly informative.
The beauty of mastering the porterhouse is that once you understand these principles, you can apply them to other premium cuts as well. Whether you’re cooking for yourself or impressing guests, a perfectly cooked porterhouse steak demonstrates confidence and skill in the kitchen. The combination of proper technique, quality ingredients, and a bit of patience creates a result that rivals any steakhouse experience – and that’s exactly what we’re going for here.
Ingredients
- 2 porterhouse steaks, 1.5 to 2 inches thick (about 20-24 ounces each)
- Kosher salt, to taste
- Freshly cracked black pepper, to taste
- 3 tablespoons unsalted butter
- 4 garlic cloves, smashed
- 4-5 sprigs fresh rosemary
- 4-5 sprigs fresh thyme
- High-heat oil (avocado or vegetable oil), about 2 tablespoons
- Fleur de sel or finishing salt, for garnish (optional)
Instructions
- Remove your porterhouse steaks from the refrigerator 30-45 minutes before cooking. This is essential for even cooking throughout the meat. While they rest, preheat your oven to 400°F.
- Pat the steaks completely dry with paper towels. Any moisture on the surface will create steam and prevent proper browning. This step is crucial for achieving that restaurant-quality crust.
- Season both sides of each steak generously with kosher salt and freshly cracked black pepper. Don’t be shy – you want a visible coating on all sides. Let the seasoned steaks sit for about 5 minutes to allow the salt to begin dissolving into the meat.
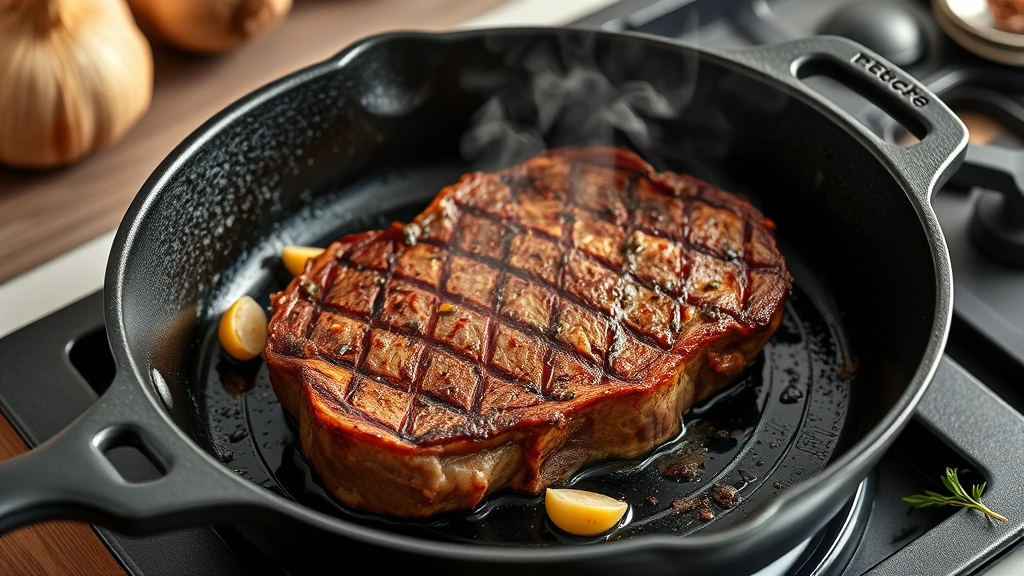
- Place a cast-iron skillet or heavy-bottomed stainless steel skillet over high heat. Let it get absolutely smoking hot – this typically takes 3-5 minutes. You want the pan hot enough that water droplets immediately sizzle and evaporate on contact.
- Add your high-heat oil to the skillet and immediately place both steaks in the pan. You should hear an aggressive sizzle. Resist the urge to move them – let them sear undisturbed for 3-4 minutes to develop that beautiful golden-brown crust.
- Flip the steaks carefully and sear the other side for another 3-4 minutes. The steaks should have a dark, caramelized crust on both sides. This crust is where all the flavor comes from, so don’t rush this step.
- Add the smashed garlic cloves, rosemary, and thyme to the pan around the steaks. The aromatics will toast slightly and flavor the oil.
- Transfer the entire skillet to the preheated 400°F oven. The steaks will continue cooking in the oven while you maintain a more controlled temperature, preventing the exterior from overcooking.
- Cook in the oven for 6-8 minutes for medium-rare doneness (internal temperature of 130-135°F). If you prefer medium, cook for 8-10 minutes (135-145°F). Start checking at 6 minutes using an instant-read meat thermometer inserted into the thickest part of the tenderloin side.
- Remove the skillet from the oven and add the butter to the pan. It will melt almost immediately. Using a spoon, baste the steaks with the melted butter, garlic, and herbs for about 1-2 minutes. Tilt the pan slightly so the butter pools and continuously spoon it over the steaks.
- Transfer the steaks to a warm cutting board or plate. This is the resting phase, which is absolutely critical. Let them rest undisturbed for 5-7 minutes. During this time, the meat’s muscle fibers relax and reabsorb the juices, ensuring maximum tenderness and juiciness.
- If desired, top each steak with a small pinch of fleur de sel and serve immediately with the pan juices drizzled over the top. Serve with your favorite sides and enjoy your steakhouse-quality meal.
Pro Tips
Temperature Control: Invest in a quality instant-read meat thermometer for accurate doneness. The USDA recommends beef be cooked to 145°F (medium), but many prefer medium-rare at 130-135°F. Remember that carryover cooking will raise the internal temperature by 3-5°F after removal from heat.
Pan Selection: Cast-iron skillets are ideal because they retain heat exceptionally well and can go from stovetop to oven without issue. Stainless steel works well too, but avoid non-stick pans for searing – they can’t handle the high heat needed for proper browning.
Seasoning Timing: Don’t season your steaks immediately before cooking; give the salt 5-10 minutes to dissolve slightly into the meat surface. If you season too far in advance (more than 40 minutes), the salt will draw moisture out; if too close to cooking, it won’t penetrate properly.
Butter Basting: This technique isn’t just for flavor – the milk solids in butter brown and create additional crust development. The aromatics infuse the butter with incredible flavor that coats the steak.
Resting is Non-negotiable: Cutting into your steak too early will release all the juices onto the plate. The 5-7 minute rest ensures they stay in the meat where they belong. Use this time to prepare your sides or set the table.
Doneness Guide: Rare (120-125°F), Medium-rare (130-135°F), Medium (135-145°F), Medium-well (145-155°F). Remember that carryover cooking adds 3-5°F, so remove steaks 5°F below your target.
Side Dish Pairings: Classic steakhouse sides like creamed spinach and loaded potatoes work beautifully with porterhouse. You can also serve with simple roasted asparagus or a fresh arugula salad dressed with lemon vinaigrette.
Leftover Steaks: Slice cold leftover steak and use in salads, sandwiches, or grain bowls. Store in an airtight container for up to 3 days. Never microwave leftover steak – gently reheat in a low oven (275°F) if desired.
Cooking for More: This recipe scales easily. Simply add 3-5 minutes to the oven time per additional steak, depending on your oven’s capacity and how closely they’re packed in the skillet.
Finishing Touches: A squeeze of fresh lemon juice just before serving brightens the rich, beefy flavors. A sprinkle of fleur de sel adds a delicate crunch and enhances the natural meat flavors.