
The Wilton Buttercream recipe is the gold standard for decorating cakes, cupcakes, and cookies with professional-looking results. This classic frosting has been trusted by bakers and cake decorators for decades, and for good reason—it’s stable, holds its shape beautifully, and tastes absolutely delicious. Whether you’re a beginner just starting your cake decorating journey or an experienced baker looking to perfect your technique, this comprehensive guide will walk you through every step of creating the perfect Wilton buttercream.
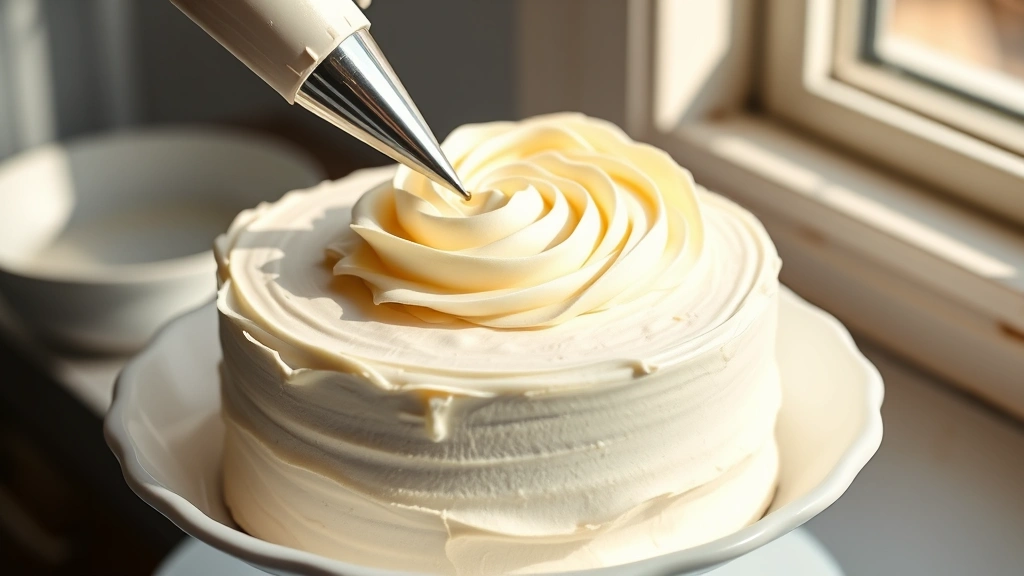
What makes Wilton buttercream so special is its perfect balance of butter, powdered sugar, milk, and vanilla extract. Unlike Swiss or Italian meringue buttercreams that require special equipment and techniques, Wilton buttercream comes together in minutes with ingredients you likely already have in your pantry. The result is a frosting that’s creamy, spreadable, and sturdy enough to hold piped borders, flowers, and intricate designs without drooping or melting.
I’ve been making this frosting for years, and I’ve learned a few tricks along the way to ensure it turns out perfectly every single time. The key is understanding how temperature, mixing time, and ingredient ratios affect your final product. Too much milk and your frosting becomes too soft; too little and it becomes grainy and difficult to work with. The temperature of your butter is absolutely critical—it needs to be softened to room temperature, not melted or cold. Room temperature butter incorporates air more efficiently, creating that light, fluffy texture that makes Wilton buttercream so beloved by decorators.
Another secret to perfect Wilton buttercream is using the right mixing speed and technique. Many home bakers make the mistake of mixing too quickly right from the start, which can incorporate too much air and create a frosting that’s overly fluffy and prone to breaking down. Instead, start on low speed to bring your ingredients together, then gradually increase to medium speed for the best results.
This recipe makes enough frosting to cover a standard two-layer 8 or 9-inch cake with a crumb coat and final layer, plus decorate with piped borders and embellishments. If you’re making cupcakes, this will frost approximately 24 standard-sized cupcakes. For larger cakes or more elaborate decorations, you may want to double the recipe. The frosting can be made up to three days ahead and stored in an airtight container at room temperature, making it perfect for advance party planning. You can also freeze it for up to three months, though I recommend thawing it at room temperature and re-whipping it before use.
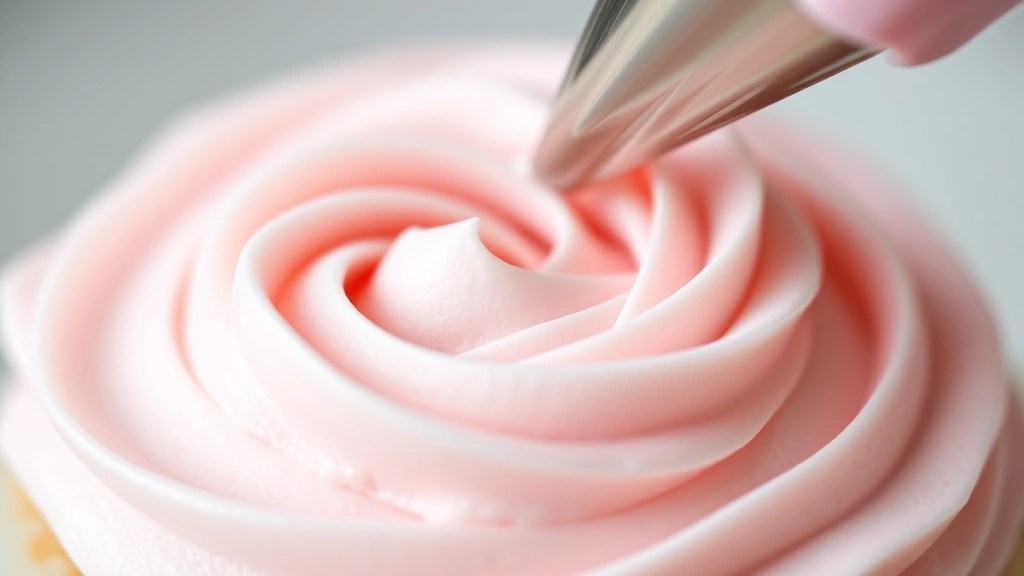
Color is another advantage of Wilton buttercream—it accepts gel food coloring beautifully without becoming too soft or thin. Unlike traditional buttercream made with food coloring, Wilton buttercream maintains its structure and stability even when deeply colored. This makes it ideal for creating vibrant cakes and cookies that really pop. For more information on coloring techniques, check out our complete guide to coloring buttercream.
One of the best things about mastering Wilton buttercream is that once you understand the basic formula, you can customize it endlessly. Add a tablespoon of cocoa powder for chocolate frosting, substitute the milk with coffee for a mocha version, or add almond extract for a delicate twist. The possibilities are truly endless, which is why this recipe has remained a staple in baking for so long.
If you’re new to cake decorating, Wilton buttercream is the perfect starting point. It’s forgiving, reliable, and produces beautiful results even for beginners. For more decorating tips, explore our cake decorating basics article. And if you want to learn about different frosting options, our comprehensive frosting guide covers everything from cream cheese to ermine frosting.
Let me share some professional tips I’ve learned from years of cake decorating. First, always bring your butter to true room temperature—about 68-72°F is ideal. Second, sift your powdered sugar before adding it to prevent lumps. Third, add your milk gradually rather than all at once, as different brands of powdered sugar absorb moisture differently. Finally, if your frosting seems too soft, refrigerate it for 15-20 minutes before piping. This simple trick can save your decorating session.
For visual guidance on piping techniques and more frosting recipes, check out Bon Appétit’s buttercream frosting guide and Serious Eats’ detailed buttercream article. The New York Times also offers excellent frosting resources for those looking to expand their frosting repertoire.
Ingredients
- 1 pound (4 sticks) unsalted butter, softened to room temperature
- 2 pounds powdered sugar, sifted
- 3-4 tablespoons whole milk or heavy cream
- 2 teaspoons pure vanilla extract
- 1/8 teaspoon salt
- Gel food coloring (optional)
Instructions
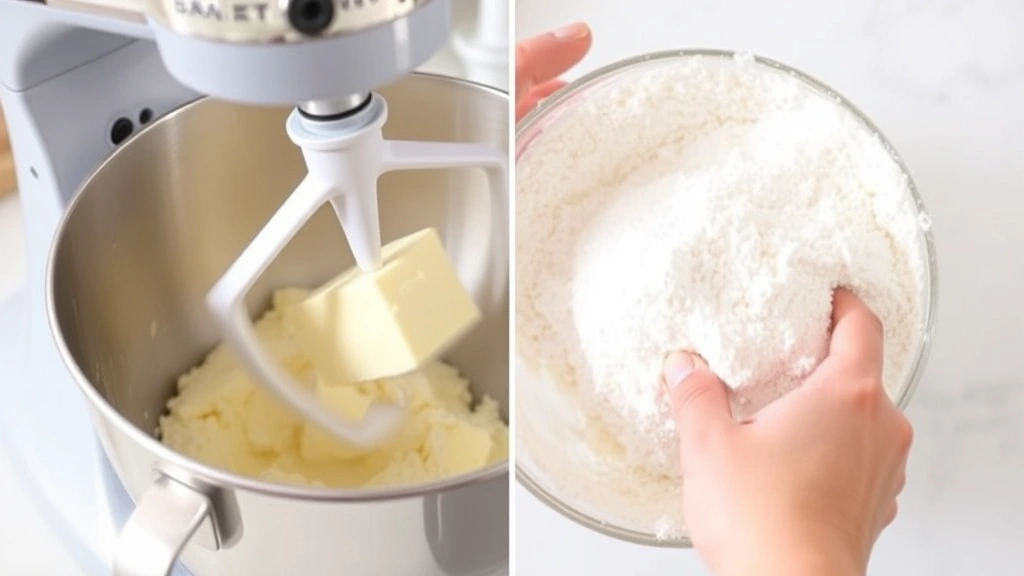
- Place the softened butter in the bowl of an electric mixer fitted with the paddle attachment.
- Beat the butter on low speed for about 1 minute until it becomes slightly lighter in color and creamy in texture.
- Gradually add the sifted powdered sugar, 1 cup at a time, beating on low speed between each addition to prevent the sugar from flying out of the bowl.
- Once all the powdered sugar has been incorporated, increase the mixer speed to medium and beat for 2-3 minutes until the frosting becomes light and fluffy.
- Add the milk 1 tablespoon at a time, beating on medium speed after each addition, until you reach your desired consistency.
Note: The frosting should be spreadable but still hold stiff peaks when you lift the beaters. If it becomes too soft, add more powdered sugar; if too stiff, add a tiny bit more milk.
- Add the vanilla extract and salt, then beat on medium speed for another 30 seconds until well combined and the frosting is smooth and uniform.
- If using food coloring, add a small amount of gel coloring and beat on medium speed until the color is evenly distributed throughout the frosting.
- Use immediately for frosting cakes and cupcakes, or transfer to an airtight container for storage.
- To use stored frosting, let it come to room temperature, then re-whip on medium speed for 1-2 minutes until it reaches the proper consistency and becomes light and fluffy again.
Pro Tips
- Butter temperature is absolutely critical to success—it must be softened to room temperature, approximately 68-72°F. Butter that’s too cold won’t incorporate properly and will result in a grainy frosting; butter that’s too warm will be too soft to work with. If your kitchen is very warm, you may need to refrigerate the frosting for 15-20 minutes before use.
- Always sift your powdered sugar before adding it to the frosting. This removes lumps and ensures a smooth, lump-free final product. Unsifted powdered sugar is one of the most common causes of grainy buttercream.
- Add milk gradually rather than all at once. Different brands and even different batches of powdered sugar have varying moisture contents, so the amount of milk you need may vary slightly. Start with 3 tablespoons and add more as needed, one teaspoon at a time.
- This frosting works beautifully with gel food coloring, which adds color without affecting the consistency. Liquid food coloring can make the frosting too soft, so avoid using it for this recipe.
- The frosting can be made up to 3 days ahead and stored in an airtight container at room temperature. Before using, let it come to room temperature if it’s been refrigerated, then re-whip on medium speed until light and fluffy.
- For chocolate buttercream, add 2-3 tablespoons of cocoa powder along with an extra tablespoon of milk. For coffee buttercream, substitute the milk with strong brewed coffee that’s been cooled to room temperature.
- If your frosting breaks or becomes curdled during mixing, this usually means the butter and sugar weren’t properly incorporated. Simply continue beating on medium speed—the frosting will usually come back together within 1-2 minutes.
- For piping delicate designs, you may want to chill the frosting slightly so it holds its shape better. Conversely, if you’re spreading frosting on a cake, you want it slightly softer and more pliable.
- This frosting is stable at room temperature for several hours, making it perfect for outdoor summer events or parties. However, in very hot weather or if your cake will sit out for more than 4 hours, consider refrigerating the finished cake and frosting.
- For a less sweet frosting, you can reduce the powdered sugar by up to 1/4 pound and increase the milk by 1-2 tablespoons. This creates a more balanced flavor while maintaining the proper consistency.
- When frosting a cake, use a bench scraper or offset spatula dipped in hot water to smooth the frosting for a more polished appearance. The heat helps the frosting smooth out beautifully.