
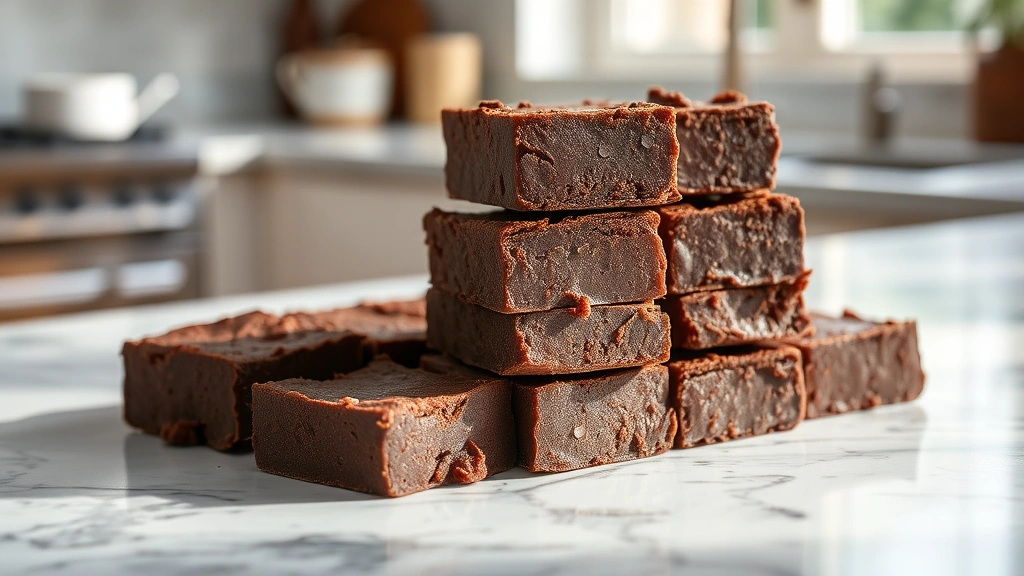
There’s nothing quite like homemade fudge, and this microwave version proves you don’t need fancy equipment or hours of stirring to achieve that perfect, creamy texture. In just minutes, you’ll have a batch of rich, decadent fudge that tastes like it came from a professional candy shop. This is my go-to recipe when I’m craving something sweet but don’t want to spend all day in the kitchen.
I first discovered the magic of microwave fudge years ago when I was looking for a quick dessert to bring to a dinner party. Traditional fudge recipes intimidated me with their candy thermometers and precise temperature requirements, but this method strips away all the stress. The microwave does the heavy lifting, and you’re left with foolproof results every single time.
What makes this recipe truly special is the combination of butter, cocoa powder, and sweetened condensed milk. These simple ingredients transform into silky-smooth fudge without any of the guesswork. The key is using quality chocolate and not overcomplicating the process. I’ve made this recipe dozens of times now, and it never fails to impress guests or satisfy my own chocolate cravings.
This microwave fudge is incredibly versatile, too. You can add nuts, swirl in peanut butter, sprinkle sea salt on top, or dip the finished pieces in white chocolate. The basic recipe is your canvas, and you can get creative with mix-ins and toppings. It’s also one of the best homemade gifts you can give—wrap it up in parchment paper and tie it with a ribbon, and it looks like it cost a fortune.
The best part? Cleanup is minimal. No double boiler to wash, no thermometer to fuss with, just a microwave-safe bowl and a few measuring cups. This recipe has converted even the most devoted store-bought candy fans into homemade fudge enthusiasts. Once you try making your own, you’ll never go back to the commercial stuff.
If you love quick desserts, you should also check out our Heavy Cream Alfredo Sauce Recipe for decadent dinner party ideas. For more sweet treats, explore our Delicious Heavy Cream Pasta Recipe and our Easy Chicken Alfredo Recipe. Want to add some flavor complexity to your dessert spread? Try our Pickled Red Onion Recipe for unexpected taste combinations, or prepare Shishito Peppers Recipe as a savory contrast.
For more inspiration and technique tips, check out Bon Appétit’s candy and fudge collection, which features professional tips for candy making. Serious Eats has an excellent guide to understanding fudge chemistry that will help you understand what’s happening in your microwave. For additional microwave candy techniques, The New York Times cooking section offers reliable candy recipes. You can also find more variations at Bon Appétit’s recipe database and Serious Eats’ comprehensive recipe collection.
Ingredients
- 1 cup (2 sticks) unsalted butter
- 2/3 cup unsweetened cocoa powder
- 1 (14-ounce) can sweetened condensed milk
- 4 cups powdered sugar
- 1 teaspoon vanilla extract
- 1/4 teaspoon sea salt
- Optional: 1/2 cup chopped nuts, 1/4 cup peanut butter, or 1 teaspoon espresso powder
Instructions
- Line an 8×8 inch baking pan with parchment paper, leaving slight overhang on two sides for easy removal. Set aside.
- Cut the butter into chunks and place in a large microwave-safe bowl.
- Microwave the butter on high for 1 to 2 minutes until completely melted and hot.
- Add the cocoa powder to the melted butter, stirring well until completely combined with no lumps remaining.
- Pour in the sweetened condensed milk and stir continuously until the mixture is smooth and well incorporated.
- Microwave the mixture on high for 1 minute, then remove and stir well.
- Add the powdered sugar, vanilla extract, and sea salt to the bowl, stirring constantly until all the sugar is incorporated and the mixture is smooth.
- If adding any mix-ins like nuts or espresso powder, fold them in gently at this point.
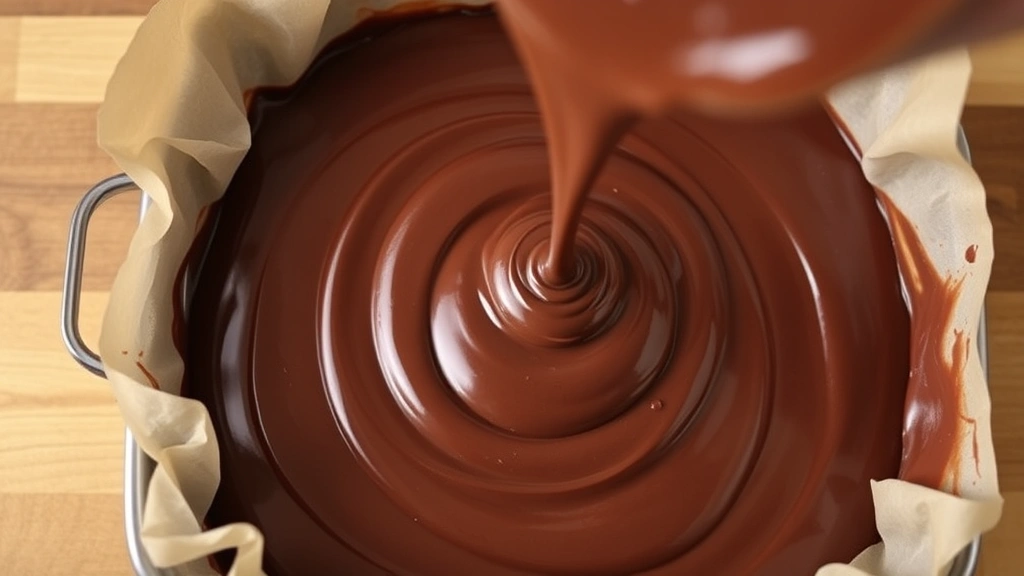
- Pour the fudge mixture into your prepared baking pan, using an offset spatula or the back of a spoon to smooth the top evenly.
- Press the mixture firmly into an even layer, making sure there are no air pockets.
- Allow the fudge to cool at room temperature for 30 minutes.
- Transfer the pan to the refrigerator and chill for at least 2 hours, or until the fudge is completely firm.
- Remove the fudge from the pan using the parchment paper overhang, and place on a cutting board.
- Using a sharp knife, cut the fudge into 24 equal pieces, wiping your knife between cuts for clean edges.
- Store in an airtight container at room temperature for up to 2 weeks, or refrigerate for up to 1 month.
Pro Tips
For the best results, use high-quality cocoa powder. Dutch-processed cocoa will give you a darker, more sophisticated fudge, while natural cocoa powder creates a slightly more traditional chocolate flavor. Don’t skip the vanilla extract, as it really enhances the chocolate flavor and adds depth to the final product.
The sweetened condensed milk is essential to this recipe’s success. It creates that signature fudgy texture without requiring a candy thermometer. This makes the recipe foolproof for beginners and a time-saver for experienced bakers alike.
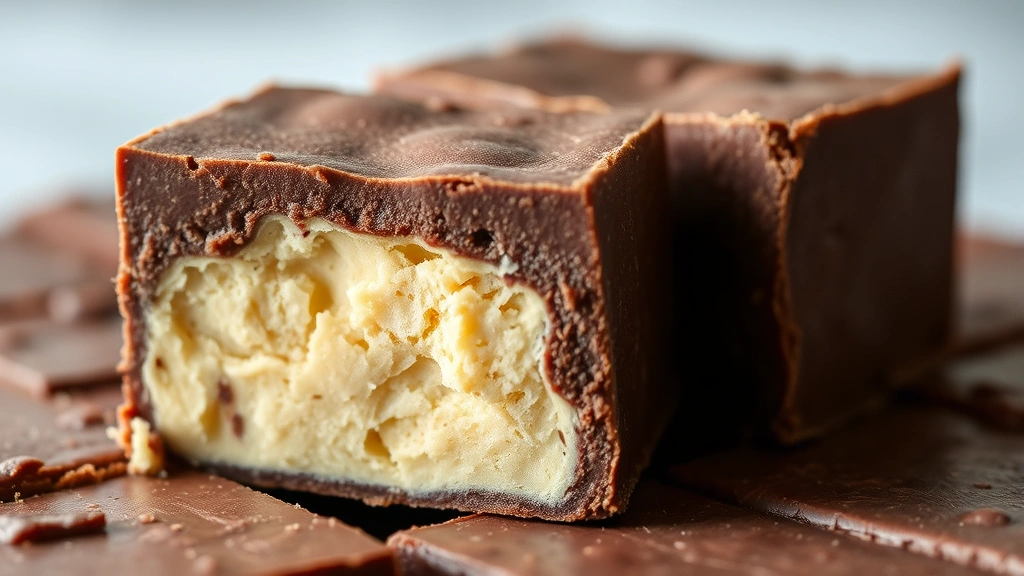
Customization options are endless. Add 1/2 cup chopped walnuts or pecans for crunch, swirl in 1/4 cup natural peanut butter for a PB-chocolate combo, or dust the top with fleur de sel before chilling for a sweet-salty contrast. You can also dip finished pieces in melted white chocolate or drizzle with contrasting chocolate.
If your fudge seems too soft after chilling, refrigerate it longer or add slightly more powdered sugar next time. If it’s too firm or grainy, you may have added too much powdered sugar or not melted the butter sufficiently—the mixture should be very smooth and liquid before pouring.
This recipe doubles beautifully if you’re making gifts or feeding a crowd. Use a 9×13 inch pan instead and cut into smaller pieces. The cooking time remains the same since you’re still melting and heating the same ratio of ingredients.
For gift-giving, wrap individual pieces in parchment paper or place them in a decorative box with parchment between layers. This fudge makes an impressive homemade gift that costs just a few dollars to make but looks incredibly luxurious. People always ask for the recipe when they taste homemade fudge—it’s that good.
The key to perfect microwave fudge is not to rush the process. Give it proper time to cool and set before cutting. Cutting warm fudge results in messy, crumbly pieces, while perfectly chilled fudge cuts cleanly and holds its shape beautifully.