
There’s something absolutely magical about a perfectly boiled egg – it’s one of those deceptively simple recipes that can actually be tricky to master. Whether you’re looking for a soft, jammy yolk or a fully set hard-boiled egg, this foolproof method will have you creating restaurant-quality results every single time. I’ve been making boiled eggs for years, and I’m thrilled to share my tried-and-true technique with you today.
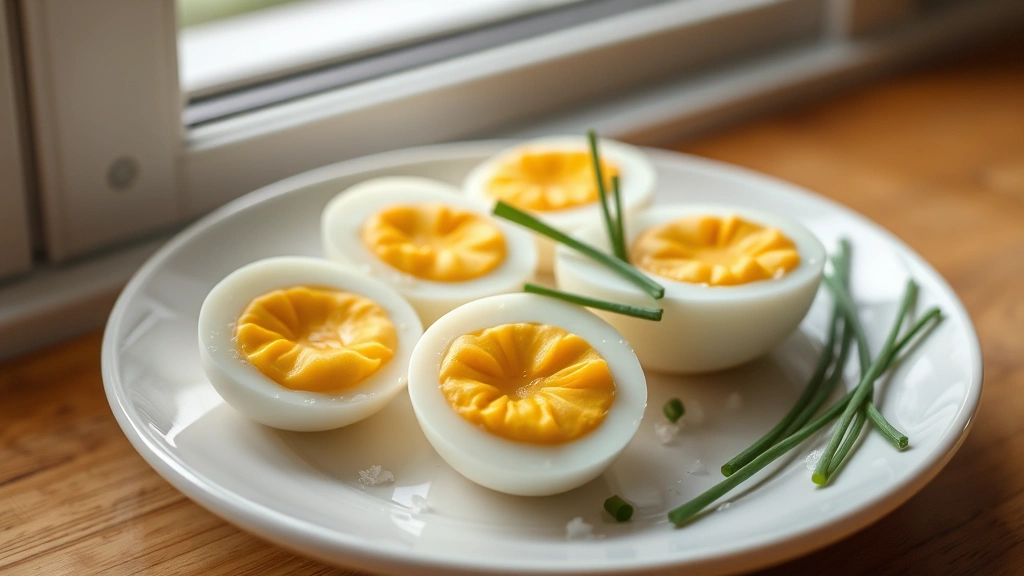
Boiled eggs are truly the foundation of so many wonderful dishes and breakfast moments. They’re perfect on their own with a sprinkle of sea salt and fresh cracked pepper, nestled on top of creamy pasta, or chopped into a delicious chickpea salad. The key to success is understanding the relationship between time, temperature, and water. Most people rush through this process or use outdated methods that don’t quite work. I’m going to walk you through every single step so you can achieve the exact consistency you’re craving.
What I absolutely love about this recipe is how accessible it is – you probably have everything you need right in your kitchen already. No fancy equipment, no complicated techniques, just pure, simple cooking at its finest. This is the kind of recipe that belongs in every cook’s repertoire, whether you’re a complete beginner or someone who’s been cooking for decades. Let me share the secrets I’ve learned along the way.
The beauty of mastering boiled eggs is that once you understand the fundamentals, you can apply this knowledge to so many other recipes. Imagine topping your creamy alfredo sauce with a perfectly halved boiled egg, or creating layers of flavor in an easy chicken alfredo. You could even incorporate them into a quick bacon carbonara. The possibilities are truly endless, and it all starts with knowing how to boil an egg perfectly.
I’m so excited for you to try this method because I know it’s going to change the way you approach this classic technique. Let’s dive in and create some boiled egg perfection together!
Ingredients
- Large eggs (as many as you need)
- Water (enough to cover eggs by 1 inch)
- Sea salt (optional, for added flavor)
- Ice cubes (for ice bath)
- Vinegar (optional, helps prevent cracking)

Instructions
- Place your eggs in a single layer at the bottom of a medium to large pot. Make sure they’re not stacked on top of each other, as this can cause uneven cooking.
- Cover the eggs completely with cold water, making sure there’s about an inch of water above the top of the highest egg. This ensures even cooking throughout.
- If desired, add a splash of vinegar or a pinch of sea salt to the water – this can help prevent the shells from cracking during the cooking process.
- Bring the water to a rolling boil over medium-high heat. Once the water reaches a full boil, you’ll know it’s time to move to the next step.
- Once boiling, remove the pot from the heat and cover it with a tight-fitting lid. This is the secret to perfectly cooked eggs every single time.
- Let the eggs sit in the hot water for your desired cooking time:
• For soft-boiled (runny yolk): 4-6 minutes
• For medium-boiled (jammy yolk): 8-10 minutes
• For hard-boiled (fully set yolk): 12-15 minutes - While the eggs are cooking, prepare an ice bath by filling a bowl with ice cubes and cold water. This is absolutely crucial for stopping the cooking process and ensuring your eggs are perfectly done.
- Using a slotted spoon, carefully transfer the eggs from the hot water directly into the ice bath. Work quickly to ensure all eggs are cooled immediately.
- Let the eggs cool in the ice bath for at least 5-10 minutes. This makes them much easier to peel and prevents that gray-green ring from forming around the yolk.
- To peel, gently tap the cooled egg all over to create cracks in the shell, then roll it gently on the counter to loosen the shell further.
- Starting from the wider end where the air pocket is located, begin peeling away the shell under cool running water. The water helps separate the membrane from the egg white.
- Once peeled, rinse the egg under cool water one more time to remove any remaining shell fragments, then pat dry with a paper towel.
- Your perfectly boiled eggs are now ready to enjoy! Serve them warm, at room temperature, or even chilled, depending on your preference.
Pro Tips
- The ice bath is absolutely essential – don’t skip this step! It stops the cooking process immediately and prevents that undesirable gray-green ring from forming around your yolk.
- Room temperature eggs will cook more predictably than eggs straight from the refrigerator. If you have time, let them sit out for 10 minutes before cooking.
- Adding a small splash of vinegar or salt to the water can help prevent shells from cracking, though it’s not absolutely necessary.
- Older eggs (about 7-10 days old) peel much more easily than very fresh eggs. If you’re having trouble peeling, this might be why.
- For easier peeling, make sure to peel under running water and start from the wider end where the air pocket is located.
- You can store peeled boiled eggs in an airtight container in the refrigerator for up to 5 days, or unpeeled eggs for up to 7 days.
- If you’re making a large batch, you can scale this recipe up – just make sure the eggs are in a single layer and that there’s enough water to cover them all.
- For perfectly jammy eggs, the 8-10 minute range is your sweet spot. This gives you that beautiful runny center that’s absolutely divine.
- These are perfect for meal prep! You can make a big batch at the beginning of the week and use them throughout your meals.
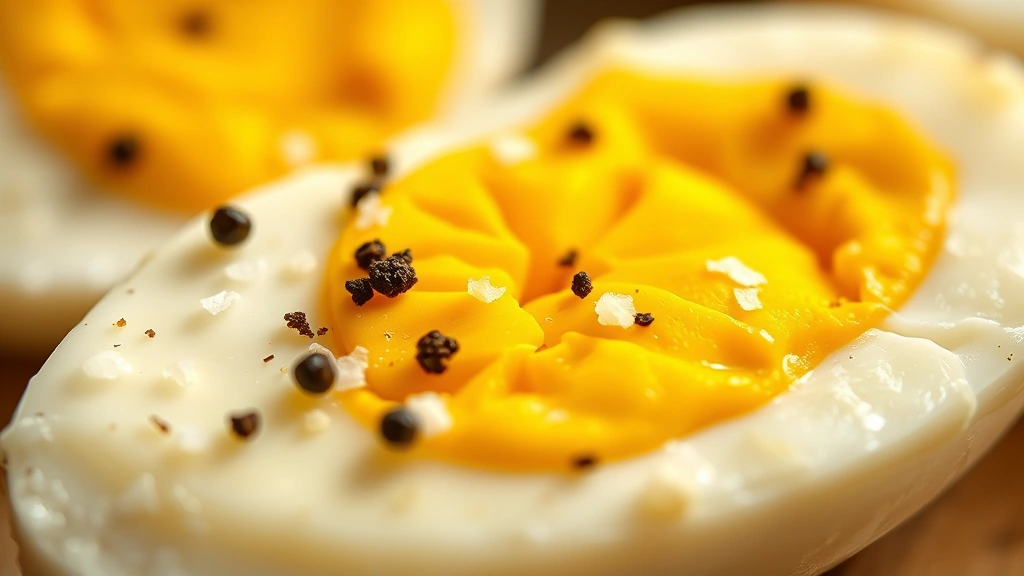
- Boiled eggs pair beautifully with creamy sauces, fresh salads, or simply enjoyed on their own with a sprinkle of fleur de sel and fresh cracked pepper.