
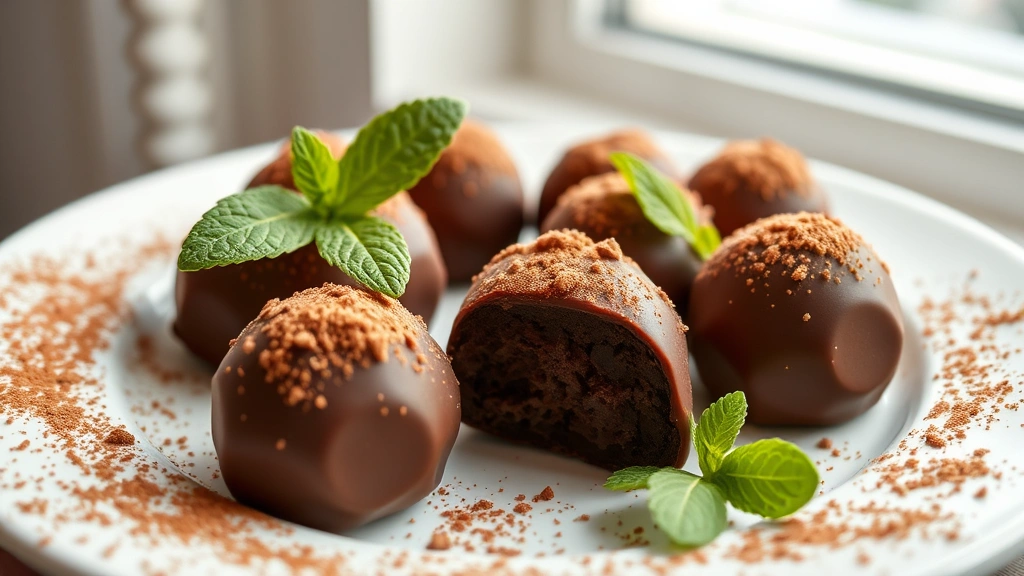
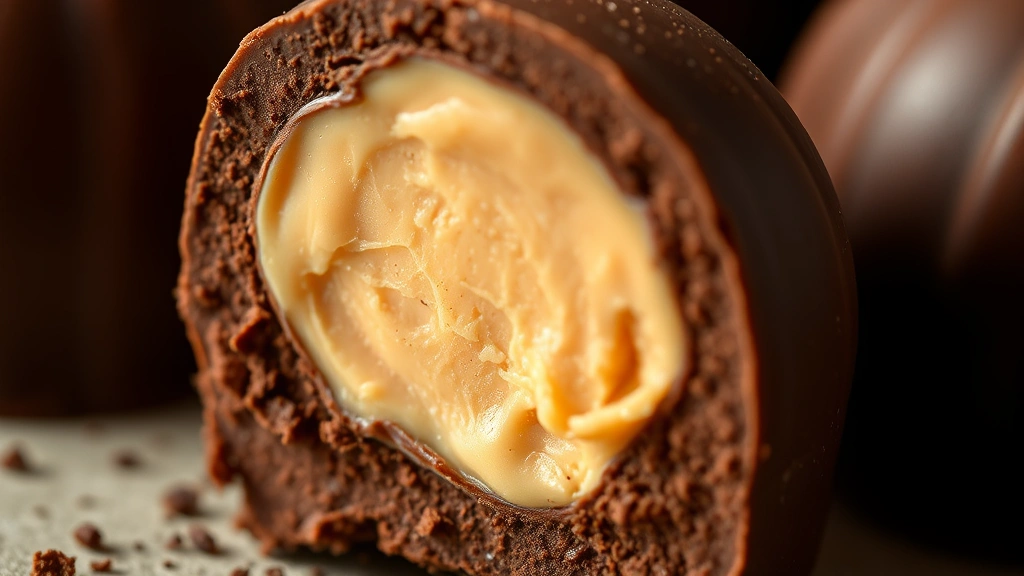
There’s nothing quite like biting into a homemade chocolate truffle—that moment when the silky ganache center melts on your tongue is pure bliss. This simple chocolate truffle recipe proves you don’t need fancy equipment or complicated techniques to create restaurant-quality confections right in your own kitchen. Whether you’re looking to impress guests at a dinner party, create an elegant gift for someone special, or simply satisfy your chocolate cravings, these truffles are the answer.
What makes this recipe so special is its simplicity combined with its impressive results. With just a handful of quality ingredients—chocolate, cream, butter, and vanilla—you can create something that tastes like it came from a high-end chocolatier. The beauty of homemade truffles is that you control every element: the quality of the chocolate, the richness of the ganache, and the flavor combinations you choose to create.
I love making these truffles because they’re endlessly customizable. While this base recipe is absolutely delicious on its own, you can easily infuse it with different flavors like complementary ingredients or roll them in various coatings. The creamy base recipe remains consistent, so once you master the basic technique, you can experiment with endless flavor variations.
Making chocolate truffles at home is also surprisingly budget-friendly. When you compare the cost of homemade truffles to store-bought versions, you’ll be amazed at the savings. Plus, the process is quite meditative and fun—it’s the perfect rainy day activity or a wonderful way to involve kids in the kitchen (they’ll love rolling the truffles in cocoa powder!).
One of my favorite aspects of this recipe is how forgiving it is. Even if your truffles aren’t perfectly round, they taste just as delicious. The most important thing is using good-quality chocolate—it truly makes a difference in the final product. I recommend using chocolate that you actually enjoy eating on its own, because you’ll definitely taste the difference.
These truffles store beautifully too. Keep them in an airtight container in the refrigerator for up to two weeks, or freeze them for up to three months. They’re perfect for last-minute entertaining, unexpected guests, or whenever you need a sophisticated chocolate treat. You can also package them beautifully in small boxes with parchment paper for an impressive homemade gift that rivals anything from a fancy candy shop.
The technique for creating the perfect ganache is straightforward but important. Proper tempering and resting time ensure your truffles have that signature smooth coating and that beautiful snap when you bite into them. This recipe walks you through each step, ensuring success even if you’ve never made truffles before.
What I really appreciate about homemade truffles is that they prove you don’t need to be a professional pastry chef to create something truly special. With this simple chocolate truffle recipe, a little patience, and some quality ingredients, you’ll be making confections that rival any bakery. Your family and friends will be thoroughly impressed, and honestly, the look on their faces when they taste these homemade truffles is worth every bit of effort.
Ingredients
- 8 ounces high-quality dark chocolate, finely chopped
- 1/2 cup heavy cream
- 2 tablespoons unsalted butter
- 1 teaspoon vanilla extract
- 1/4 teaspoon sea salt
- 2 tablespoons unsweetened cocoa powder for coating
- 2 ounces white chocolate, melted (optional for decoration)
- Additional cocoa powder, sprinkles, or chopped nuts for rolling
Instructions
- Place the finely chopped dark chocolate in a medium heat-safe bowl, making sure the pieces are as uniform in size as possible for even melting.
- Heat the heavy cream in a small saucepan over medium heat, stirring occasionally, until it just begins to steam and small bubbles form around the edges—do not let it boil.
- Pour the hot cream over the chopped chocolate and let it sit undisturbed for 2-3 minutes to allow the heat to soften the chocolate.
- Using a spatula or whisk, gently stir the mixture in circular motions starting from the center and working outward until the chocolate is completely melted and the mixture is smooth and glossy.
- Stir in the unsalted butter, vanilla extract, and sea salt until fully incorporated and the mixture is silky smooth.
- Allow the ganache to cool to room temperature, stirring occasionally, for about 10-15 minutes.
- Cover the bowl with plastic wrap and refrigerate for at least 2-3 hours, or until the ganache is firm enough to scoop but still slightly soft.
- Line a baking sheet with parchment paper and place it near your work station.
- Using a small melon baller, cookie scoop, or spoon, portion the chilled ganache into approximately 1-inch balls, placing each one on the prepared baking sheet.
- If the ganache becomes too soft while scooping, return it to the refrigerator for 15-20 minutes to firm up again.
- Once all the ganache is portioned, refrigerate the truffles for another 30-45 minutes until they’re completely firm.
- Place your cocoa powder or other coating of choice in a shallow bowl.
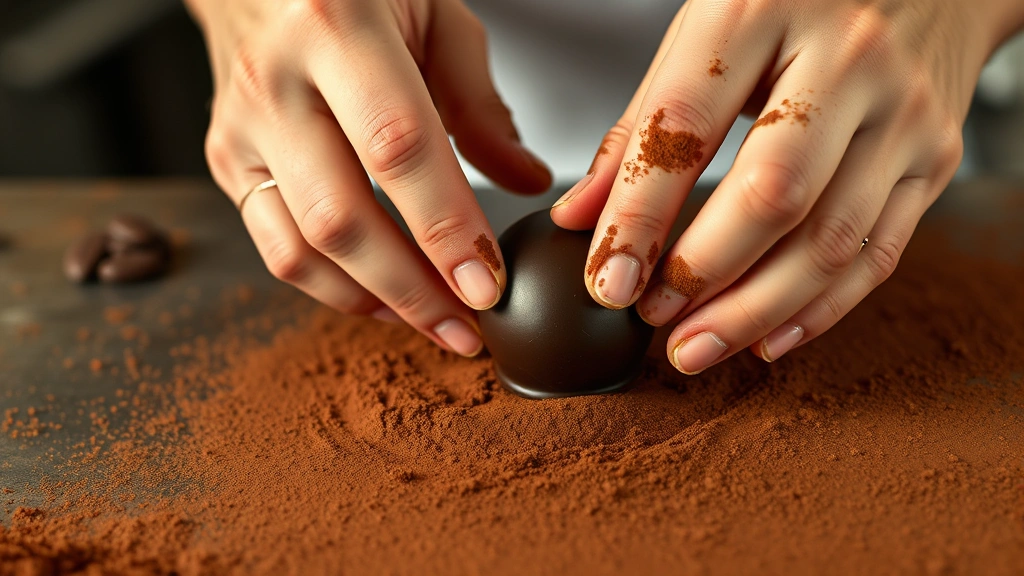
- Working with a few truffles at a time (keep the rest refrigerated), roll each truffle gently between your palms to create a smooth, round shape.
- Immediately after shaping, roll the truffle in your chosen coating—cocoa powder, crushed nuts, sprinkles, or a combination—ensuring it’s evenly covered.
- Place the coated truffle on a clean parchment-lined baking sheet.
- Repeat the shaping and coating process with the remaining ganache, working in batches and returning unrolled truffles to the refrigerator as needed.
- If desired, drizzle melted white chocolate over the finished truffles using a fork or small spoon for elegant decoration.
- Refrigerate the finished truffles in an airtight container for at least 1 hour before serving to allow the coating to set completely.
Pro Tips
Cream matters: Use heavy cream (also called heavy whipping cream) with at least 35% fat content. Lighter creams won’t create the right consistency for your ganache.
Temperature control is key: If your kitchen is warm, work with smaller batches and keep the ganache and shaped truffles in the refrigerator. Warm hands can be problematic, so consider wearing food-safe gloves or chilling your hands under cold water.
Coating options are endless: Try rolling truffles in unsweetened cocoa powder, Dutch cocoa powder, crushed freeze-dried berries, finely chopped nuts, sprinkles, shredded coconut, or edible glitter. You can even do half and half for variety.
Flavor variations to try: Add 1/4 teaspoon espresso powder for mocha truffles, 1/2 teaspoon peppermint extract for mint chocolate, 1 tablespoon of liqueur like Grand Marnier or Kahlúa, or 1/4 teaspoon of cayenne pepper for spicy chocolate.
Storage guidelines: Keep truffles in an airtight container in the refrigerator for up to 2 weeks, or freeze for up to 3 months. Bring to room temperature for 5 minutes before eating for the best flavor and texture.
Gifting tips: Package truffles in small boxes lined with parchment paper or cupcake liners. Add a ribbon and handwritten label for a personal touch that looks professionally packaged.
Troubleshooting: If ganache is too soft after chilling, refrigerate longer. If it’s too stiff and won’t roll, let it sit at room temperature for 10-15 minutes. If coatings aren’t sticking, ensure truffles are cold before coating.
Make-ahead friendly: Prepare the ganache up to 3 days in advance. Shape and coat truffles up to 2 days before serving for convenience.
Scaling the recipe: This recipe easily doubles or triples. Simply multiply all ingredients by your desired number and follow the same process.
Pingback: Easy Chicken Wraps Recipe – So Delicious & Quick! – Simple Recipe Finder